How to Stabilize Video in Premiere Pro CC
Shaky footage can destroy otherwise amazing shots. Fortunately, Adobe Premiere Pro has an incredibly simple and effective stabilizer available with the click of a button. This step-by-step Adobe Premiere Pro tutorial will go over everything you need to know about how to stabilize shaky footage in the Adobe Creative Cloud for all Mac and Windows devices.
Stabilizing footage with the warp stabilizer
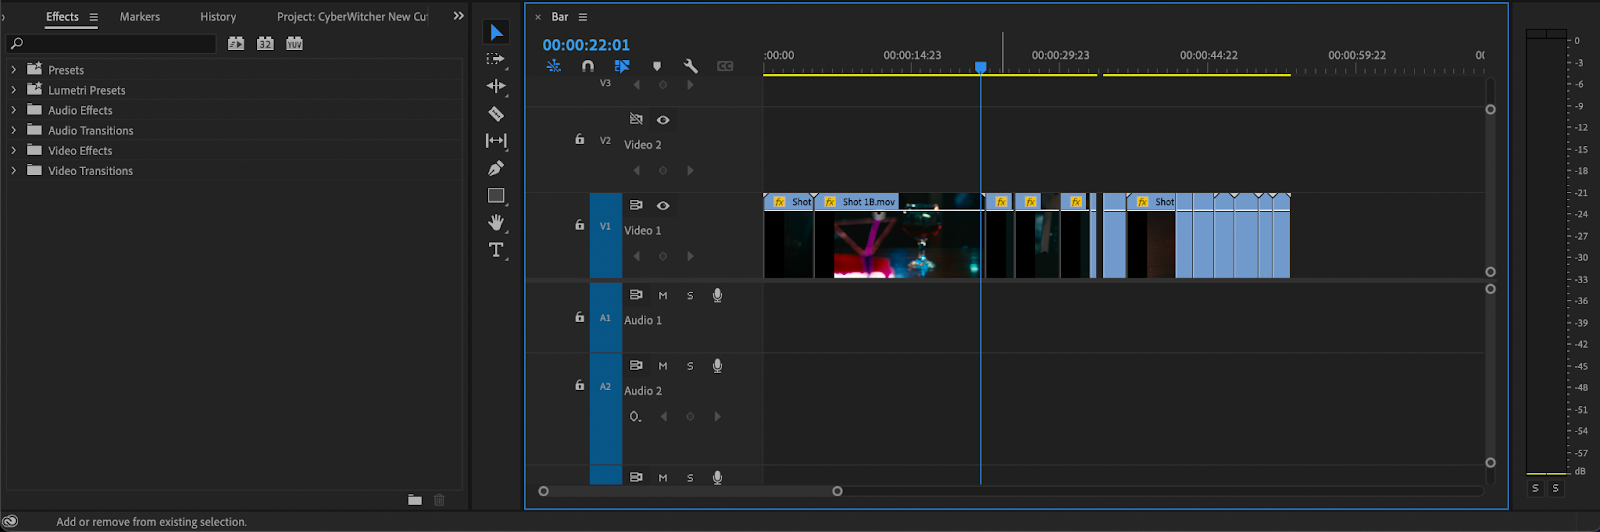
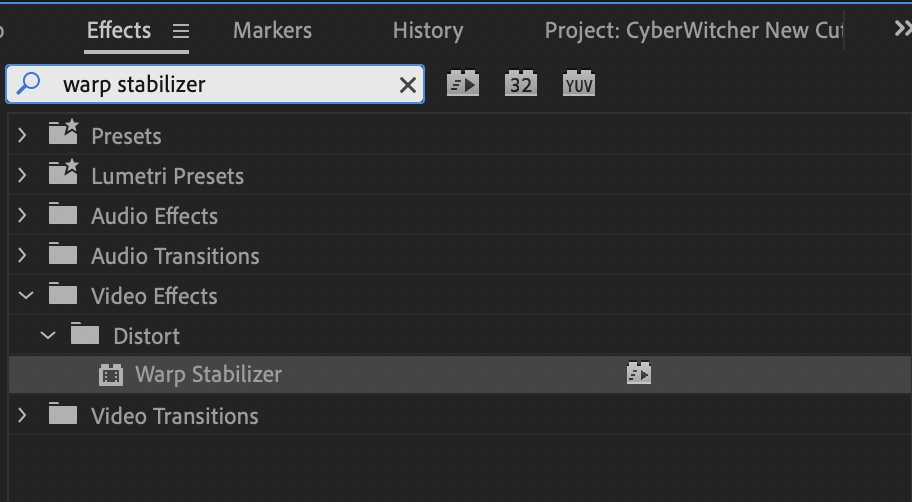
The only way to really add the stabilization effect in Adobe Premiere Pro is through the Warp Stabilizer Effect. The warp stabilizer in premiere pro can be found by going inside of the Effects bin (located on the bottom left-hand side of the screen in the Edit Workspace). The Effects bin in Premiere Pro contains all of your high-end video effects and transitions.
Type stabilize into the search box inside of the effects bin to find the warp stabilizer effects. Double-clicking on this effect will add it to your selected video clip. You can also drag and drop the effect directly on top of your video footage to apply it.
Once the effect is added to your clip, Adobe Premiere Pro will automatically start analyzing it. A blue progress bar in the playback window will indicate how much time you have left on your stabilization.

After this progress bar is complete, go over to the Effects Control panel. Here, you’ll be able to adjust your stabilization settings. Adobe Premiere Pro has an algorithm that goes through your full video and picks out the larger movements.
Beneath the Analyze and Cancel buttons are a few different options for how Premiere Pro stabilizes your footage. There’s a Result, Smoothness, Preserve Scale, and Method located underneath the stabilization submenu. Under the Result submenu are the two options for either Smooth Motion or No Motion. Smooth motion will smooth out your motion whereas no motion will do its best to give your footage a tripod effect. This effect can vary though depending on how much movement your footage has.
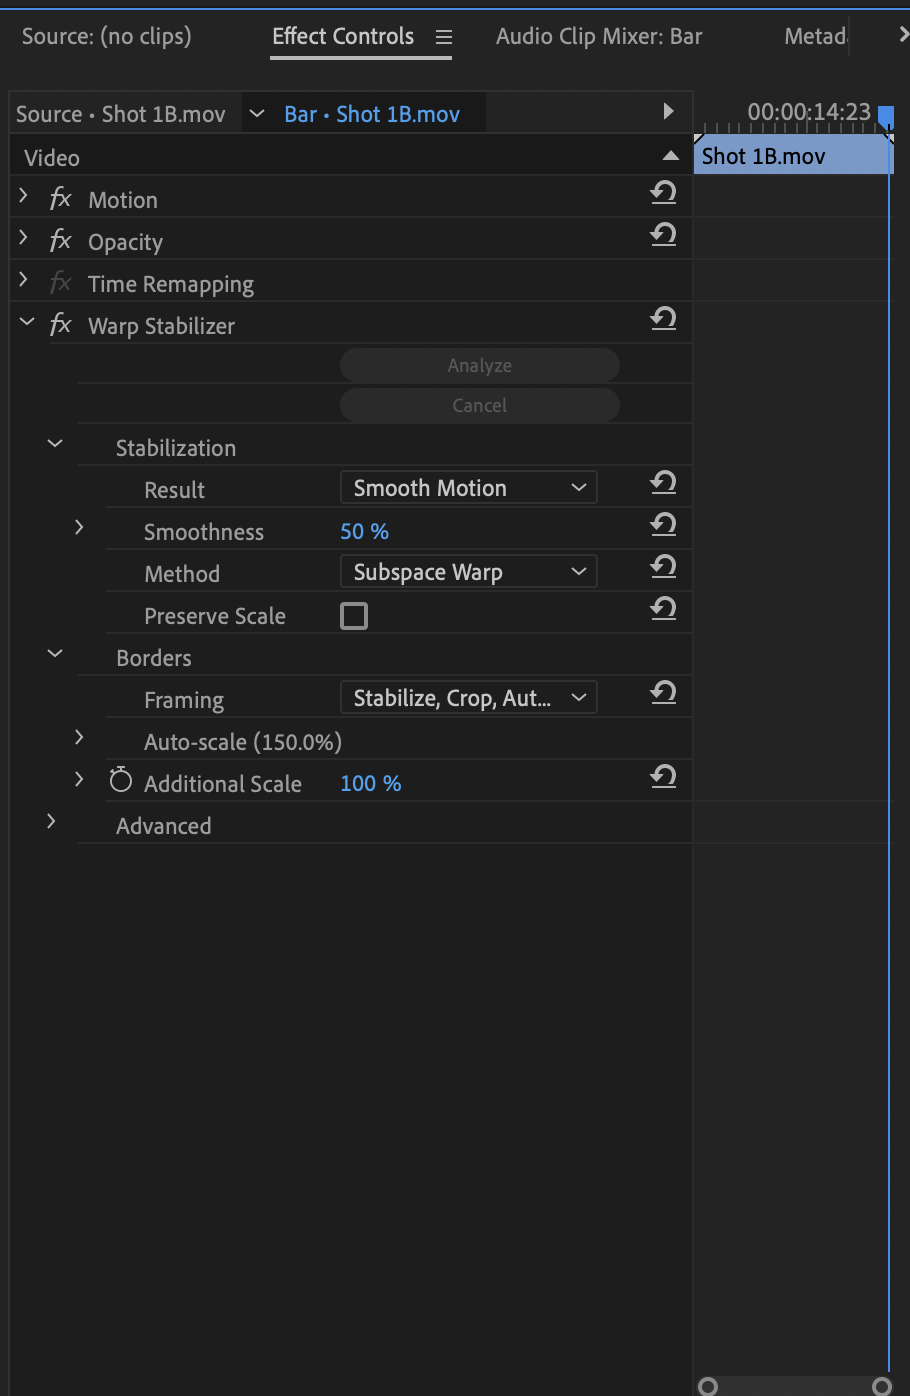
The Smoothness slider changes how smoothly the movements are interpreted when the stabilization effect is applied.
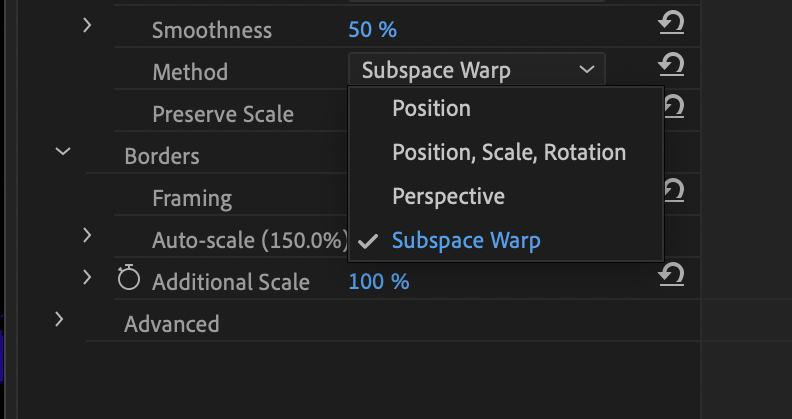
The Method submenu has options for Subspace Warp, Perspective, Position - Scale - Rotation, and Position. The Subspace Warp looks at all the jitters in your footage and smooths them out accordingly. The rest of the options smooth out your footage based on the axis of the camera movement.
Beneath all of this is a checkbox labeled Preserve Scale. This function adds black bars to your footage but preserves its original scale of it. For the most part, it’s best always to keep this box unchecked.
After these options are more advanced options relating to the more minute details of Premiere Pro stabilization. If you’re unhappy with your stabilization results, these are the settings to mess around with. There’s even an advanced settings submenu that lets Adobe Premiere run a more detailed analysis as well as lets you adjust the amount of stabilization if you have a particularly shaky video.
Other ways to stabilize Premiere Pro footage
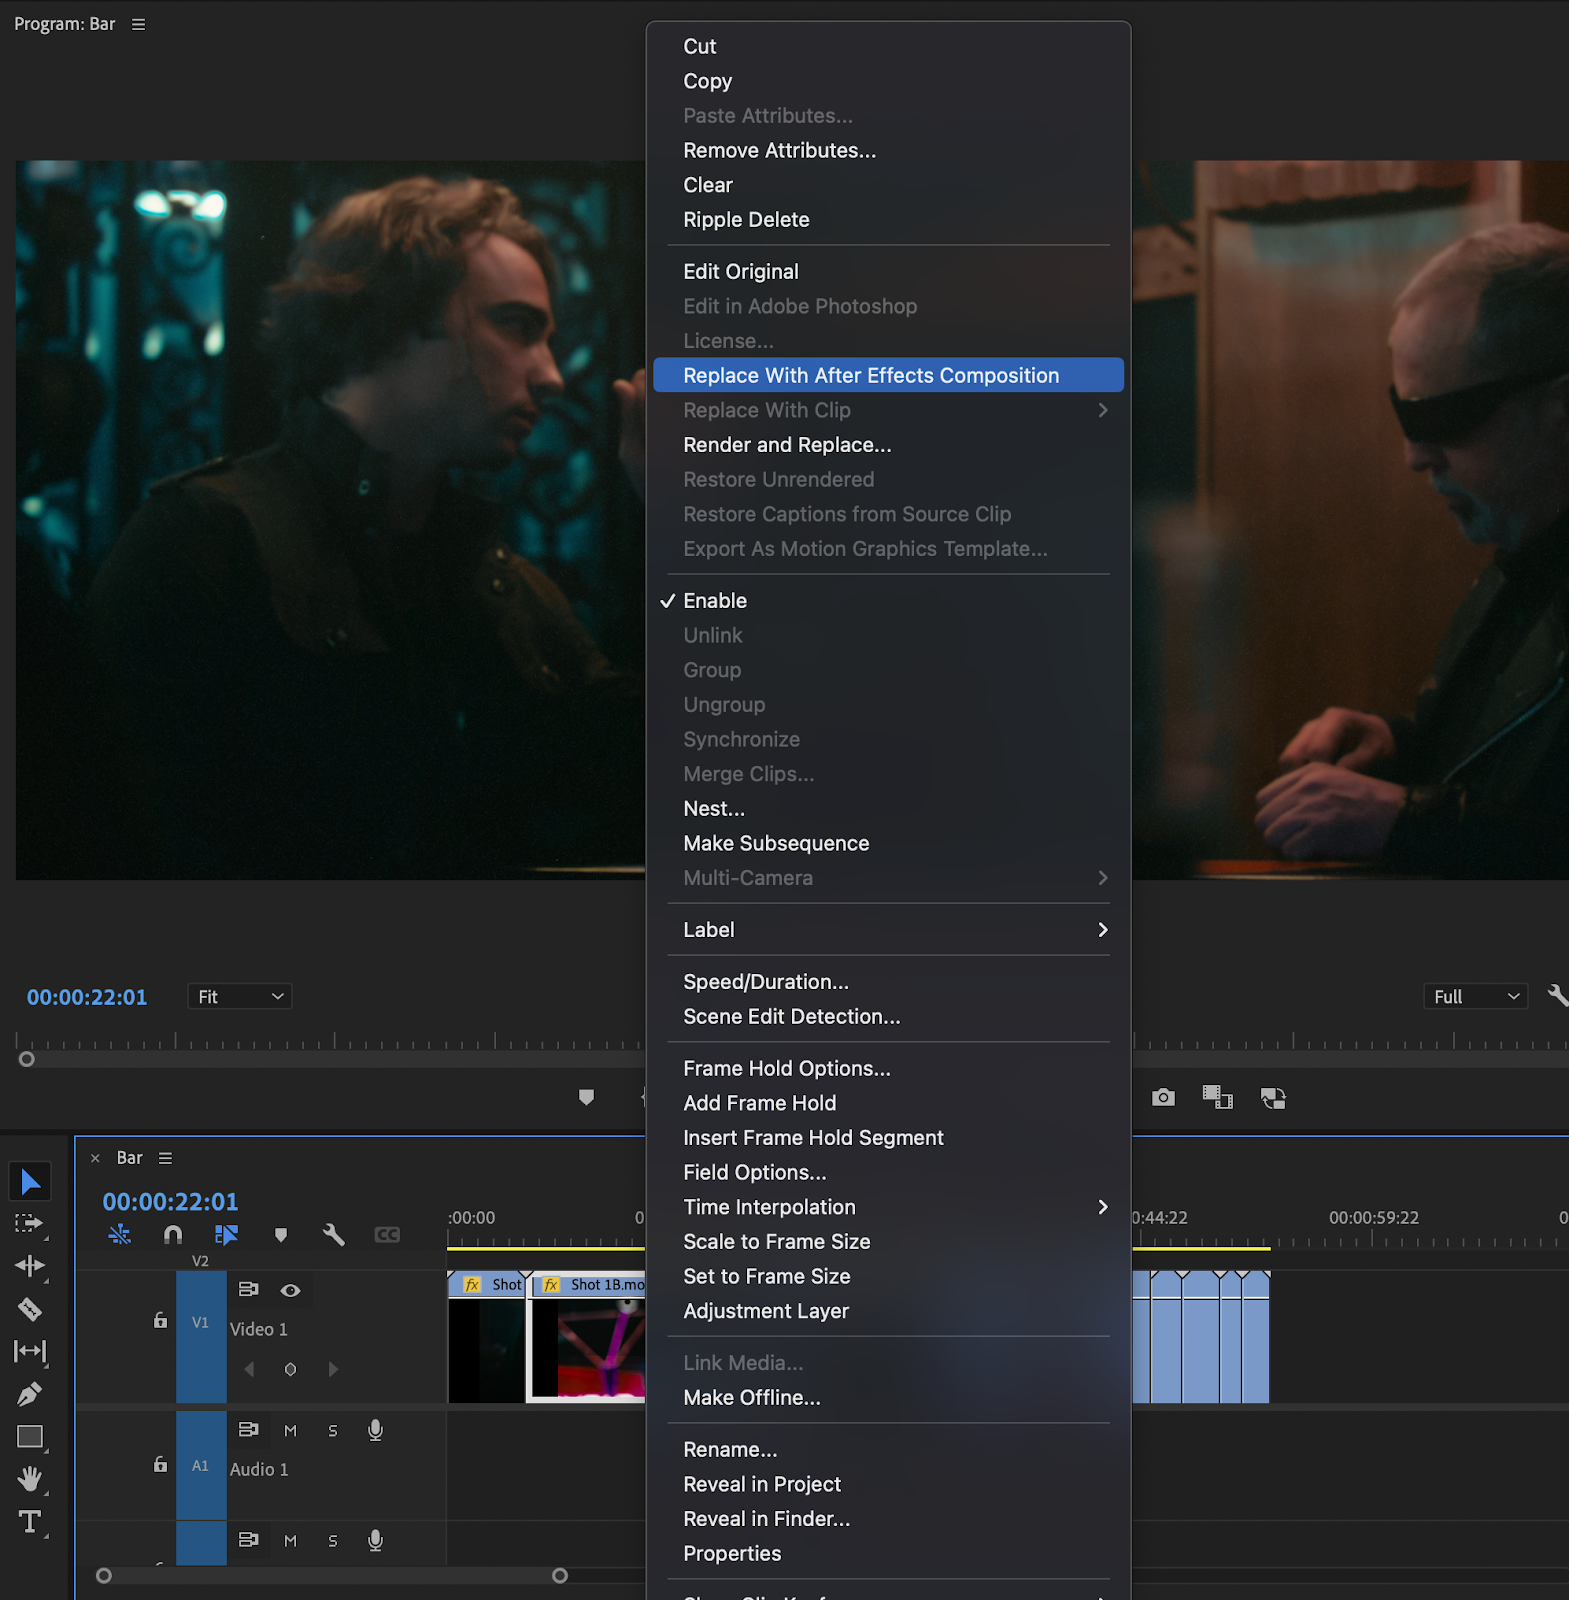
The only other way to stabilize footage in Adobe Premiere Pro is in tandem with Adobe After Effects. Right-click on your footage inside of your timeline and click on Replace with After Effects composition.
Doing this will bring your footage into After Effects where the process of adding the warp stabilizer is quite similar to Premiere Pro. The available options are similar as well. While the differences are barely noticeable, the stabilizer tool in Adobe After Effects does do a slightly better job than Adobe Premiere Pro when it comes to stabilizing footage.

Tips for stabilizing video in Premiere Pro
When you’re shooting your videos, there are two things to keep in mind if you know you’re going to be stabilizing the video in post-production. Both of them have to do with how you shoot your video.
The first is to always make sure you record in a well-lit environment. Stabilization software is great but can be incredibly demanding under low-light conditions. Stabilization effects can often fall apart and get the jitters (that jello look) under these conditions.
The second thing has to do with the depth of field. Now, this is a tricky one since a shallow depth of field gives footage that “cinematic” look, and shooting with a deep one gives it a more “flat” and “amateurish” look if you don’t know what you’re doing. Shooting with a deep depth of field stops your movement from looking like jello once you add the stabilization effect to it.
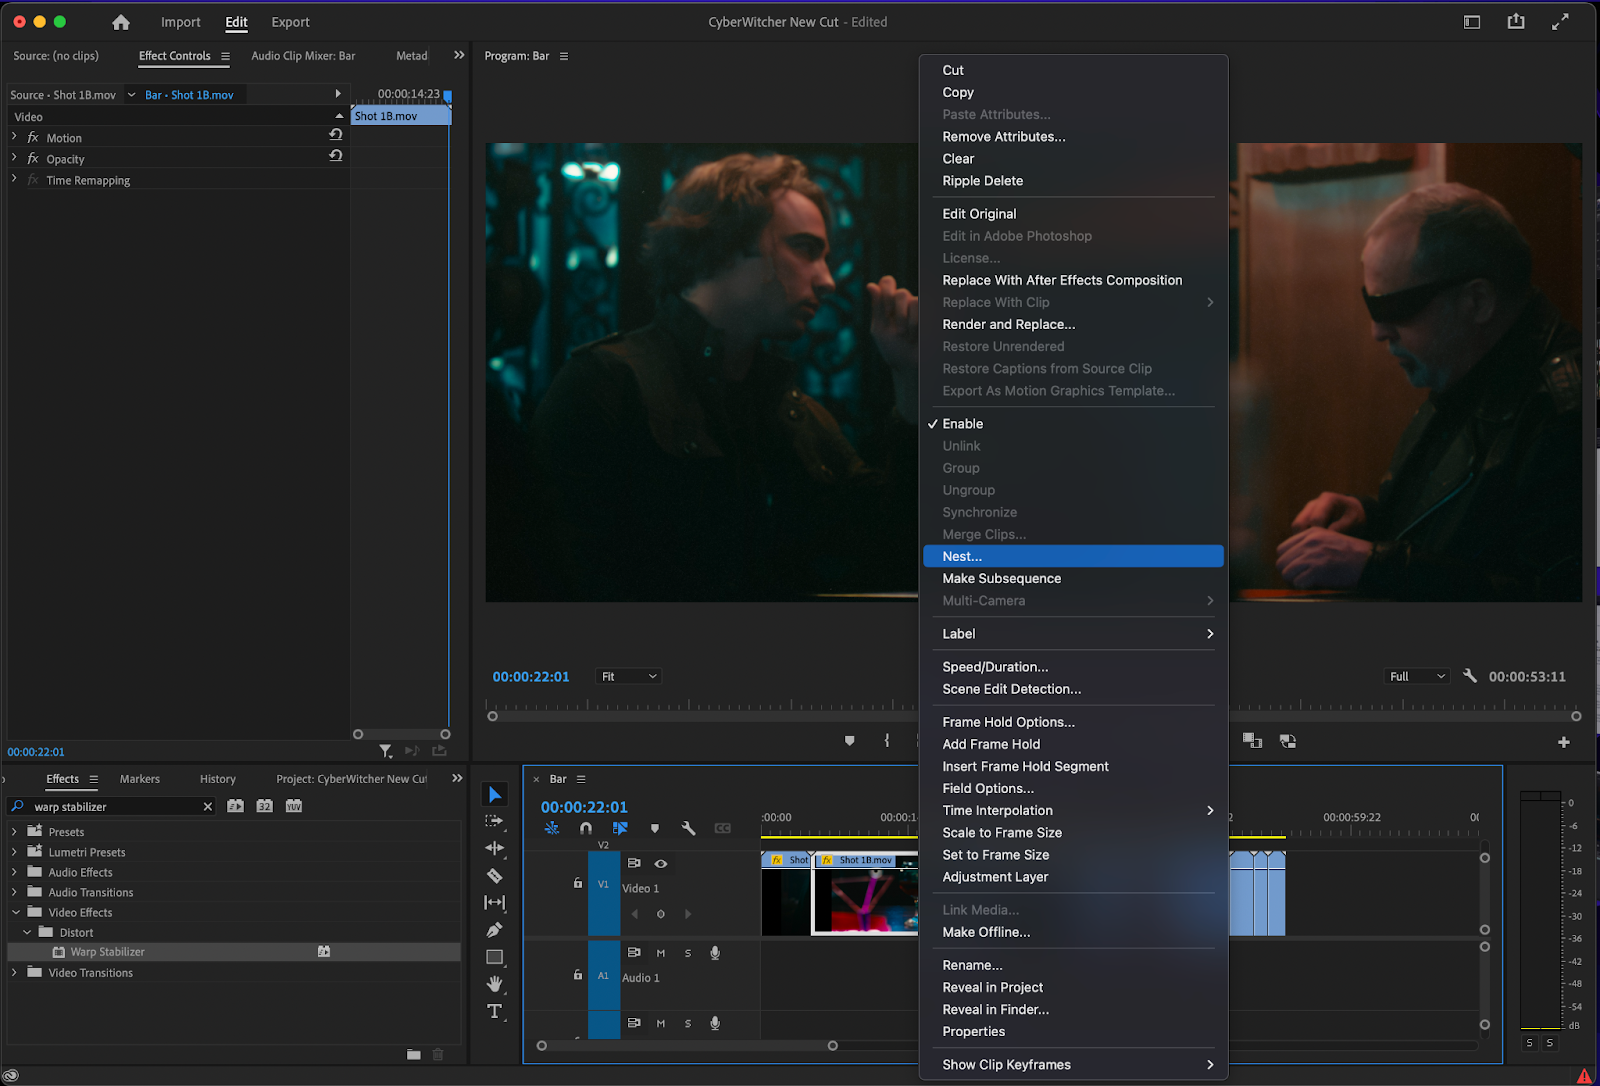
In Adobe Premiere Pro, you might run into a few different issues when it comes to stabilizing your footage. You might get an error claiming that your footage isn’t “Nested”. This happens when in some cases when the resolution of your footage doesn’t match up with the resolution of your timeline. A quick fix for this is by right-clicking on your footage and clicking on Nest.
Summary
Post-production video stabilization has come such a long way, saving creators countless hours and dollars on equipment such as a gimbal. In the right conditions, digital stabilization can look just as good if not better than physical stabilization. With content creation, the more time and money you can save the better.
3rd party plugins such as Simon Says can be so wonderful precisely because of how much time and money it saves creators, transcribing footage natively within Adobe Premiere Pro in 100 languages.