Visual Subtitle Editor
Tips for how to use the new Visual Subtitle Editor
Our new Visual Subtitle Editor allows you to format how subtitles look on-screen before you export them.
It uses our same world-class transcript editor where each word highlights as spoken and has timecode attached to it. Create a new line, edit a word — it is all really simple to do in our editor. And the same customizability is there for the Visual Subtitle Editor so you can make sure subtitles look exactly as you intend.

Here’s how to use the Visual Subtitle Editor
Have a look at the video or follow the instructions below. To see the video subtitles in a different language, click the settings icon in the video and select an available language from Subtitles/CC
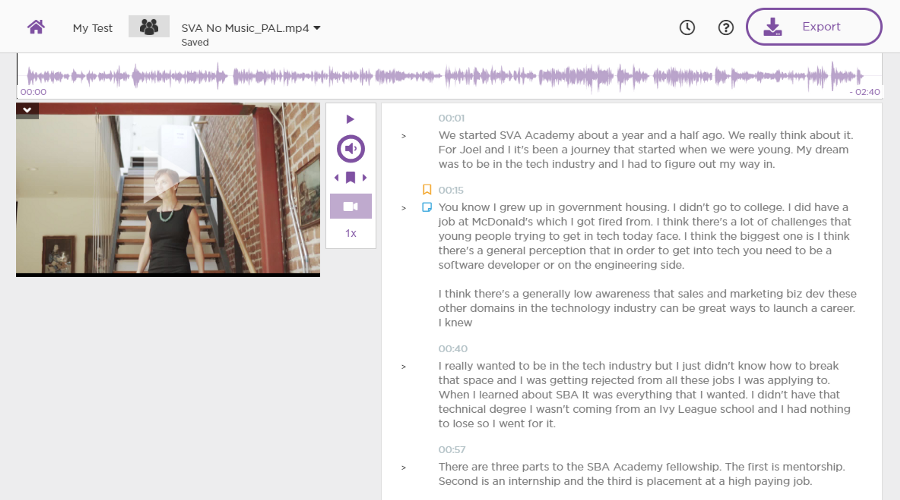
1. After you have transcribed your media with Simon Says, you can either edit text here or you can jump straight to the Visual Subtitle Editor to edit there.
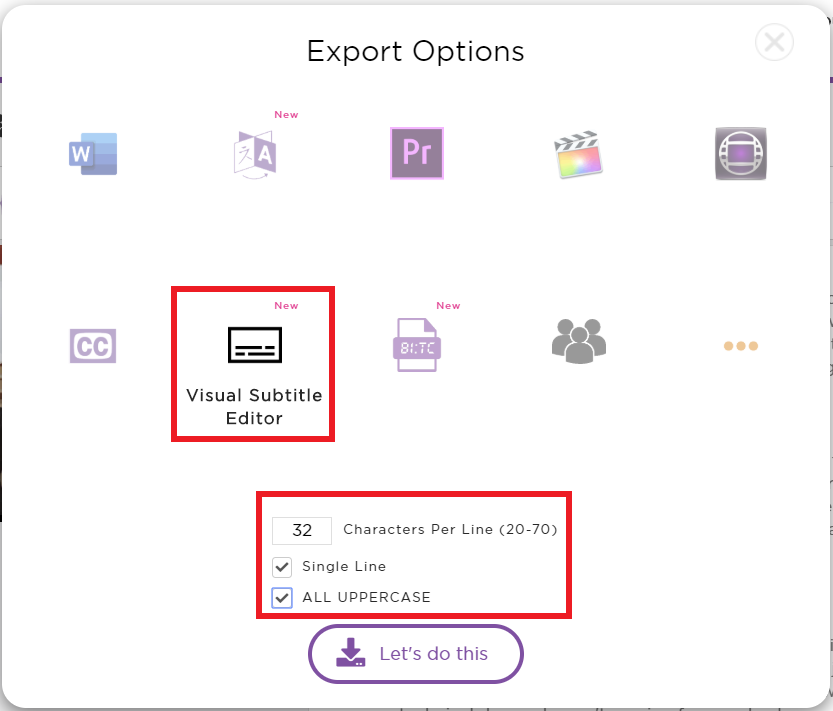
Click Export.
Select Visual Subtitle Editor, select the number of characters per line for your project (the default is 32, but you can have anywhere between 20–70 characters per line). If you would like single line subtitles per row, select that and you can also have your transcript in all uppercase. After that, click Let’s Do This.

2. A copy of your original project will be created with “SUBTITLED” appended to your original project name. This subtitled project will now be formatted like subtitles are: a certain number of characters per line and a certain number of lines.
Today, we by default export to support CEA-608 and CEA-708 standards with 20–70 characters per line, a maximum of 2 lines, and the option to have all caps. In the subtitle editor, you can edit this as you like.
Any edits you made in the original project, as well as speaker labels applied, carry over into the Visual Editor page. Your original project will still be available from your dashboard. Edits made to this new subtitled project will not reflect back in the original project.

Keep in mind the number of lines and characters per line for optimal viewing. We recommend a maximum of two lines per card and up to 40 characters (including any speaker names) per line.
3. Add captions / edit the timings of captions
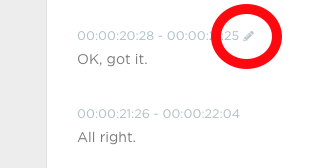
Click the pen icon to edit the timings of the subtitle

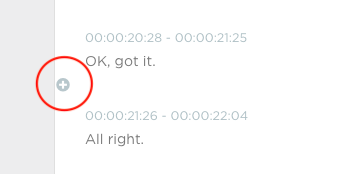
Click the + icon to add a new caption/subtitle card

4. Once you are happy with how your subtitles will look on-screen, click Export.
Select your preferred subtitle format (SRT/SAMI/Avid SubCap/WebVTT), choose Facebook / YouTube for an SRT file ready for those platforms, or burn-in your subtitles for use in Instagram, Twitter, and other social media.

TaDa!
Notes:
- All files in a project will get sent to the Visual Subtitle Editor; you can't just export one file out of many in a project.
- To access your original project, go to your dashboard (click the home button).
- You can also burn-in timecodes from the Burn-In export section
Related Help Articles
How can I use the transcript editor?
Simon Says Project Labels
Simon Says Walk-Through (video)
Speed of Transcription & Translation