How to Freeze Frame in Premiere Pro
There are a wide array of techniques that video editors can use to better their videos and improve their workflow. NLEs have made the utilization of these techniques better than ever, and no NLE out there is quite as prominent as Adobe Premiere Pro. While DaVinci Resolve and Final Cut are incredibly popular and wonderful NLEs, Premiere Pro has been an industry staple for over twenty years, proving users with a plethora of techniques and effects.
Among these is the ever-so-popular freeze-frame effect. This Premiere Pro tutorial will go over the basics of freezing a frame in Premiere Pro as well as tips and tricks on when to utilize this feature on Mac and Windows devices.
Note: Simon Says works seamlessly with Premiere Pro and other popular editing programs. Check out the Premiere Pro extension and see how it can help your caption, translate, and transcribe your content with greater ease.
What is a frame freeze in Premiere Pro?
Freeze framing is taking a still frame from your video clip in your timeline and saving it as an image (similar to a screenshot). You can also extend this image within your timeline. This method is incredibly handy if you’re creating a video that requires you to hold on to a frame.
Putting this still inside of a program such as After Effects, Photoshop, or natively inside Premiere Pro’s essential graphics panel can be wonderful for informational videos that require plenty of motion graphics.
Taking a still image from your footage can also be great for color grading. Sometimes, it’s good to have an image to reference in a separate window to see what changes need to be made.
Ever want to post a beautiful still in your Premiere Pro timeline to social media? Grabbing a still frame from Premiere Pro makes posting to platforms such as Instagram and LinkedIn simple.
4 ways to create freeze frames in Premiere Pro
There are a couple of different video editing methods for freezing a frame in Premiere Pro. The best method to use depends entirely on how you intend on using your still.
Add Frame Hold options
One of the easiest ways to add a freeze frame is right within the timeline itself. This can be done if you right-click on your clip in the timeline and select Add Frame Hold.

A still frame will then be added to the timeline that you can edit and move around like any other clip. There are also frame hold options that can be accessed by right-clicking on the clip as well. You’ll have options to set the in point, the out point, and an option for the still frame to be set to where the playhead is.

Inserting a Frame Hold Segment
If you select Insert Frame Hold Segment, a still frame will get sandwiched between your video. This is a great technique to use if you want to focus in on a particular point in your video.
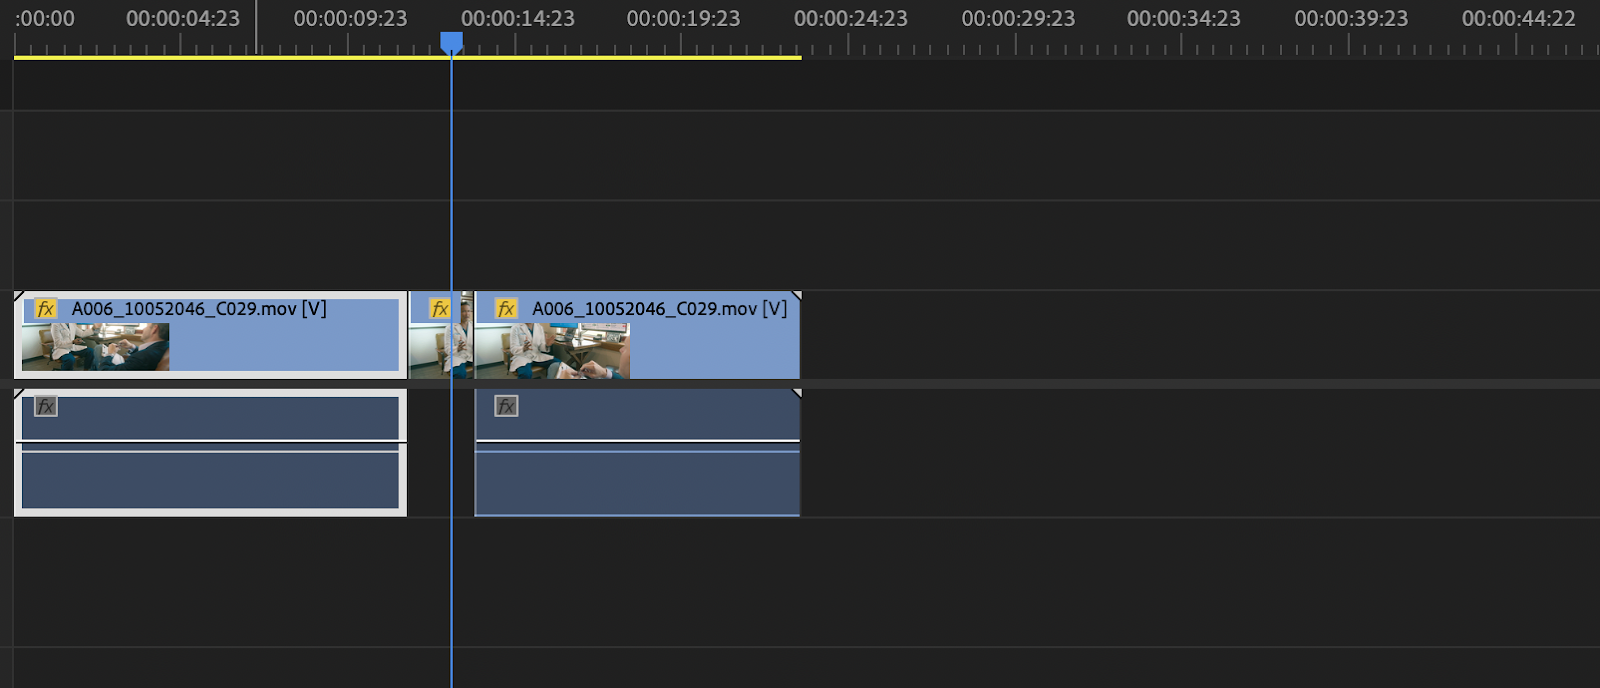
The frame hold segment is only a couple of seconds by default, but you’ll be able to change and edit the clip like you would any other media in Premiere Pro.
Time Remapping
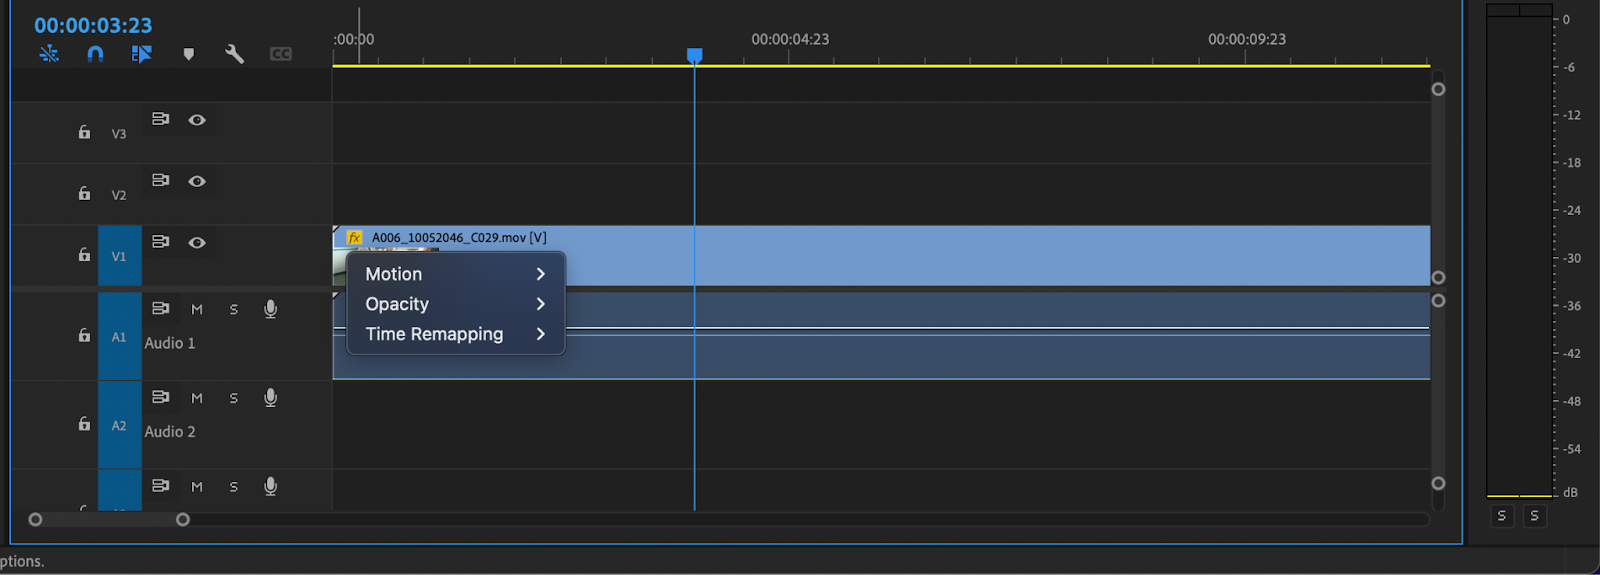
A little more advanced technique is something known as time remapping. This first requires you to right-click on the FX icon on your footage inside the timeline. You’ll then want to go over to Time Remapping > Speed. A white strip known as a rubber band will appear in the middle of your clip.
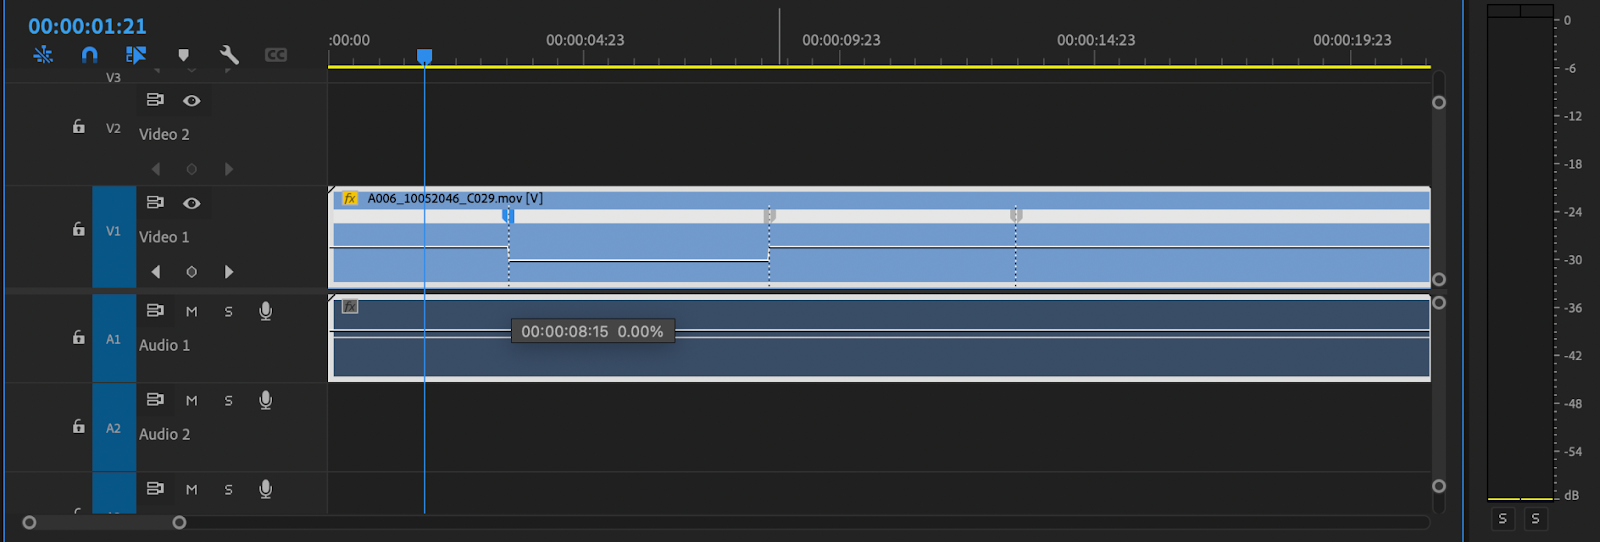
The line underneath the white strip can be dragged either up or down to change the overall speed of the clip. Dragging the line down will make the footage go slower and dragging the line up will make the footage go faster.
Command or CTRL clicking on this line will create keyframes. You can tell which keyframe is selected by the blue highlight.

If you’d like, you can click on any of the keyframes and use the keyboard shortcut command (control) + option (alt) to create a still frame. The divot inside will freeze the frame depending on the percentage that it is set to. You can also speed your footage up or create a slow-motion clip using this method.
Exporting a frame
The export frame method is incredibly useful for those who want their still frame to be a permanent piece of media. As mentioned earlier, this is super useful if you want to upload the still image to social media platforms or create things such as thumbnails.

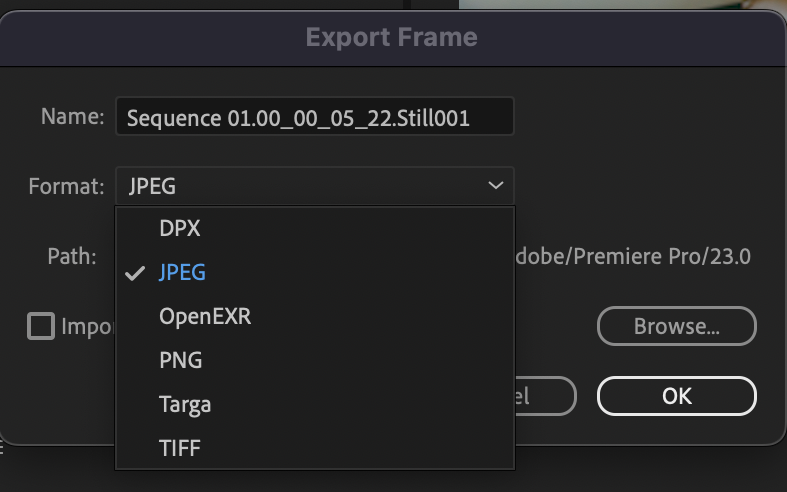
To do this, all you need to do is click the camera icon (the export frame button) at the bottom of your source or program monitor. A pop-up window will appear giving you options for saving your frame as well as a variety of different formats such as a JPEG.
Summary
Programs such as Premiere Pro, After Effects, and Photoshop have made Adobe a force in the creative field. Adobe Premiere Pro has been a mainstay in the film industry, and it’s not at all hard to see why. The amount of tools at a video editor’s disposal is wonderful in Premiere Pro.
That said, video editing can also be a daunting and tiring task at times. Because of that, it’s important to try and make the process as easy as possible. Simon Says can help in this regard by allowing you to quickly caption and transcribe your video content natively in your preferred video editing software.