How to Add Text in Adobe Premiere Pro
The advent of social media has now made video creation more important than ever before. As small of a detail as it may seemingly be, text is one of the most important tools in a video editors toolbelt, especially for those posting to social media platforms. 85% of Facebook users watch videos on mute, and 69% of people view videos in public places with no sound.
YouTube videos, TikTok content, and Instagram reels are often watched with little to no sound. This is a somewhat shocking number, leading to an increased demand for subtitles and motion graphics.
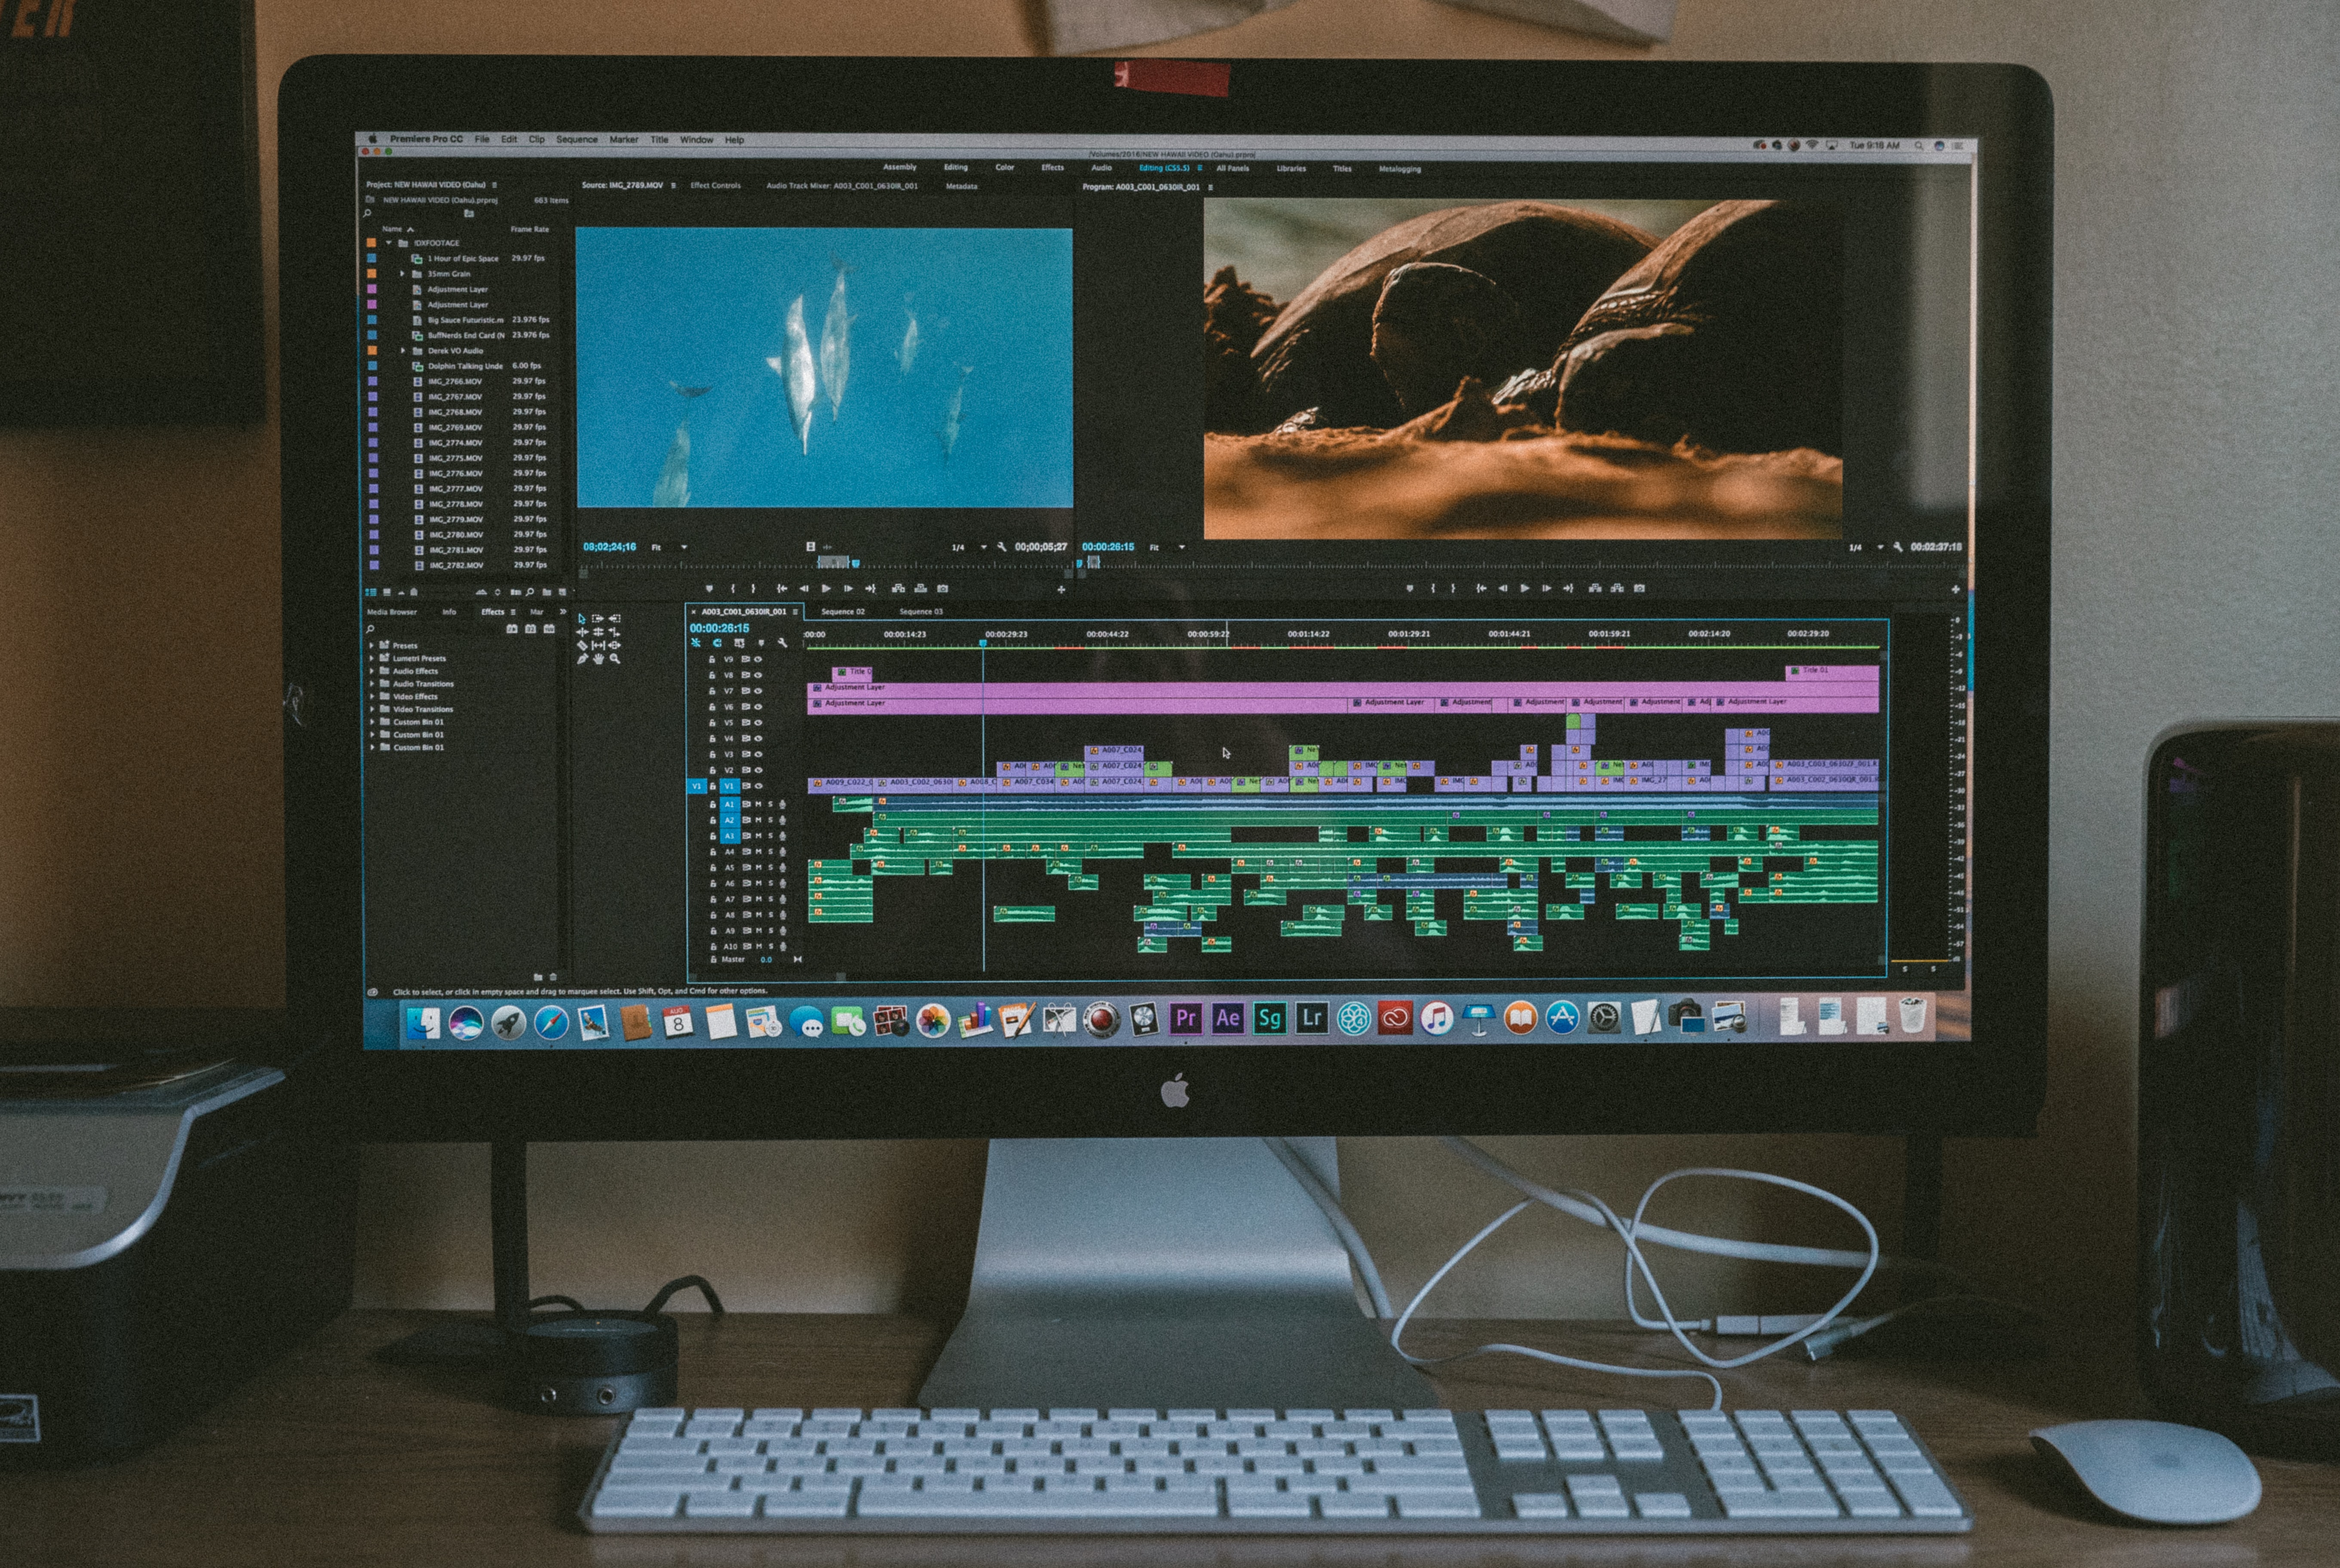
Luckily, there is a slew of video editing programs out there that offer amazing text tools. Adobe Premiere Pro CC has been a go-to video editing software for countless filmmakers and content creators.
Available for both Mac and Windows devices, Premiere Pro offers a lot when it comes to creating beautiful text and subtitles.
Why use text in Adobe Premiere Pro
Text is a great tool to get information across to your audience. It can be used in tutorials to emphasize a point to your viewers, used to grab audiences’ attention at the start of the video, and generally used to get as much information out on screen as possible.
Text can range from simple title screens or credits to complex motion graphics with slick animation and colorful fonts. The text you use will entirely depend on the type of content you’re looking at creating.
A filmmaker, for instance, is most likely going to use text sparingly in Adobe Premiere Pro. Text might only be used for the opening title and credits, barring a few exceptions.
However, there are definitely areas where filmmakers can use text creatively. UI Huds, for instance, in films such as Iron Man use text for informational purposes.
Commercial and social media creators are more likely to use text in order to enhance the content seen on screen. The text style in these scenarios tends to be more boisterous and flashy.
Text in advertisements can be used for lower thirds, letting viewers know the person’s name and occupation when they appear on the screen. Videos for platforms like TikTok and Instagram may also use flashy subtitle text to draw people in.
How to add text in Adobe Premiere Pro
Adding text in Adobe Premiere Pro is straightforward for beginners, with plenty of advanced options for more technical users. Everything you need can be found by clicking on “Window” in the top toolbar and going to “Essential Graphics” in the drop-down menu.
This gives users myriad text templates and motion graphics to choose from and access to a vast Adobe stock library.

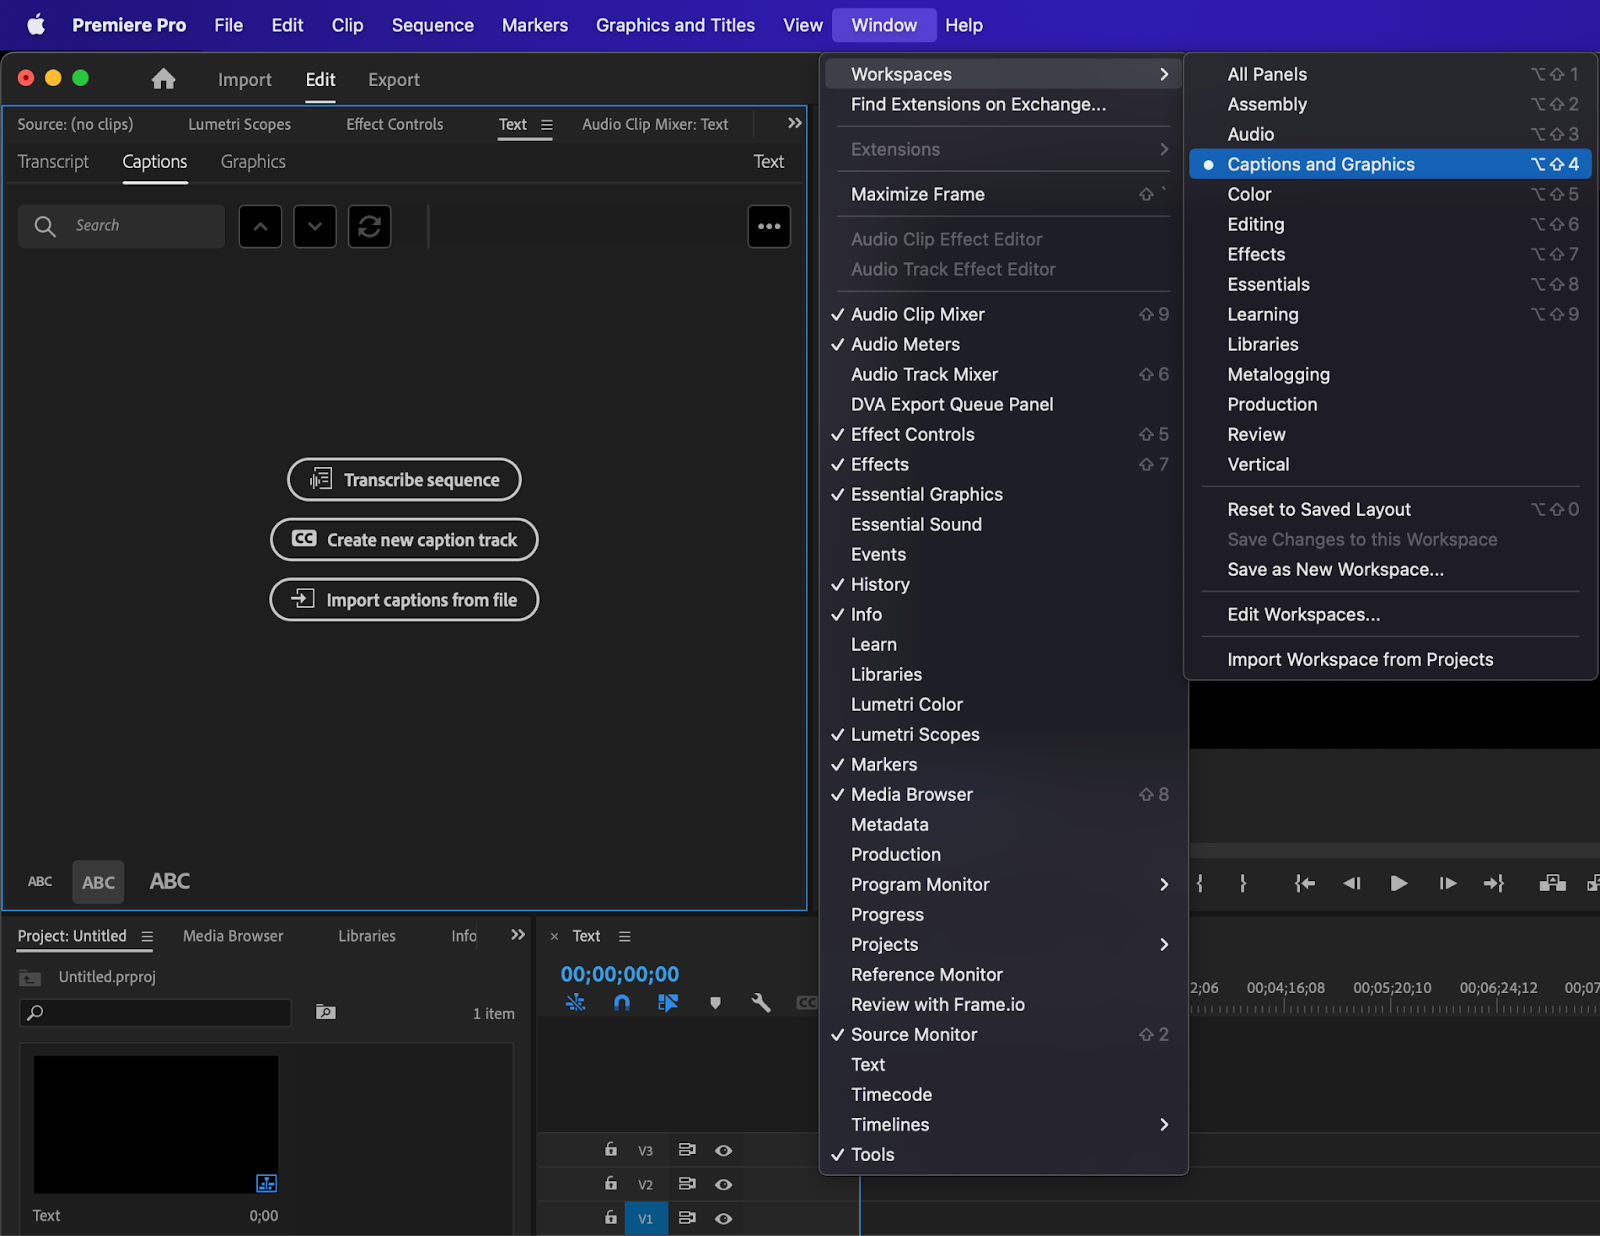
For even more text options, you can also go to Window>Workspaces>Captions and graphics. This will give you transcription and caption options as well.
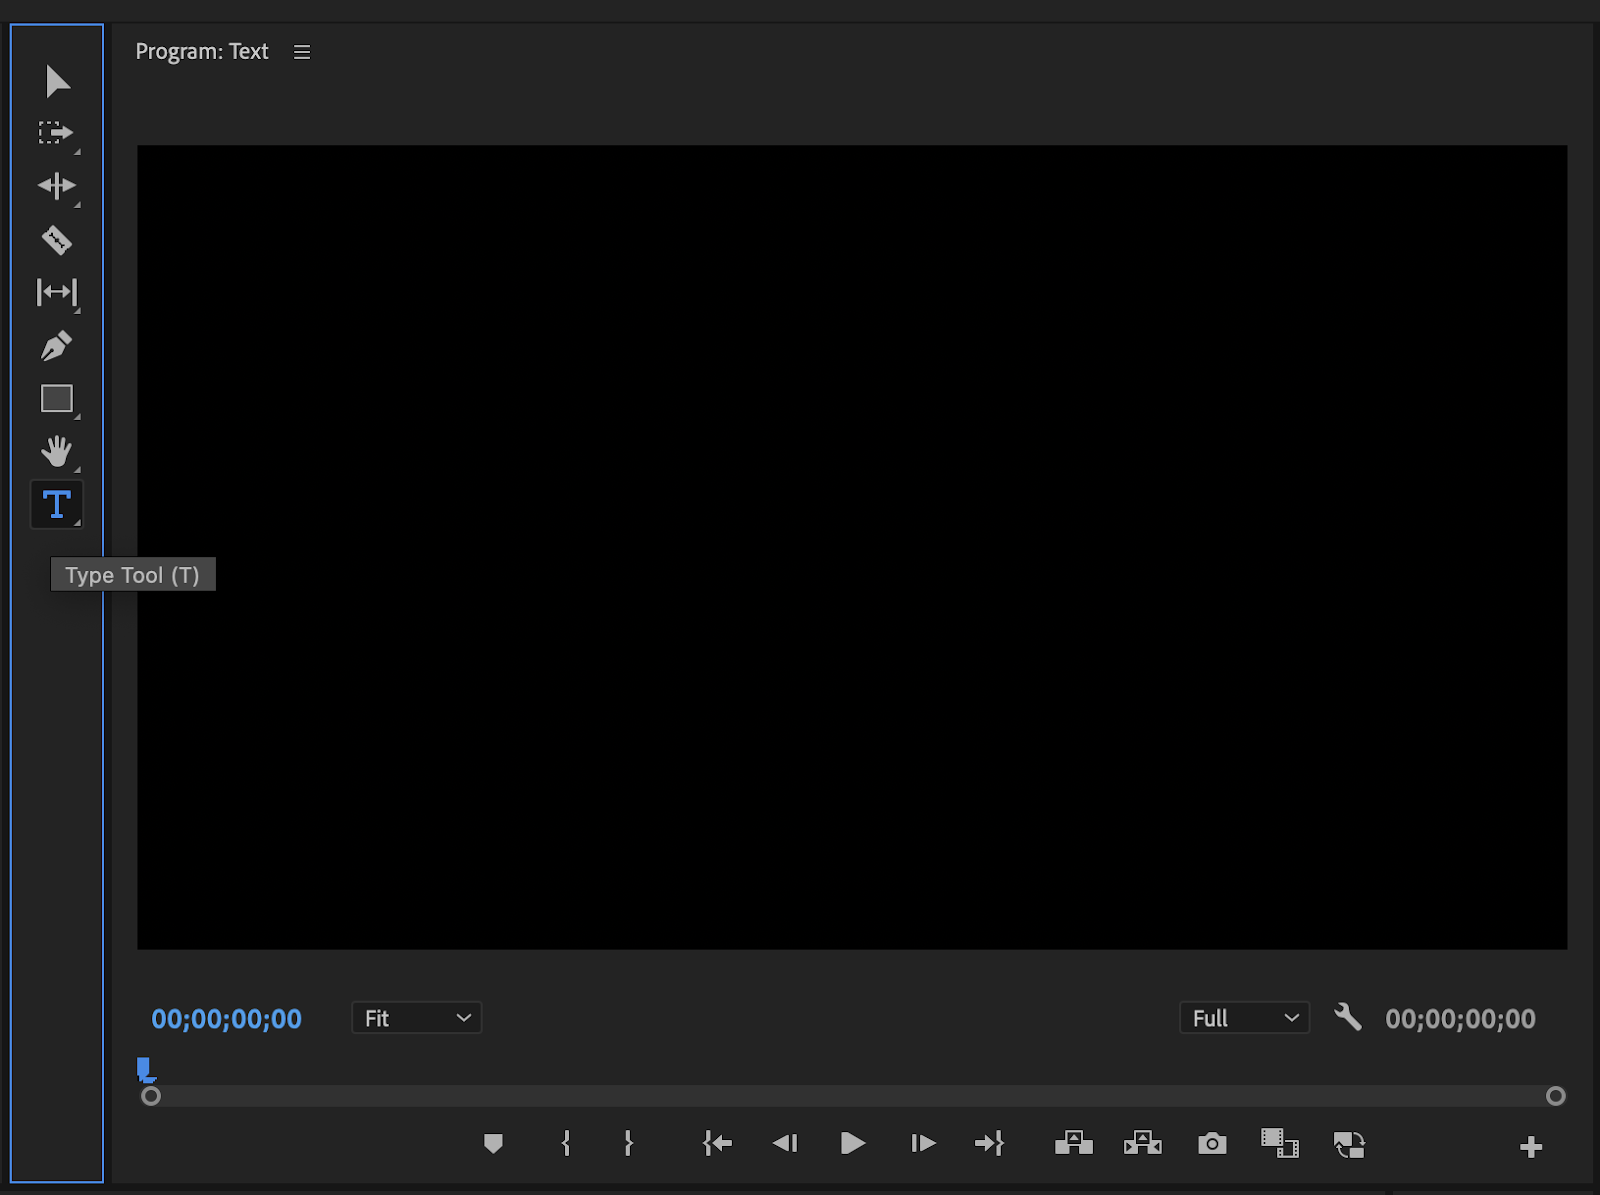
1. Select the Type Tool
The first thing you’ll want to do to add text in Adobe Premiere Pro is click on the “Type Tool” button in the tools menu to the left of the timeline. If you’re in the captions and graphics workspace, the tools menu will be to the left of the viewer window. You can also access this tool by pressing T on your keyboard.
2. Add a text box
Once the Type Tool is selected, you’ll want to click the viewer window to add the text box. You’ll then be able to type whatever it is you want into it. You’ll need to deselect the Type Tool and switch to the “Selection Tool” by clicking on it.
Using the hotkey “V” while the Type Tool is selected will only add to your text box. Once the Selection Tool is selected, the text box will turn blue, and you’ll be able to drag and edit it in any way you want.
3. Customize the text
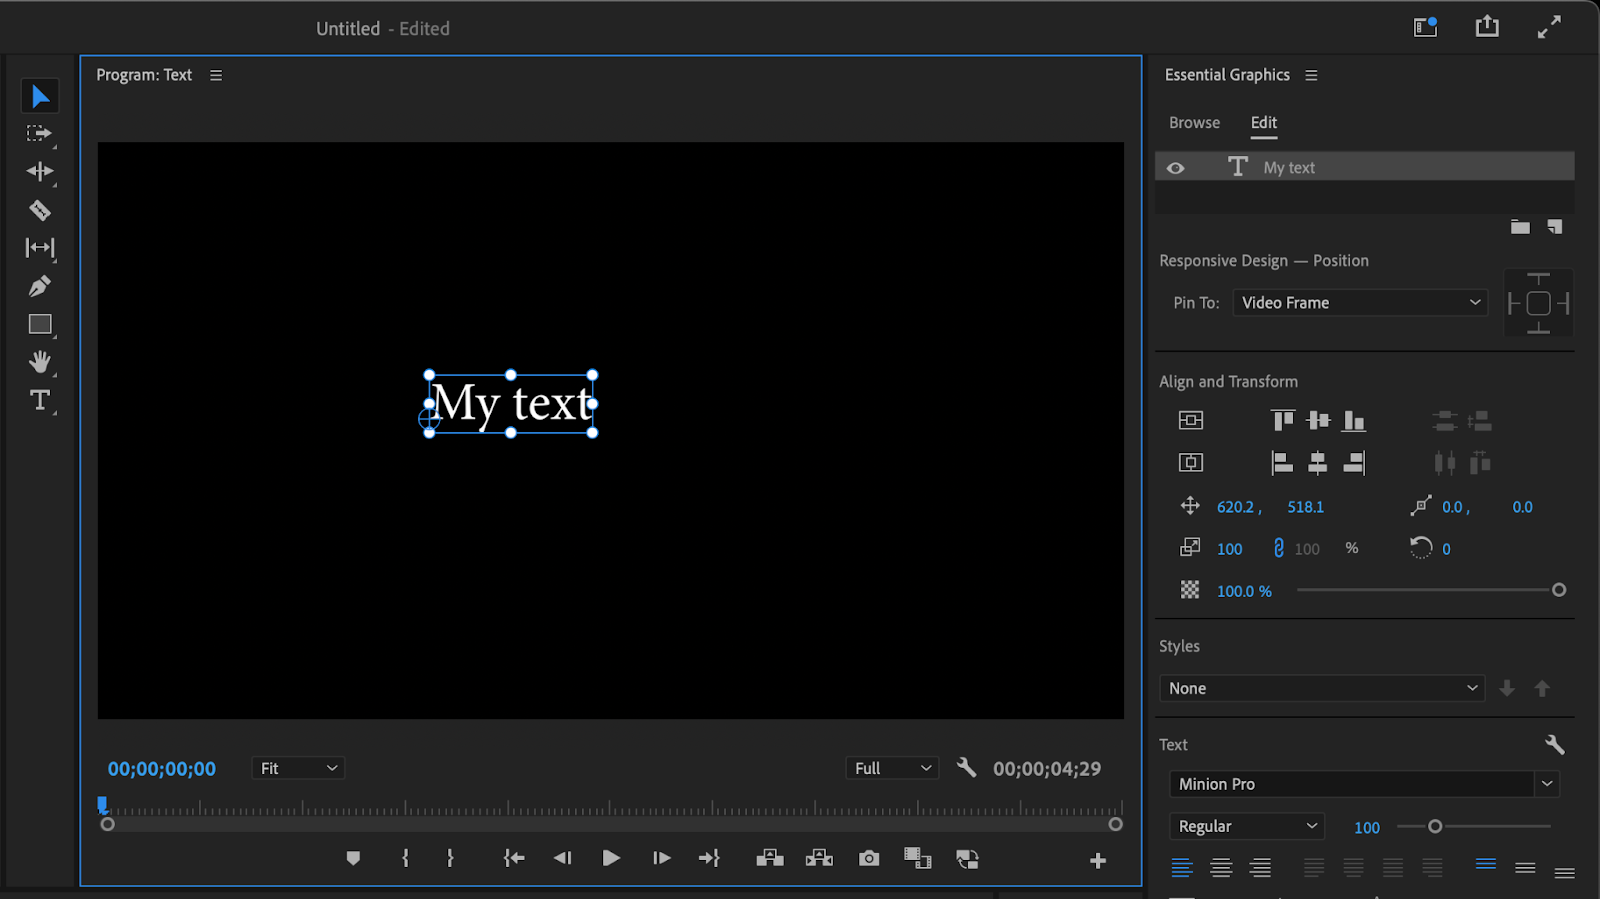
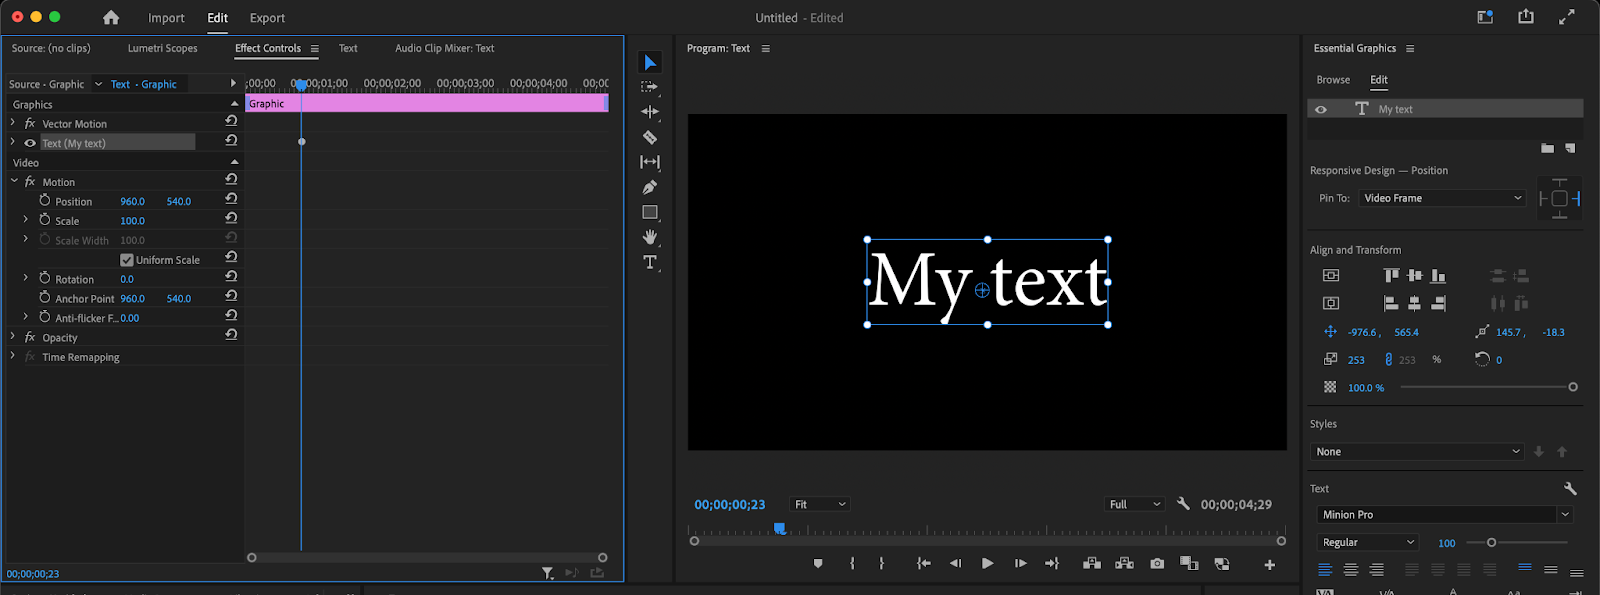
All the customization to the text will mostly be done in the essential graphics panel. First, an easy way to transform the size of the text is by selecting one of the white circles around the text box.
Your cursor will turn into an arrow, allowing you to either decrease or increase the size of the text. There’s a tiny blue crosshair that can be dragged around as well which will change the anchor point of the text. This determines where the text is scaled from.

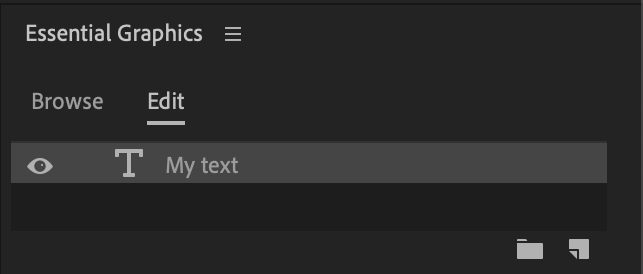
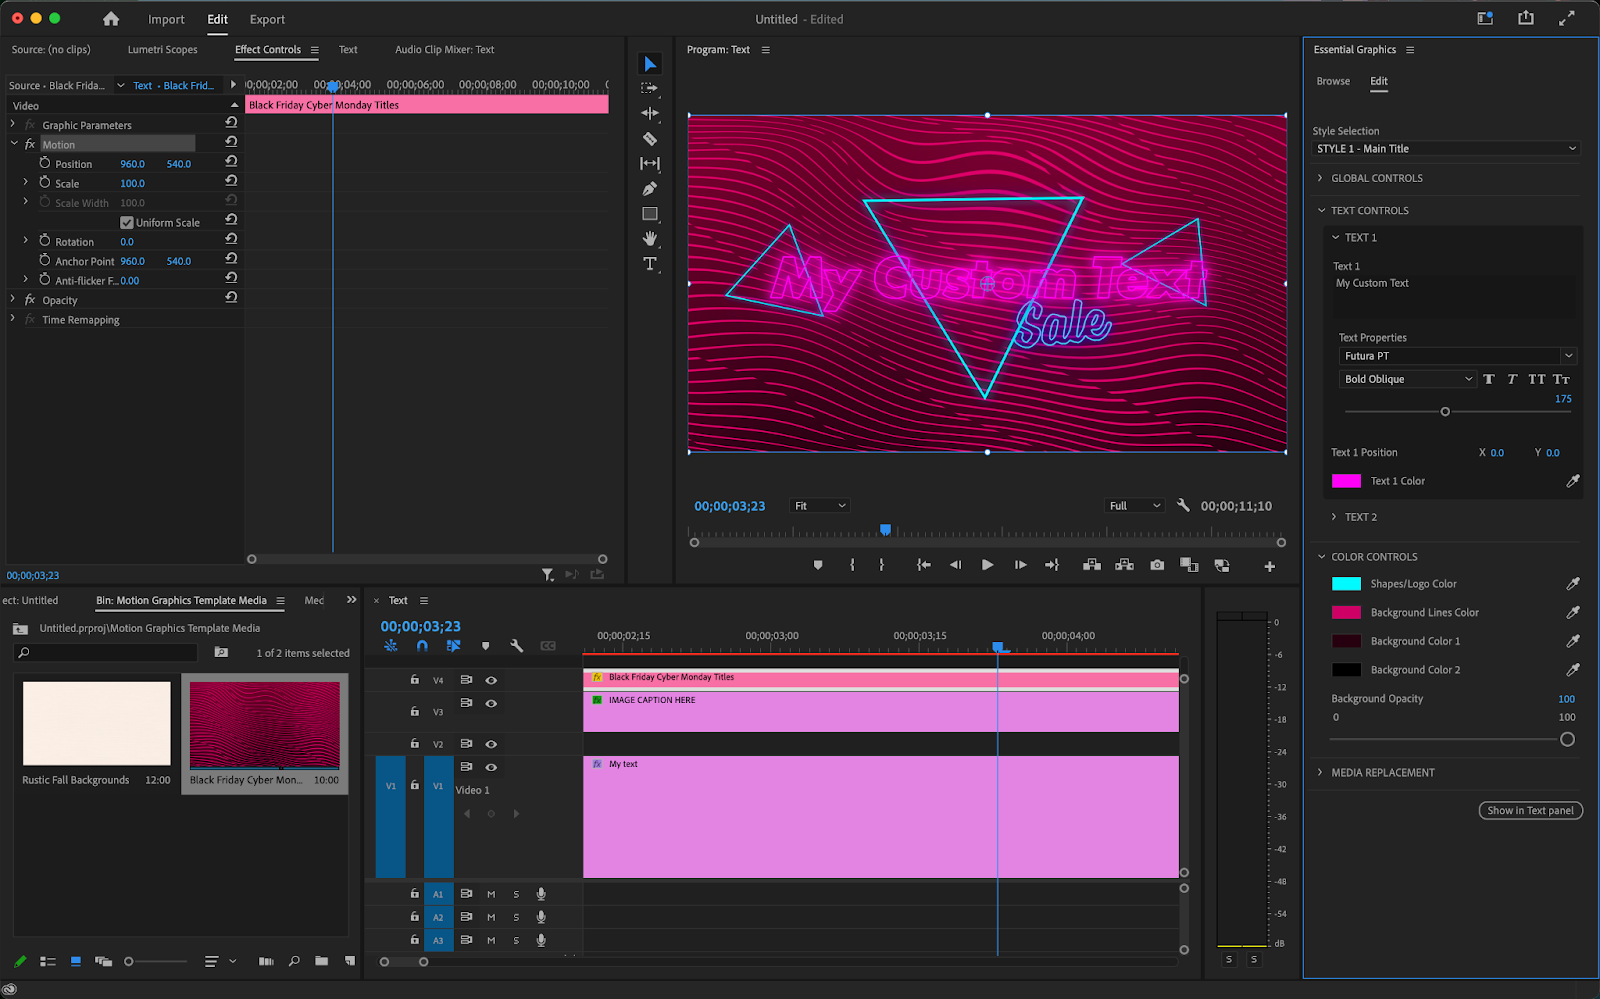
Going into the essential graphics panel, the first thing you’ll see are all of your text layers. Multiple text boxes will show up in this panel as layers allowing for a much more fluid experience. You can also create new layers or group layers by clicking the two icons in the bottom right-hand corner.
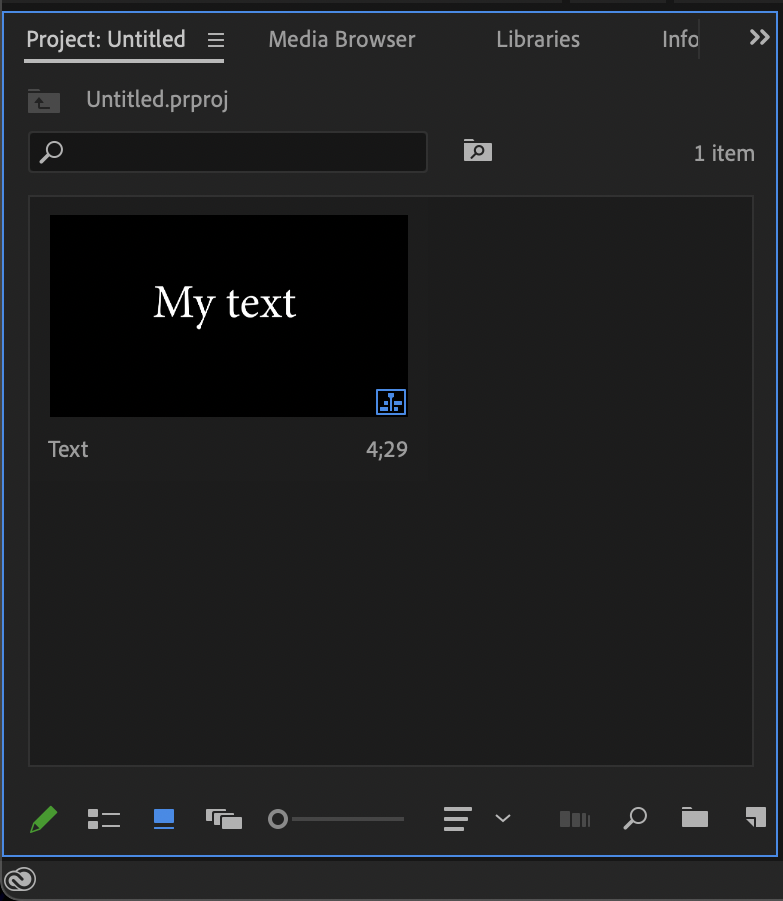
All new text will also appear in the project panel which is located to the left of the timeline. Here, you’re able to delete and copy text as well as modify a few other settings.
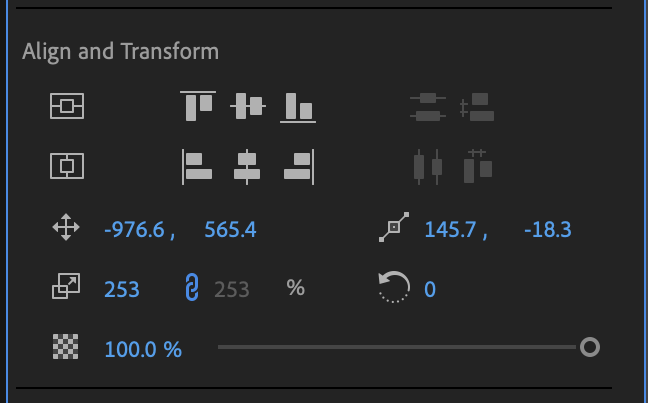
The “Align and Transform” tab in the essential graphics panel allows you to do a couple of different things to your text. First, and probably most importantly, there are buttons that automatically snap your text to be properly centered both vertically and horizontally.
Below that, you’ll also have options for precise location, rotation, scale, and opacity of your text. Clicking on the icon next to any of these numbers (or the slider in the case of opacity) will let you set keyframes.
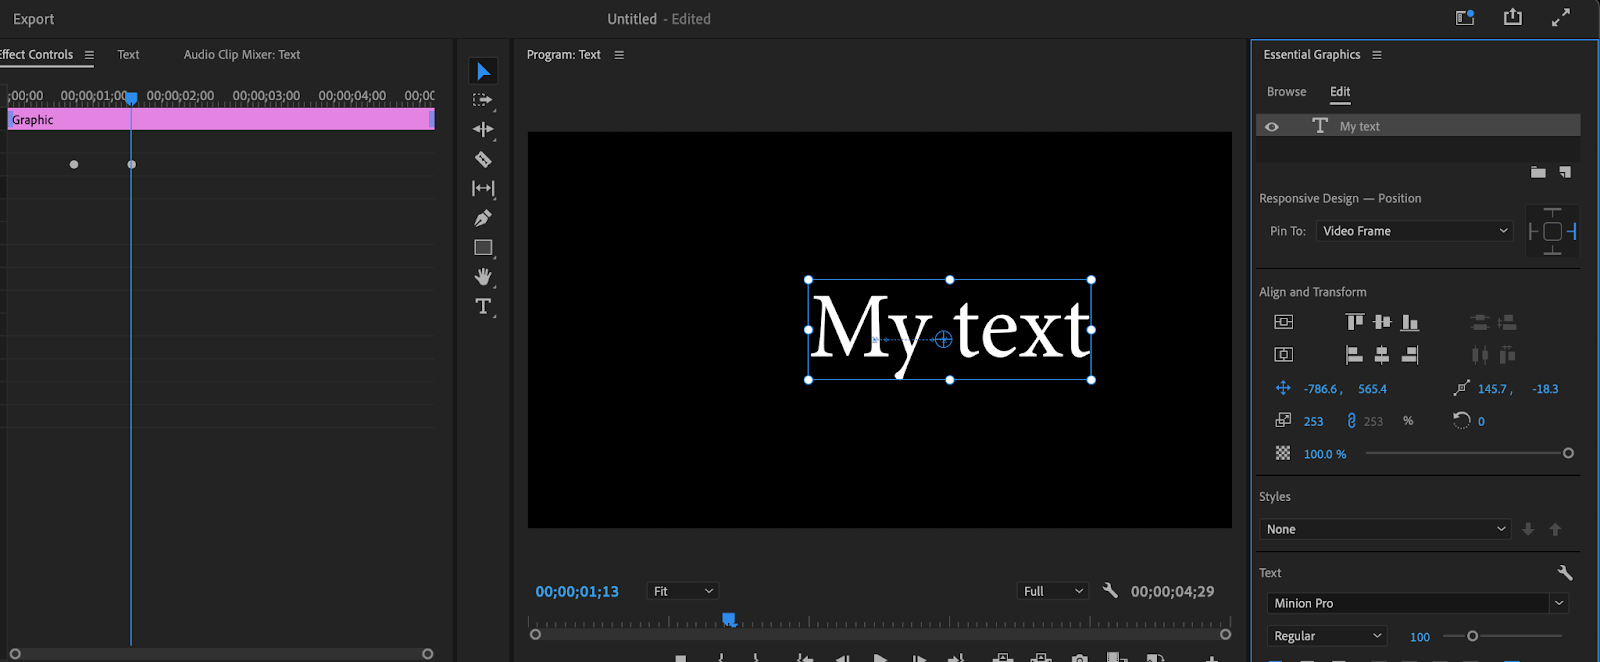
For example, selecting the icon next to the positioning numbers will set a keyframe for the position of the text. Moving over to the effect controls panel, you’ll be able to see the keyframe which is represented by a single white dot. The effect controls will display every keyframe for whatever clip you have selected in your timeline.
Moving the playhead forward a bit and then moving the positioning of the text will give you a text animation. You can do the same thing for pretty much every text option including things such as tracking and leading.
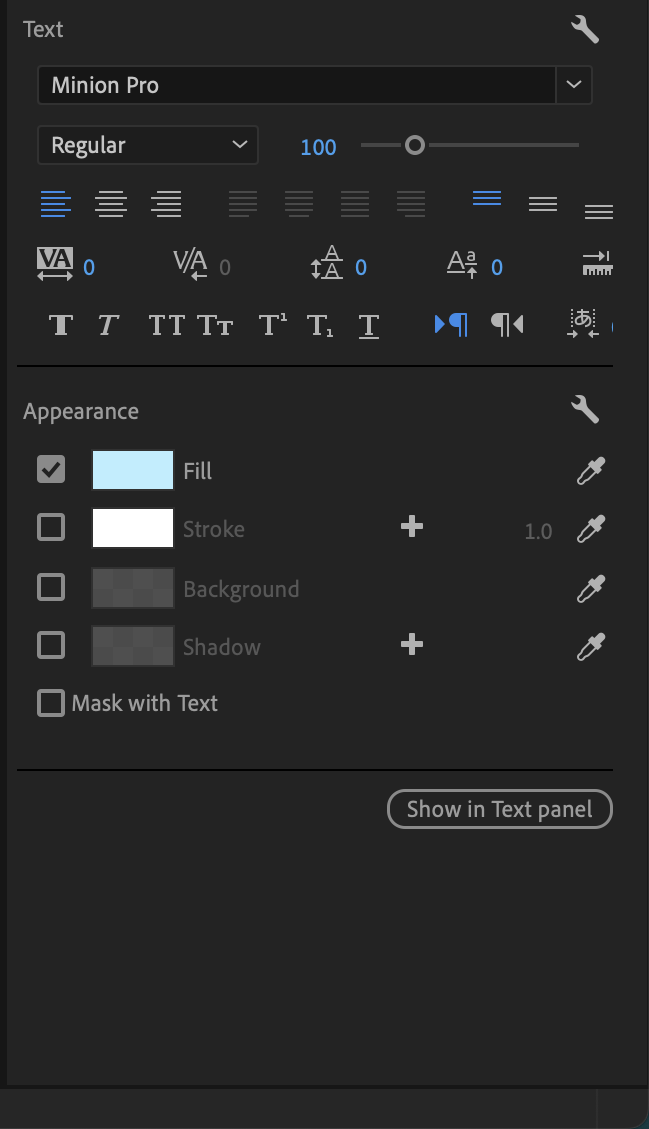
Speaking of tracking and leading, these options as well as a lot of other stylistic ones can be found in the Text tab. The text tab gives you design options for your text. Font style, spacing, and centering text within the textbox are all found here.
Beneath that is the appearance tab which allows you to change your text color. You can add things like fill and stroke as well as add a drop shadow to your text.
Tips for Adding Text in Premiere Pro
Clicking on “Browse” in the essential graphics panel will bring you to a series of wonderful graphics templates. You can drag these templates inside your timeline and then edit the text as you see fit.
A lot of these text overlays and text effects could only be made using Adobe’s After Effects, so it’s a nice addition to have them pre-built and included within Premiere.
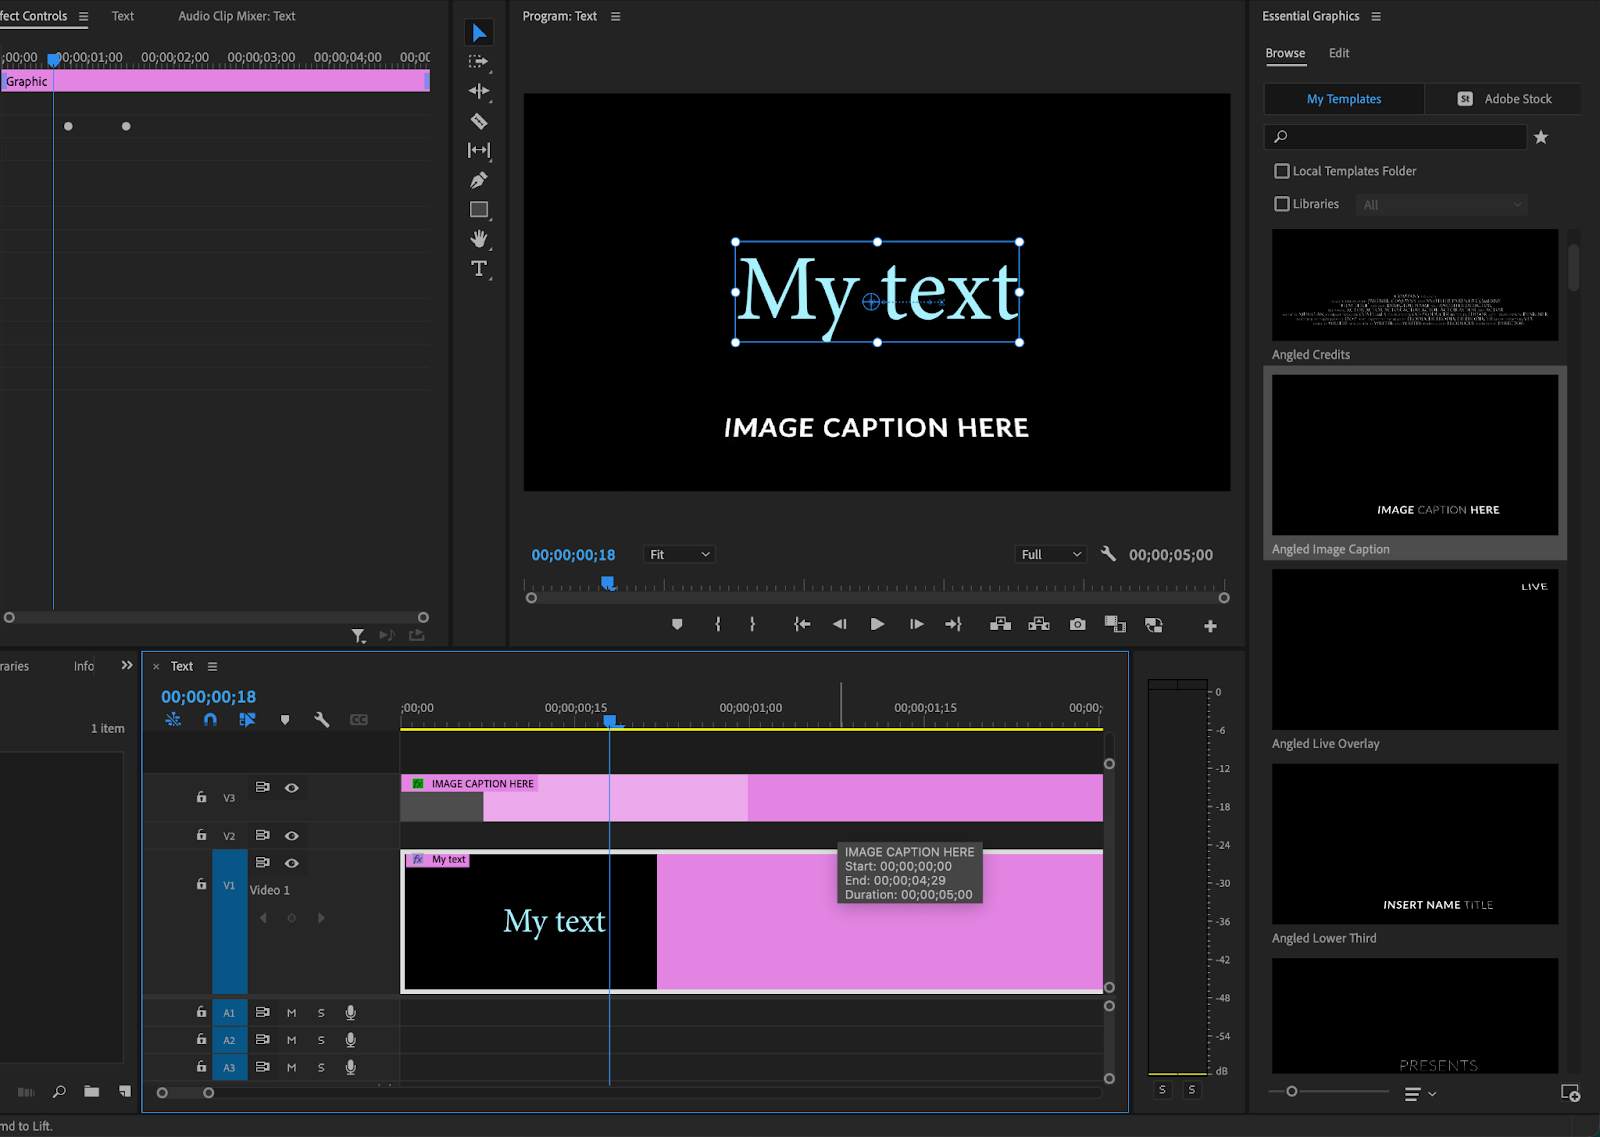
Next to these templates is also an option to view adobe stock graphics. There are some amazing backgrounds and titles here that can be customized to your liking. Adobe Stock offers a great variety of both free and paid options.
Summary
Text is such a critically underlooked area of content creation, and Adobe Premiere Pro makes it easier than ever to create beautiful text and graphics for your audience. A great way to utilize text is through amazing subtitles. Subtitles are excellent in getting your content to new audiences.
But, creating subtitles and captions natively in any video editor can be time-consuming. This is why we created Simon Says, to help you improve your workflow and caption your Premiere Pro videos with ease.