How to Create Text Animations & Effects in Premiere Pro
Adding animation to text can elevate content to new heights. In some cases, it can also make your content look more professional. With today’s video editing tools, it has never been easier to apply text animations to videos
This beginner’s Adobe Premiere Pro tutorial for both Mac and Windows devices will cover how to animate text and work with motion graphics templates.
Note: With Simon Says, you can add quickly add subtitles and captions to your videos in Premiere Pro.
Creating text animations from start to finish
Animated text is a great tool to get information across to your audience. It can be used in tutorials to emphasize a point to your viewers, used to grab audiences’ attention at the start of the video, or generally used to get as much information out on screen as possible.
Animated text can range from simple title screens or credits to complex motion graphics with colorful fonts. The text you use depends entirely on the type of content you’re looking at creating.
A filmmaker, for instance, is most likely going to use text sparingly in Adobe Premiere Pro. Text might only be used for the opening title and credits, barring a few exceptions.
However, there are definitely areas where filmmakers can use text creatively. UI Huds, for instance, in films such as Iron Man use text for informational purposes.
Commercial and social media creators are more likely to use text in order to enhance the content seen on screen. The text style in these scenarios tends to be more boisterous and flashy.
Text in advertisements can be used for lower thirds, letting viewers know the person’s name and occupation when they appear on the screen. Videos for platforms like TikTok and Instagram may also use flashy subtitle text to draw people in.
Text Animation
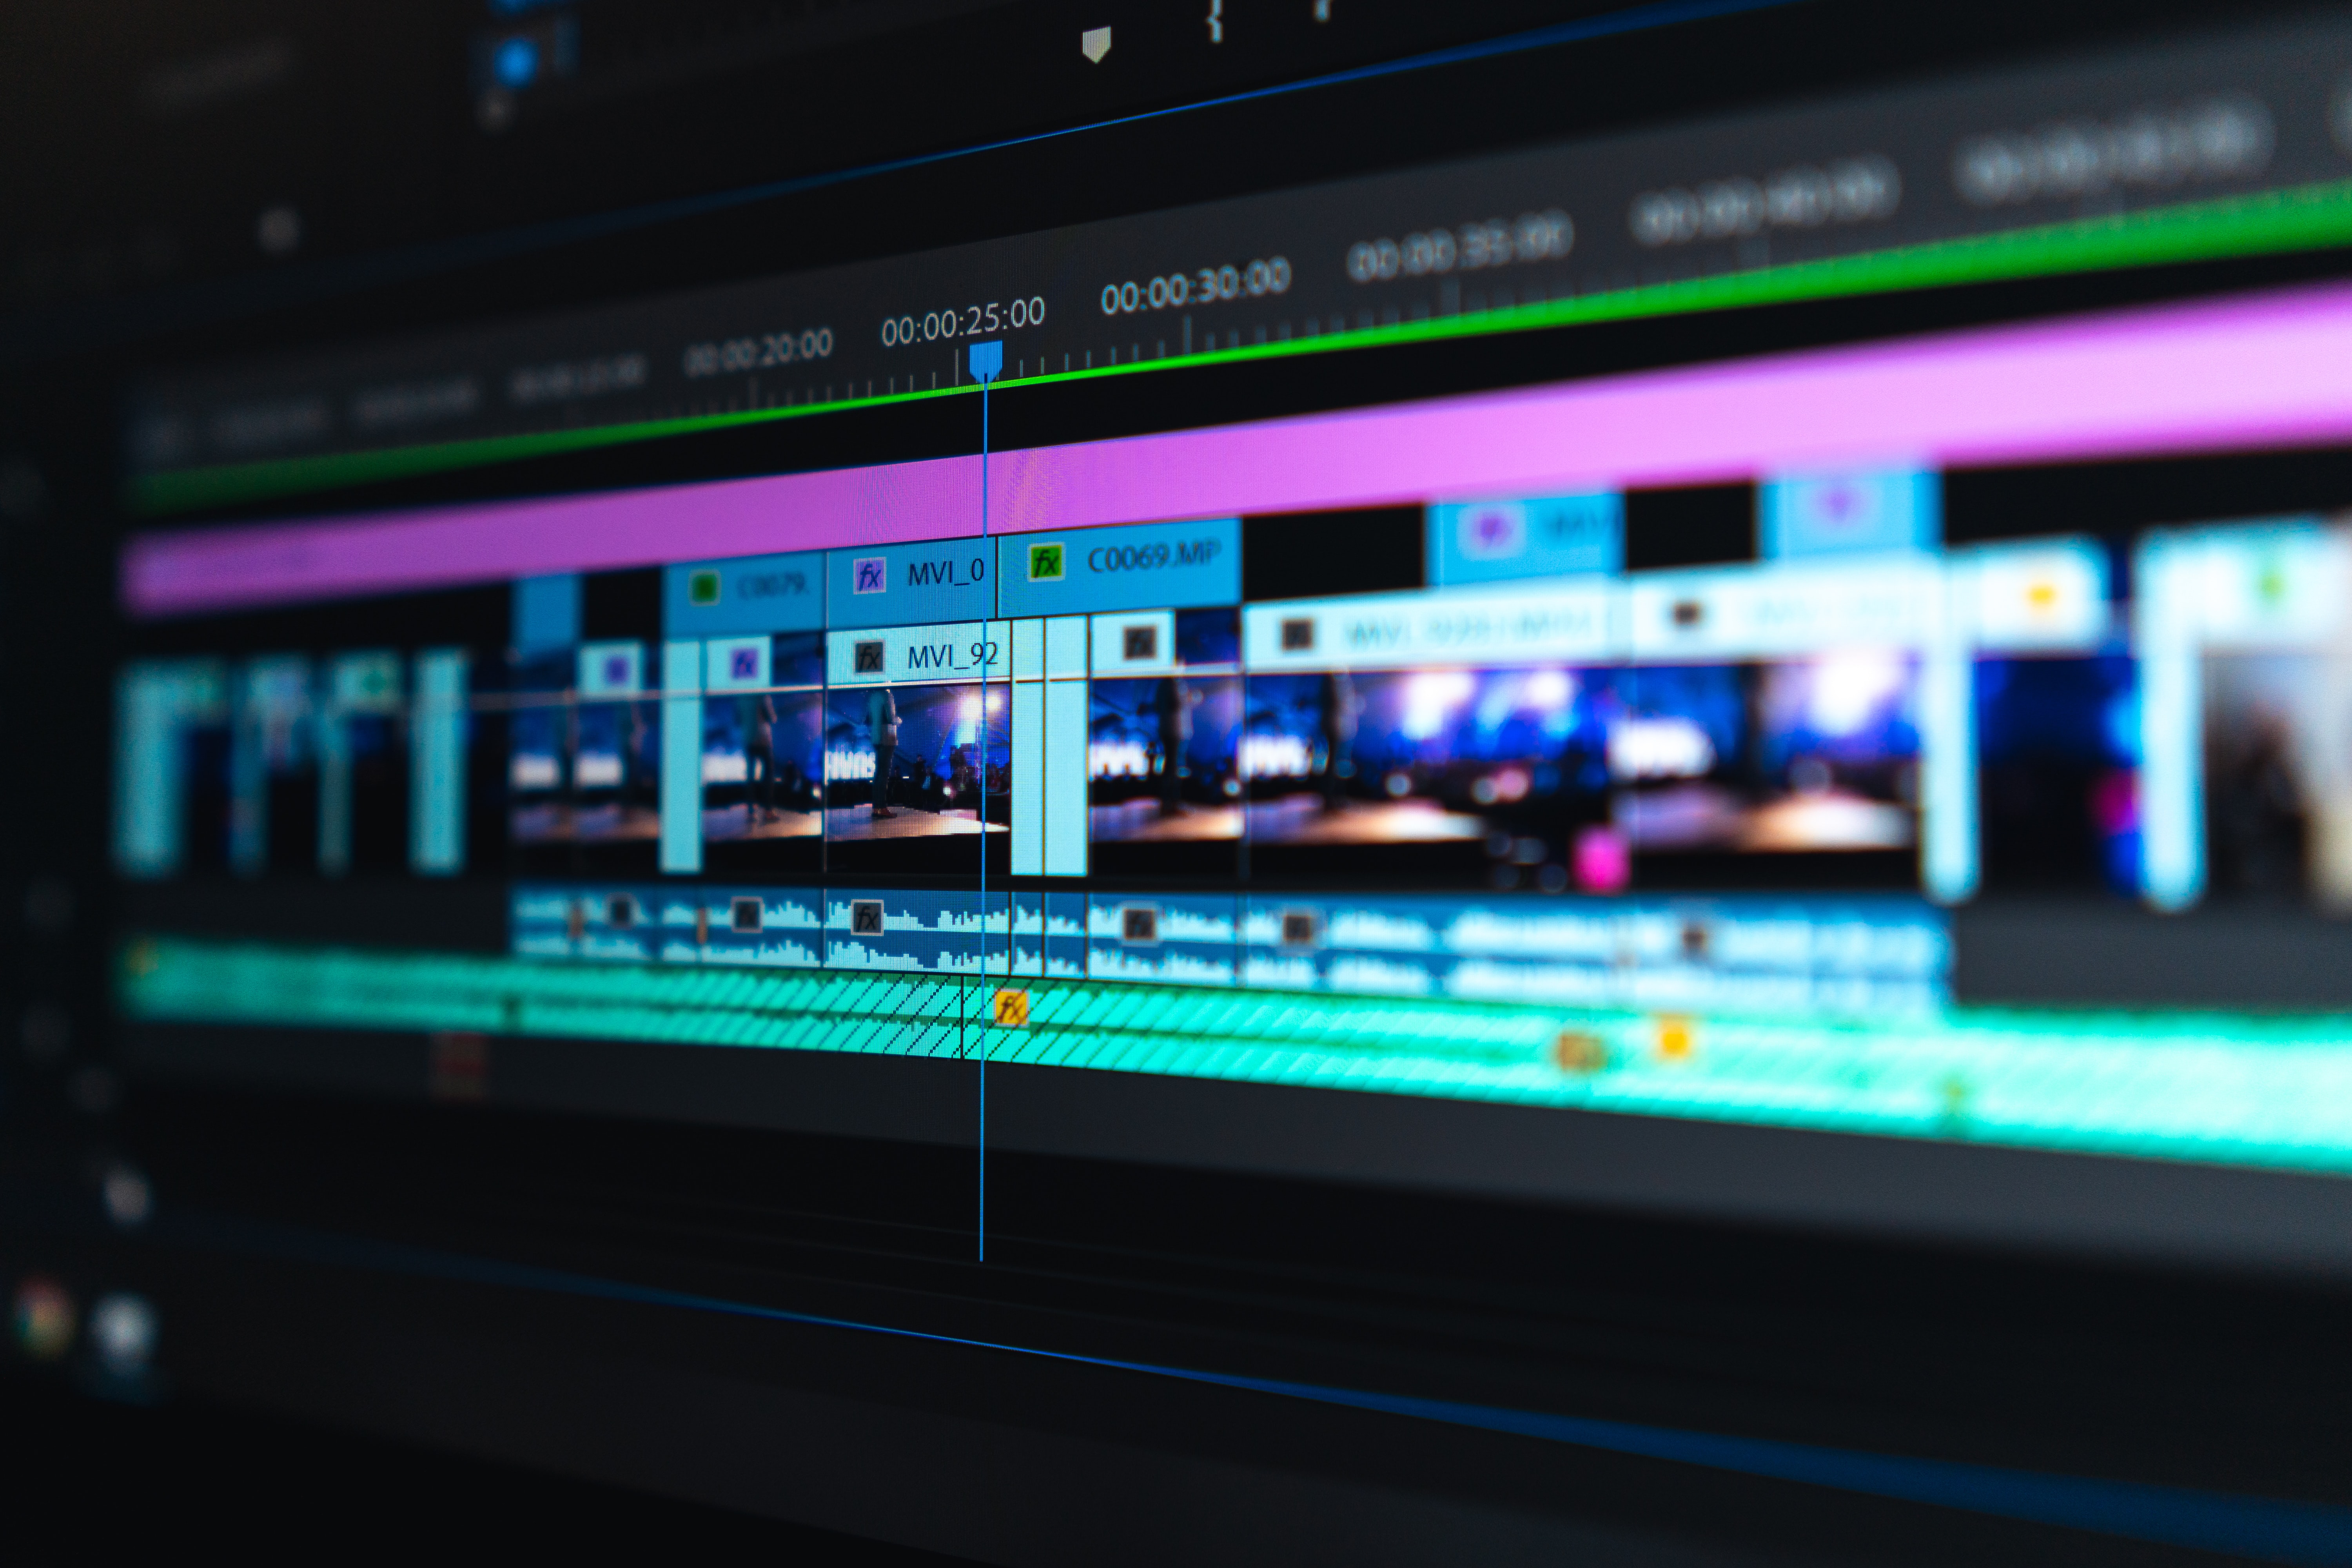
Text animation in Premiere Pro is done using something known as a keyframe. Once you’ve created your text using the type tool (T), go to the essential graphics panel ( found underneath the Captions and Graphics workspace) to start the animation process on your text. Text can either be animated within the essential graphics panel or within the effects controls panel depending on the type of animation.
For this example, let’s say you want to animate the position of your text. In the Essential Graphics panel, this can be done by adding a keyframe by clicking on the arrow icon next to the position numbers. This can also be done by clicking on the stopwatch icon next to the position numbers.
Doing this in either panel will create a keyframe, indicated by a diamond icon within the timeline inside of the effects control panel. Keyframes can be moved around and manipulated depending on what it is you want to do with them.
To add another keyframe, move your playhead forward. Then, position your text to your desired on-screen position. Doing this will create another keyframe inside of your timeline. Upon playback, your text will now move from one position to another - it’s that simple!
If you want more control of your keyframes though, it’s best to add them using the effects control panel. Adding keyframes this way allows you to set the spatial interpolation as well as the temporal interpolation.
If you want a smoother transition from one area to the next, right-click on your first keyframe and go to Temporal Interpolation > Ease In and then go to the last keyframe and go to Temporal Interpolation > Ease out.
These keyframe effects can be done to pretty much any effect in Adobe Premiere Pro. Things such as Opacity, Alignment, Drop Shadow Position, and many more can all be animated using keyframe animations.
Creating text animations using templates
More complex text movement is better suited for a program such as After Effects. Adobe After Effects is part of the Adobe Creative Cloud library and syncs beautifully with Adobe Premiere Pro. In After Effects, you can utilize the incredible and more advanced text effects that After Effects has to offer.
Luckily, you don’t have to be a master at After Effects to create incredible text animation effects. There are plenty of premiere pro templates as well as after effects templates located right inside Premiere Pro. These animated templates can be accessed by going to Window > Workspaces > Captions and Graphics.
On the right-hand side of these workspaces are a series of templates that can be dragged right onto your timeline. You can edit and customize these text templates to your liking as you would the basic text in Premiere Pro.
You can import presets from the Adobe Creative Cloud library as well as export custom premiere pro text animations that you make.
In the essential graphics panel, you can find credit sequences to more complex animations such as glitch effects. There are also plenty of title animations that are great for overlaying on top of your footage.
Effects you can use for animations in Premiere Pro
There are also plenty of simple video effects you can apply to your text in the effects drop-down menu (found in the video transition folder).
These video effects can be dropped onto your text inside of your timeline as you would for your video clips. The Dissolve Transitions are some of the best and most simplistic that you can utilize for your video project.
Summary
Adobe Premiere Pro offers a variety of effective ways to work with text animations. When paired with a transcription tool like Simon Says, these text animations are a great way to enhance the quality of your videos.