

How to Freeze Frame in DaVinci Resolve
There are a wide array of techniques that video editors can use to better their videos and improve their video editing skills. Today’s non-linear editors (NLE) have made the use of these techniques easier than ever, none more so than Blackmagic’s DaVinci Resolve.
Among these techniques is the ever-so-popular freeze-frame effect. This DaVinci Resolve tutorial (for both DaVinci Resolve 17 and DaVinci Resolve 18) will go over the basics of freezing a frame in DaVinci Resolve. It also includes tips and tricks on when to use this feature on macOS and Windows devices.
Note: When you want to extend Resolve’s functionality even more to caption, translate, or transcribe your video content, Simon Says is the perfect solution. Our Resolve extension works natively in the platform, allowing you to create an optimized editing workflow.
What is a Frame Freeze?
Freeze framing is taking a still frame from your video clip in your timeline and saving it as an image (similar to a screenshot). You can also extend this image within your timeline. This method is incredibly handy if you’re creating a video that requires you to hold on to a frame.
Putting this still inside of a program such as After Effects or natively inside DaVinci Resolve Fusion can be wonderful for informational videos that require plenty of motion graphics or films that need a lot of compositing layers for visual effects.
Taking a still image from your footage can also be great for color grading which is DaVinci Resolve’s bread and butter. Sometimes, it’s good to have an image to reference in a separate window to see what changes need to be made.
Ever want to post a beautiful still in your DaVinci Resolve timeline to social media? Grabbing a still frame from DaVinci Resolve makes posting to platforms such as Instagram and LinkedIn simple.
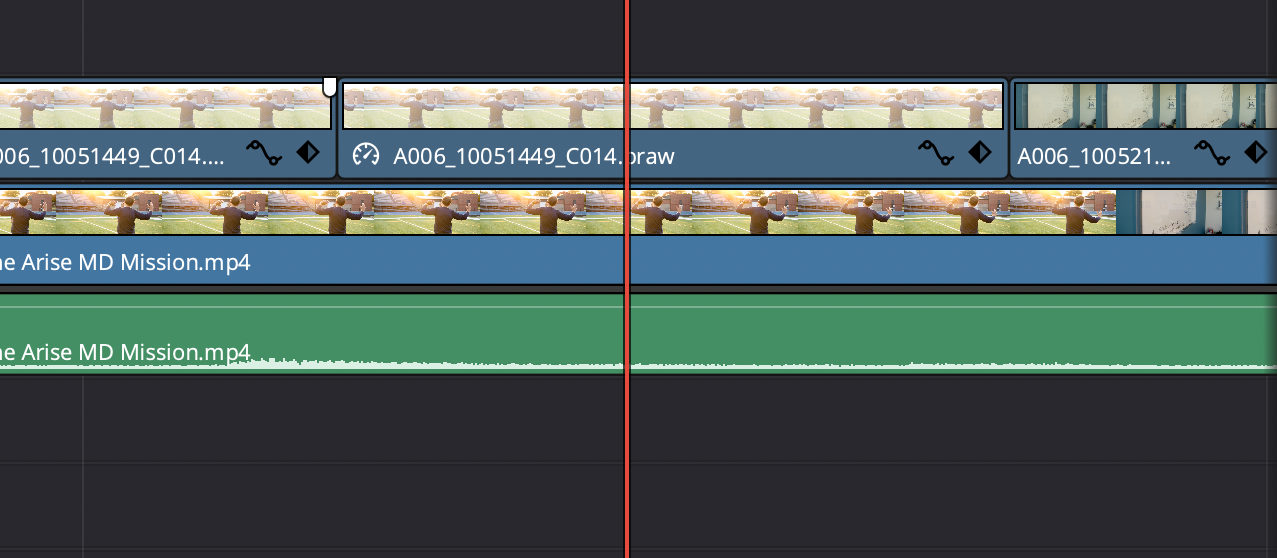
Freeze frame in Resolve using Retime Controls
The first simplistic way to freeze a frame in DaVinci Resolve is through the use of Retime Controls. This method gives you a lot of control over your clip and even gives you the option to speed up or slow down the footage upon playback.
The first thing you want to do is to right-click on your clip in the edit tab. This will bring down a drop-down menu with the option to select retime controls. You can also use the keyboard shortcut ⌘ + R on Mac or ctrl + R on Windows to access the retime controls.
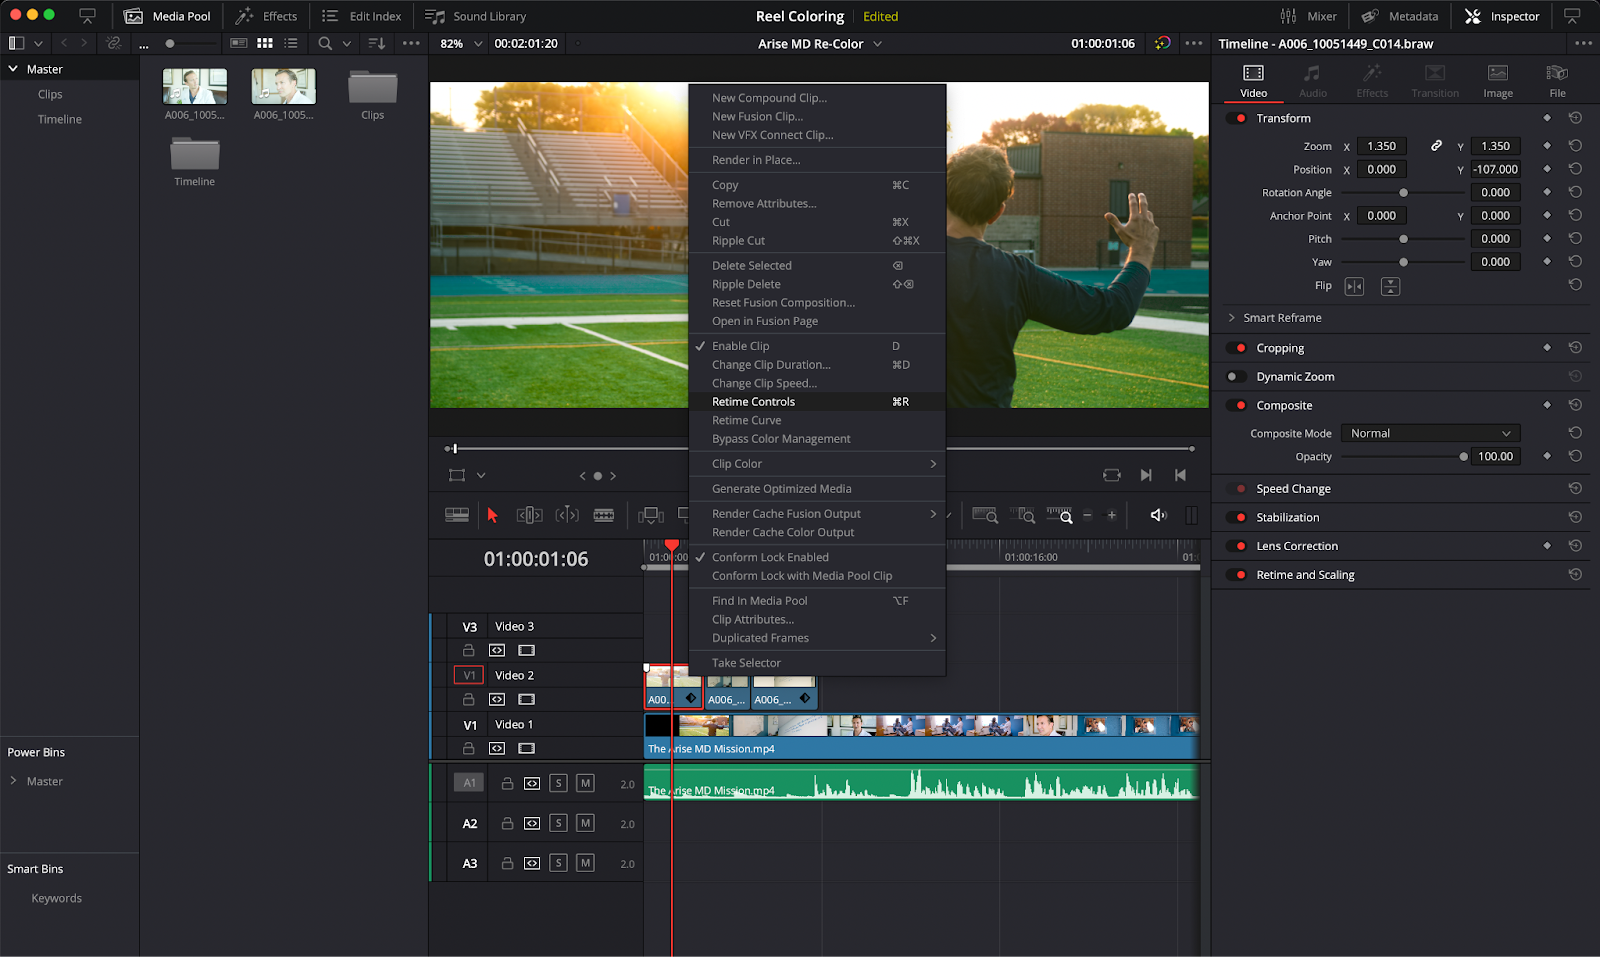
There will now be a series of blue arrows on top of your clip in the timeline and a black arrow key at the bottom of the clip. Clicking on this black arrow will bring down a drop-down menu allowing you to change clip speed as well as speed ramping.
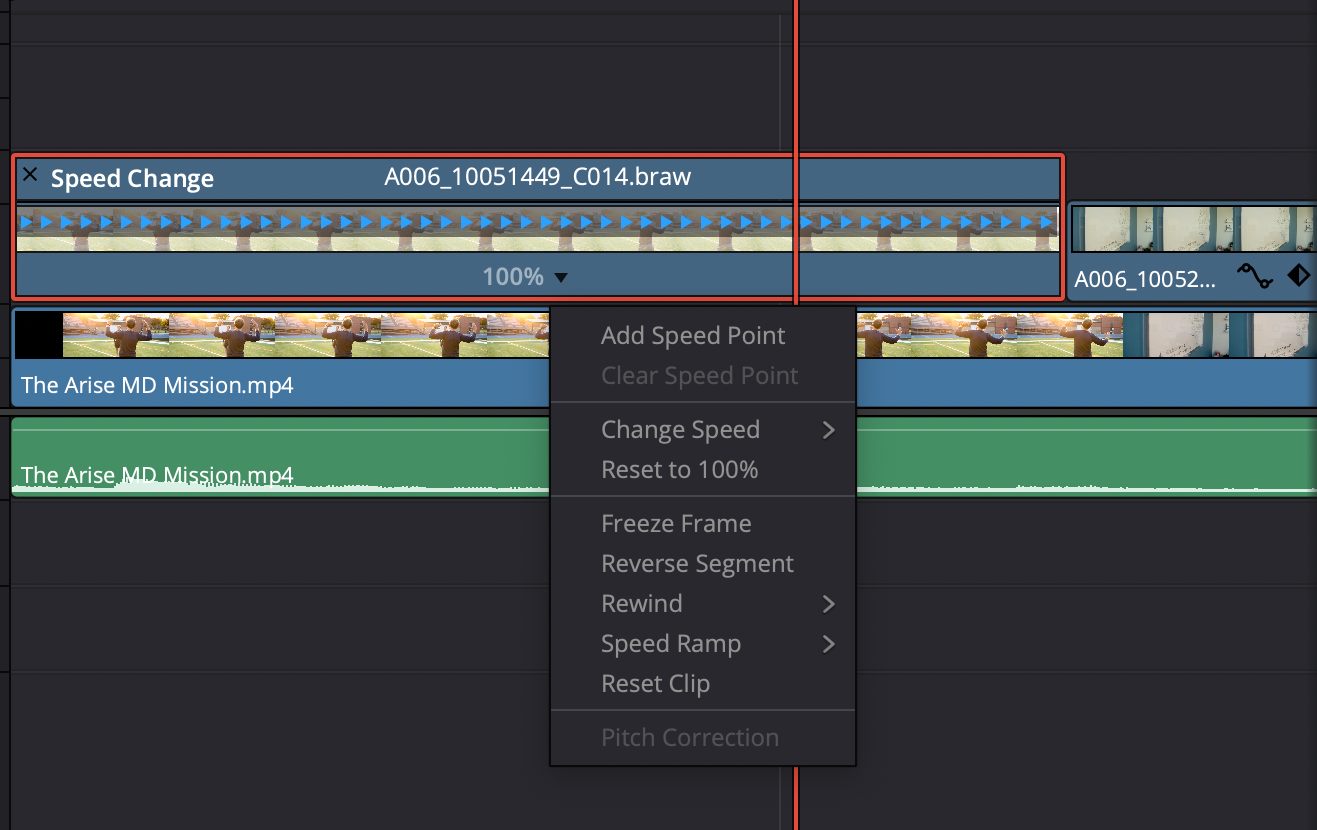
Move your playhead to the frame that you want to freeze and then select Freeze Frame. A small segment in the timeline will become red indicating a frozen, single frame. You can adjust the length of this frozen frame by using the white markers on either side of the clip.

Freeze frame in Resolve using Change Clip Speed
One of the fastest ways to freeze a frame in DaVinci Resolve is by changing the clip speed. To do this, you’ll need to right-click on your clip in the timeline and select Change Clip Speed from the drop-down menu.
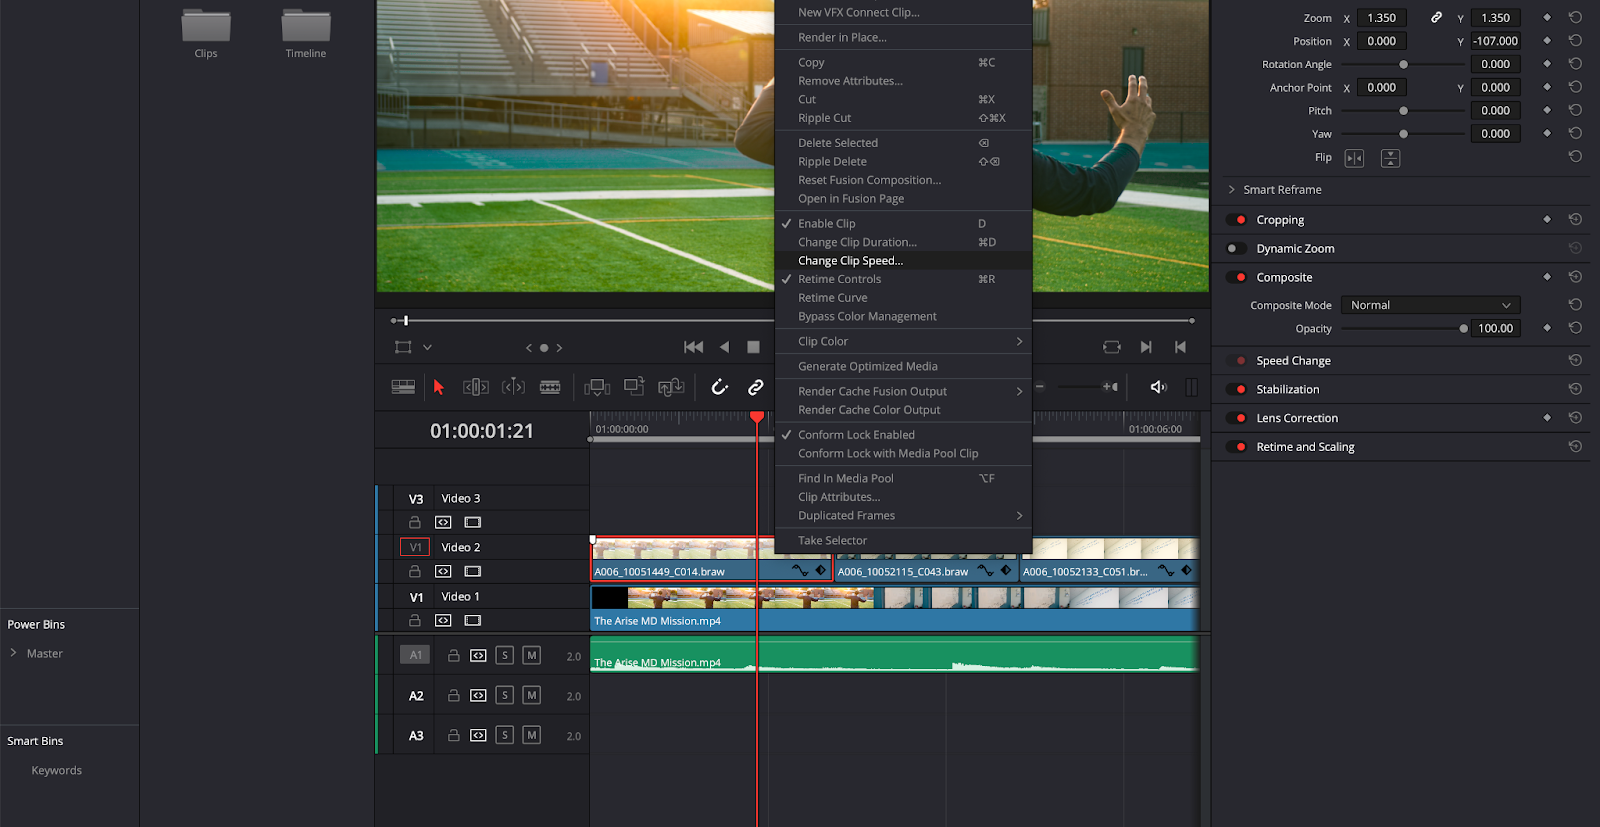
This will bring up a pop-up window giving you a few options to change the speed of your footage and your framerate, reverse the speed, and freeze the frame.
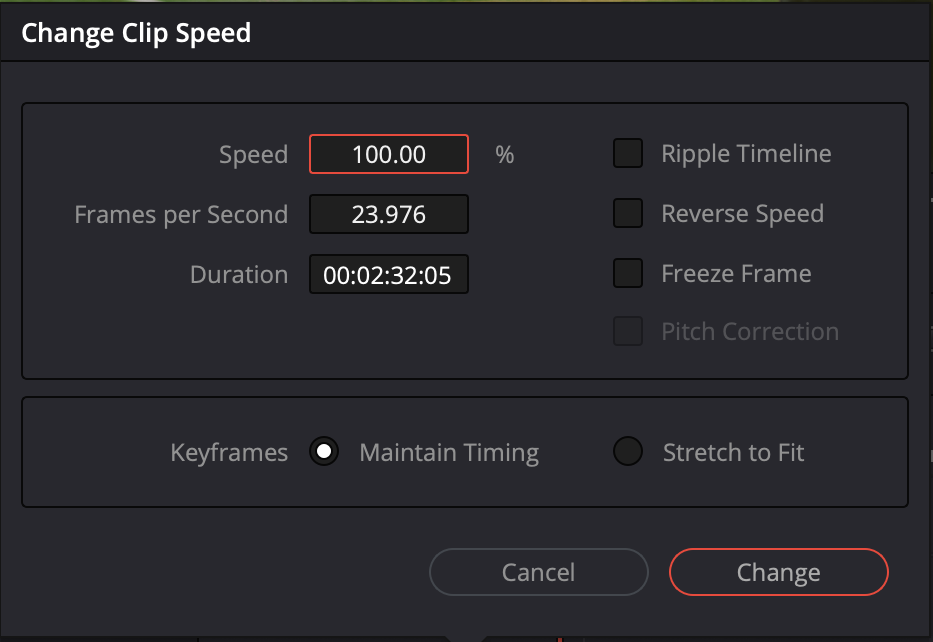
Clicking on Freeze Frame will freeze the frame of wherever your playhead is. The footage in the timeline will be cut as well, separating the frozen footage from the non-frozen footage. You can adjust the frozen frame as you would any other video clip, resizing and throwing transitions on top of it.
Create freeze frame using an export still
Creating an exported still is one of the more complex ways to freeze a frame in DaVinci Resolve but it has a lot of benefits. The export frame method is beneficial for those who want their still frame to be a permanent piece of media.
As mentioned earlier, this is super useful if you want to upload the still image to social media platforms or create things such as thumbnails.
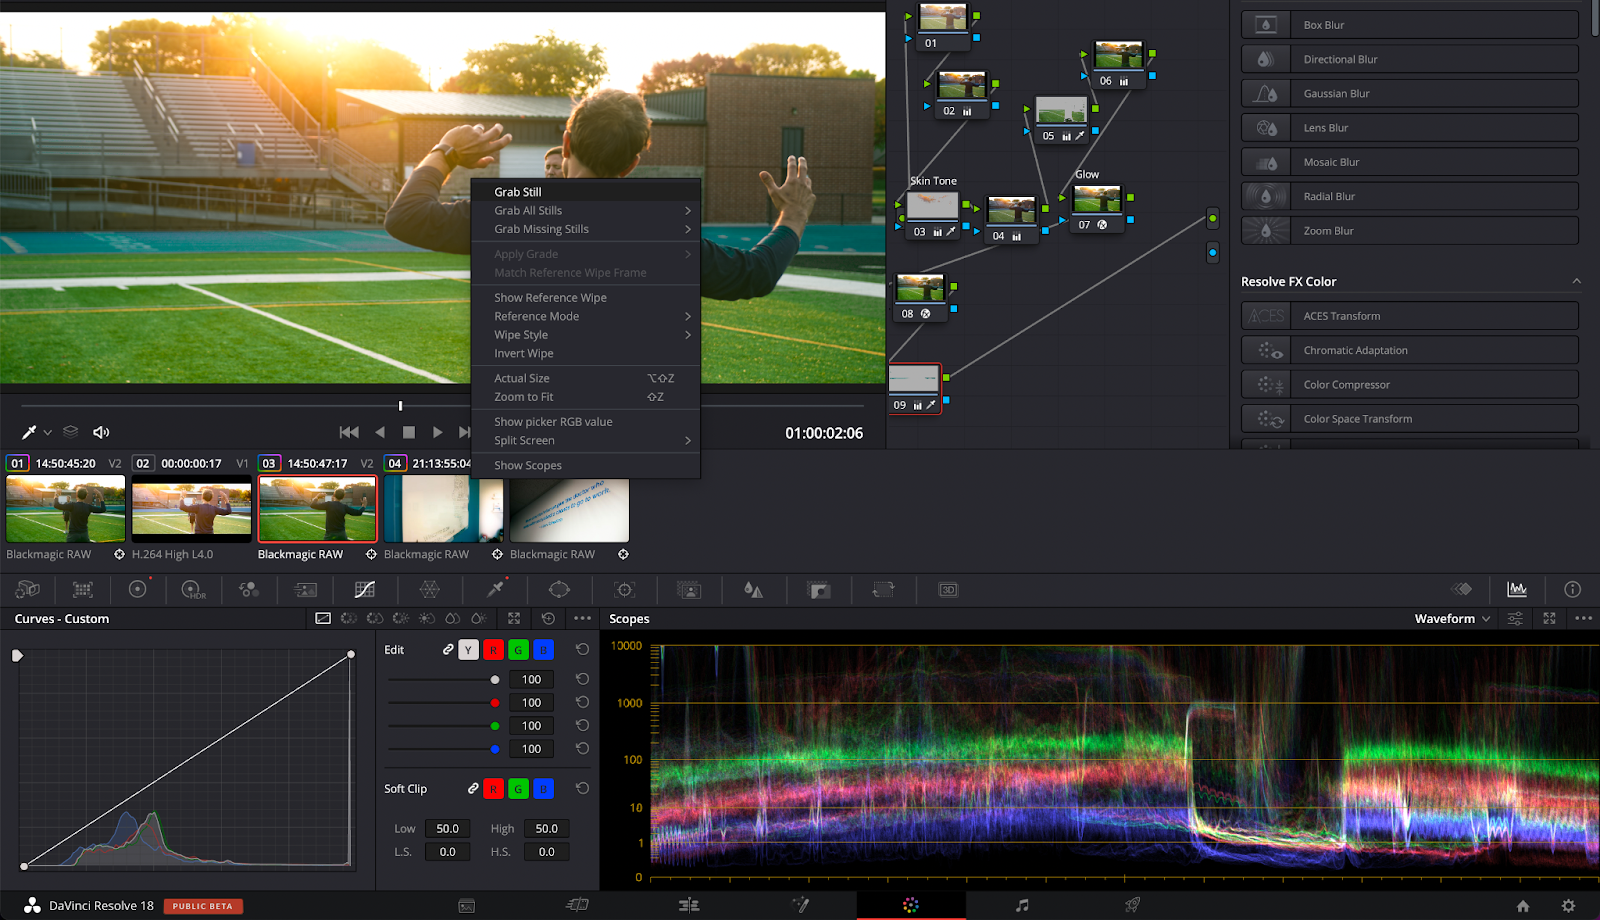
Use the playhead to go to the frame that you want to freeze. You’ll then want to click on the Color Workspace tab at the bottom of DaVinci Resolve. Right-click on your footage and select Grab Still from the drop-down menu that appears.
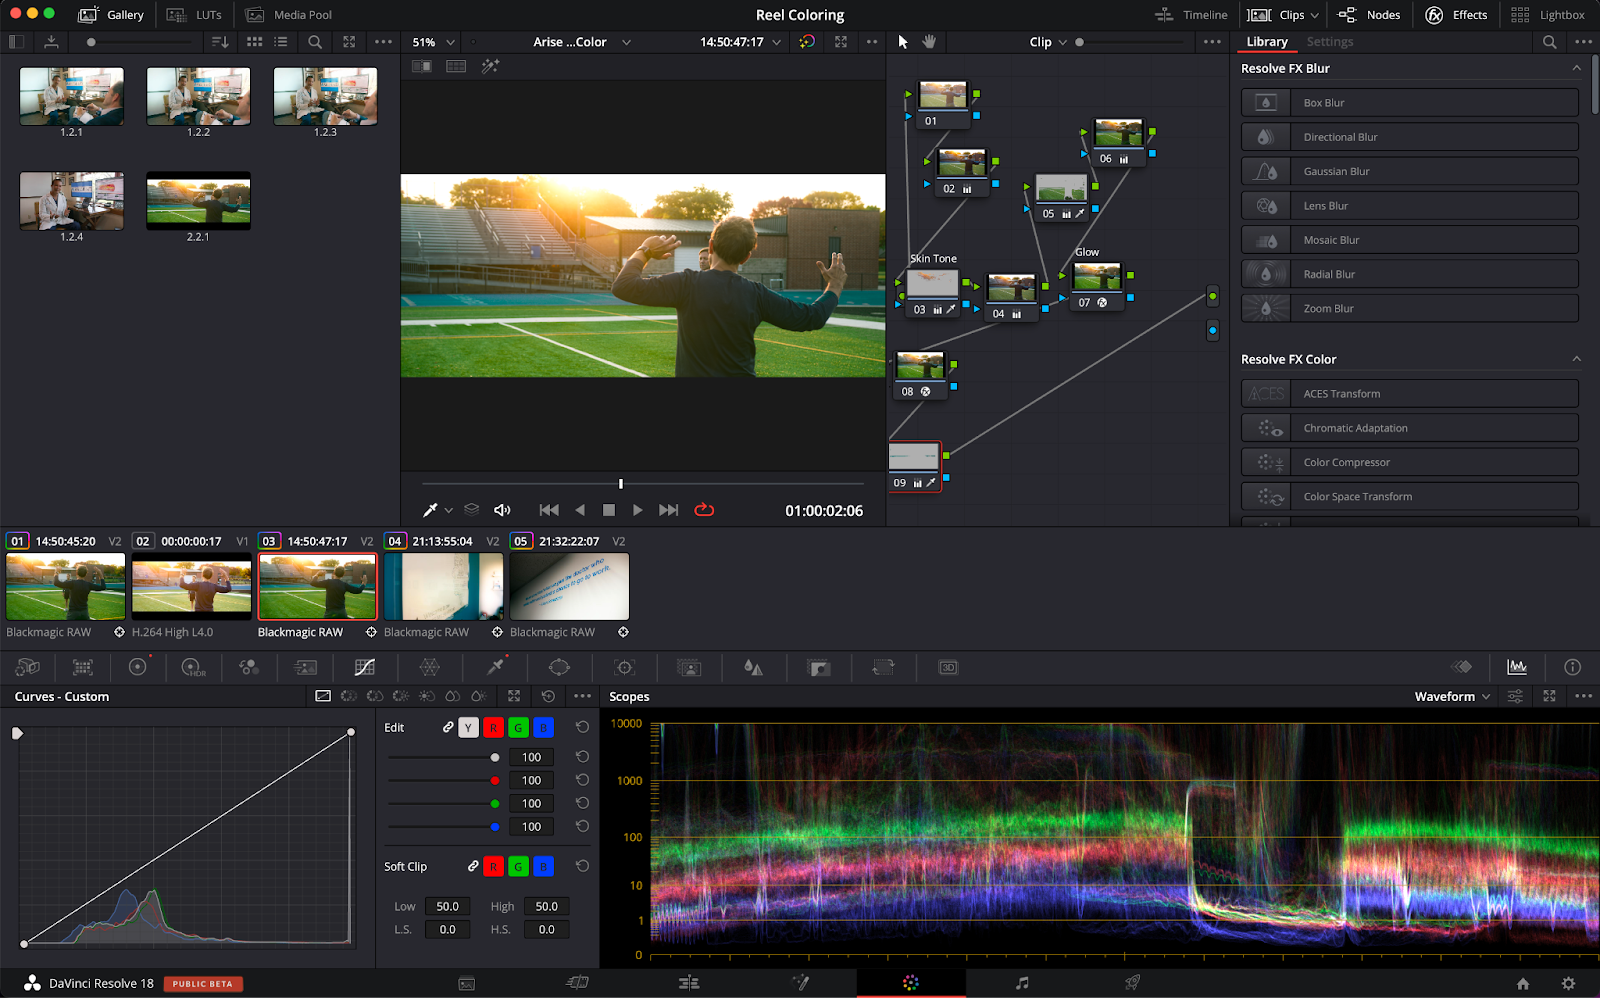
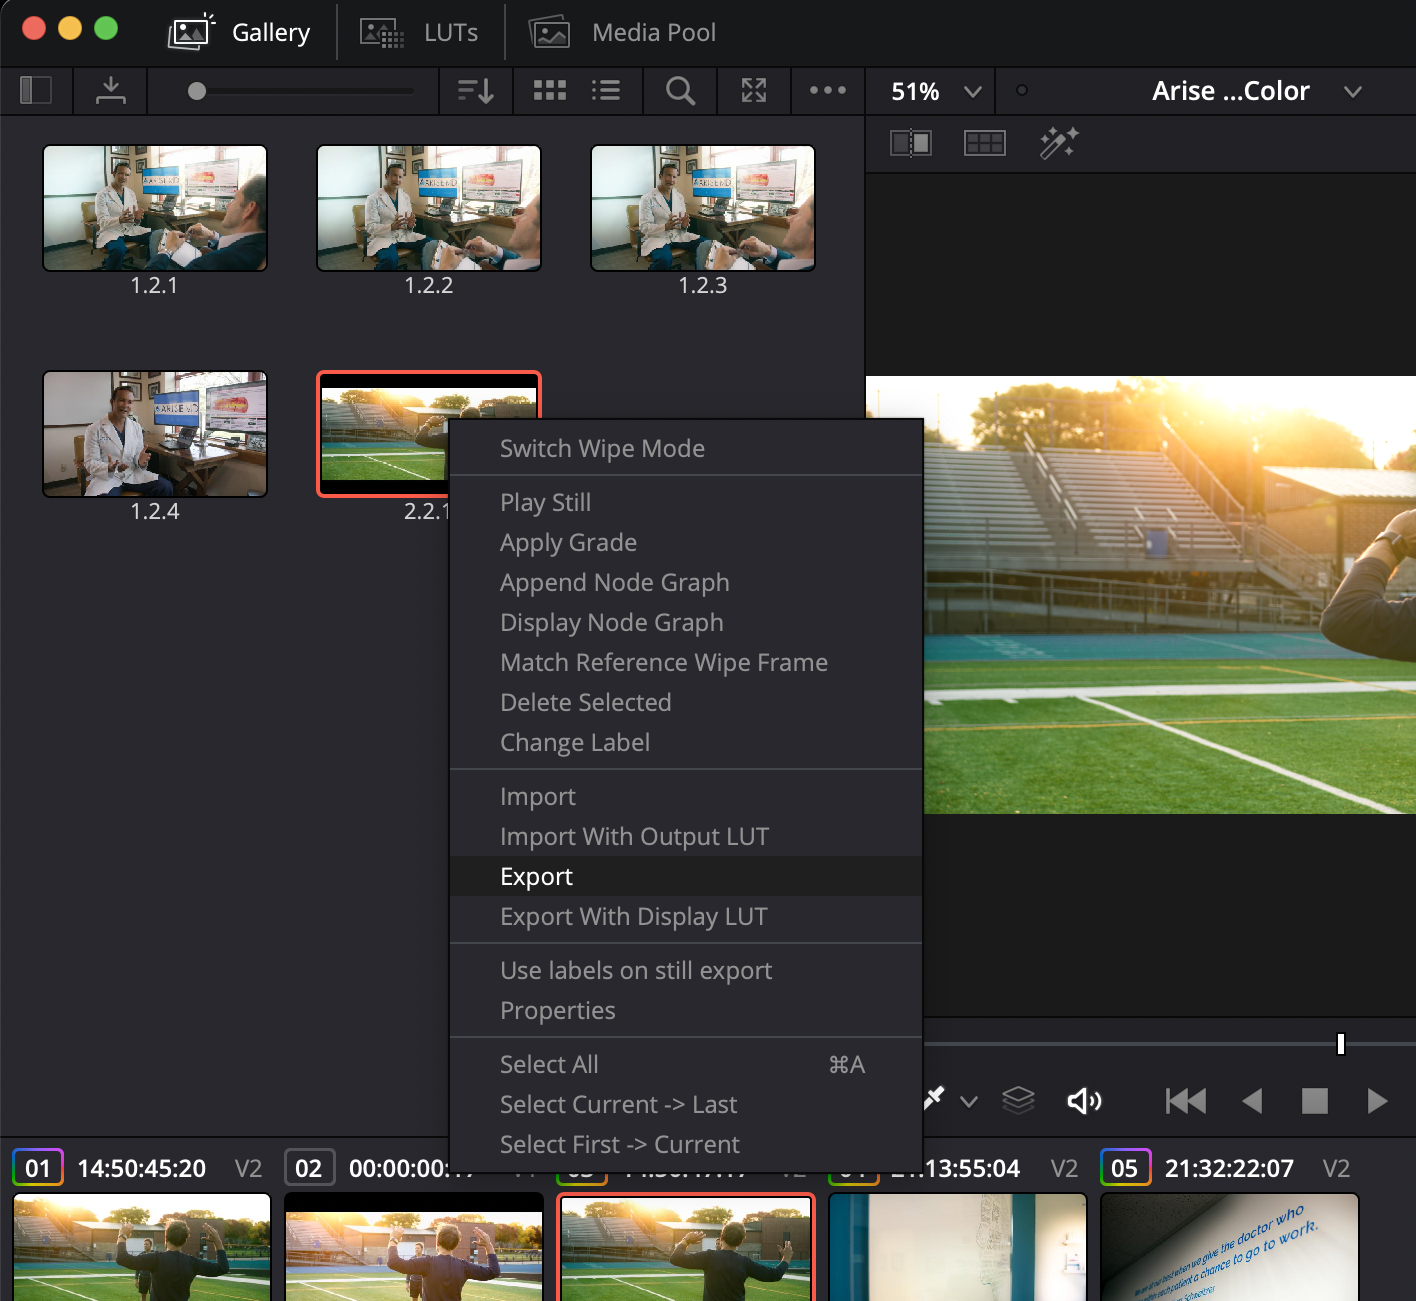
Clicking on the gallery button in the top left-hand corner will bring up a pool containing all of your exported stills.
Right-clicking on these stills will give you a slew of options. You can export the exported frame, use it as a LUT, and even use it as a reference frame.
Conclusion
DaVinci Resolve provides plenty of options for creating and using frozen frames. With the steps in this guide, you now know several ways to implement them in your own content.
If you're looking for an efficient way to caption or transcribe your videos, check out Simon Says. The Resolve extension lets you seamless work with content directly in Resolve, all with just a few clicks.

.jpg)
