How to Fix DaVinci Resolve Crashing
There’s nothing worse than spending dozens (if not hundreds) of hours on a video project only for the program that you’re editing in to continuously crash. The worst case scenario in instances such as these is losing all of your editing progress that you’ve worked so hard on. Even if progress isn’t being lost though, finicky video editing software is never fun to deal with and can really disrupt the flow of things while editing.
Blackmagic Design’s DaVinci Resolve is one of the more stable editing software on the market, but even it isn’t safe from the occasional crash. This tutorial will cover everything you need to know for when DaVinci Resolve and DaVinci Resolve Studio won’t stop crashing on your macOS, Windows, or Linux operating systems.
Why does DaVinci Resolve keep crashing?
There are myriad reasons why a program might crash on you. As a beginner or even a professional, it can be quite frustrating not knowing what the cause of the problem is. Luckily, the cause of DaVinci Resolve crashes is often quite easy fixes.
System Requirements
More often than not, DaVinci Resolve will crash due to inadequate system specs. While DaVinci Resolve doesn’t require a powerhouse PC to run, your computer should still meet the minimum requirements to run DaVinci Resolve properly. You can check your system properties on Mac by clicking the apple logo in the top left-hand corner and clicking on About this Mac.

On Windows, this can be done by going to Settings > System > About. All the information you’ll need about your device will be found here.
For those using macOS devices, you should have:
- macOS 11 Big Sur or later
- 8 GB of system memory (16 GB for intense graphics work)
- M1 Apple Silicon CPU (or intel core i7 on older macs)
- Integrated GPU or discrete graphics card with at least 2GB of VRAM and supports Metal or OpenCL 1.2
- A fast Solid State Hard Drive (SSD)
For those running Windows devices you should have:
- Windows 10 or later
- 16 GB of system memory (32 GB for intense graphics work)
- intel core i7 or AMD Ryzen 7 CPU
- Integrated or discrete GPU (NVIDIA GeForce is recommended) with at least 2GB of VRAM and supports OpenCL 1.2 or CUDA 11 and the Latest driverBlackmagic Design Desktop Video 10.4.1 or later
- A fast Solid State Hard Drive (SSD)
Those running Linux will want:
- CentOS 7.3
- 32 GB of system memory
- Intel core i7 or AMD Ryzen 7 CPU
- Discrete GPU with at least 2GB of VRAM that supports OpenCL 1.2 or CUDA 11 as well as the latest driverBlackmagic Design Desktop Video 10.4.1 or later
- A fast Solid State Hard Drive (SSD)
Even though your system might meet the minimum system requirnments doesn’t mean that you’re free from crashing issues though. If you’re working with high-end footage and video codecs, you’ll often want a much more powerful CPU and dedicated GPU.
How to keep DaVinci Resolve from crashing
So how do you keep DaVinci Resolve from crashing even when your system requirements seem fine? Well, there are a few different workarounds you can play with to optimize performance and playback in Resolve.
Run the latest version of Resolve
Always make sure you’re up-to-date with the latest version of DaVinci Resolve. Blackmagic Design always adds bug patches and performance improvements to each version of DaVinci Resolve, so it’s important that you’re always getting the latest version for optimal performance.
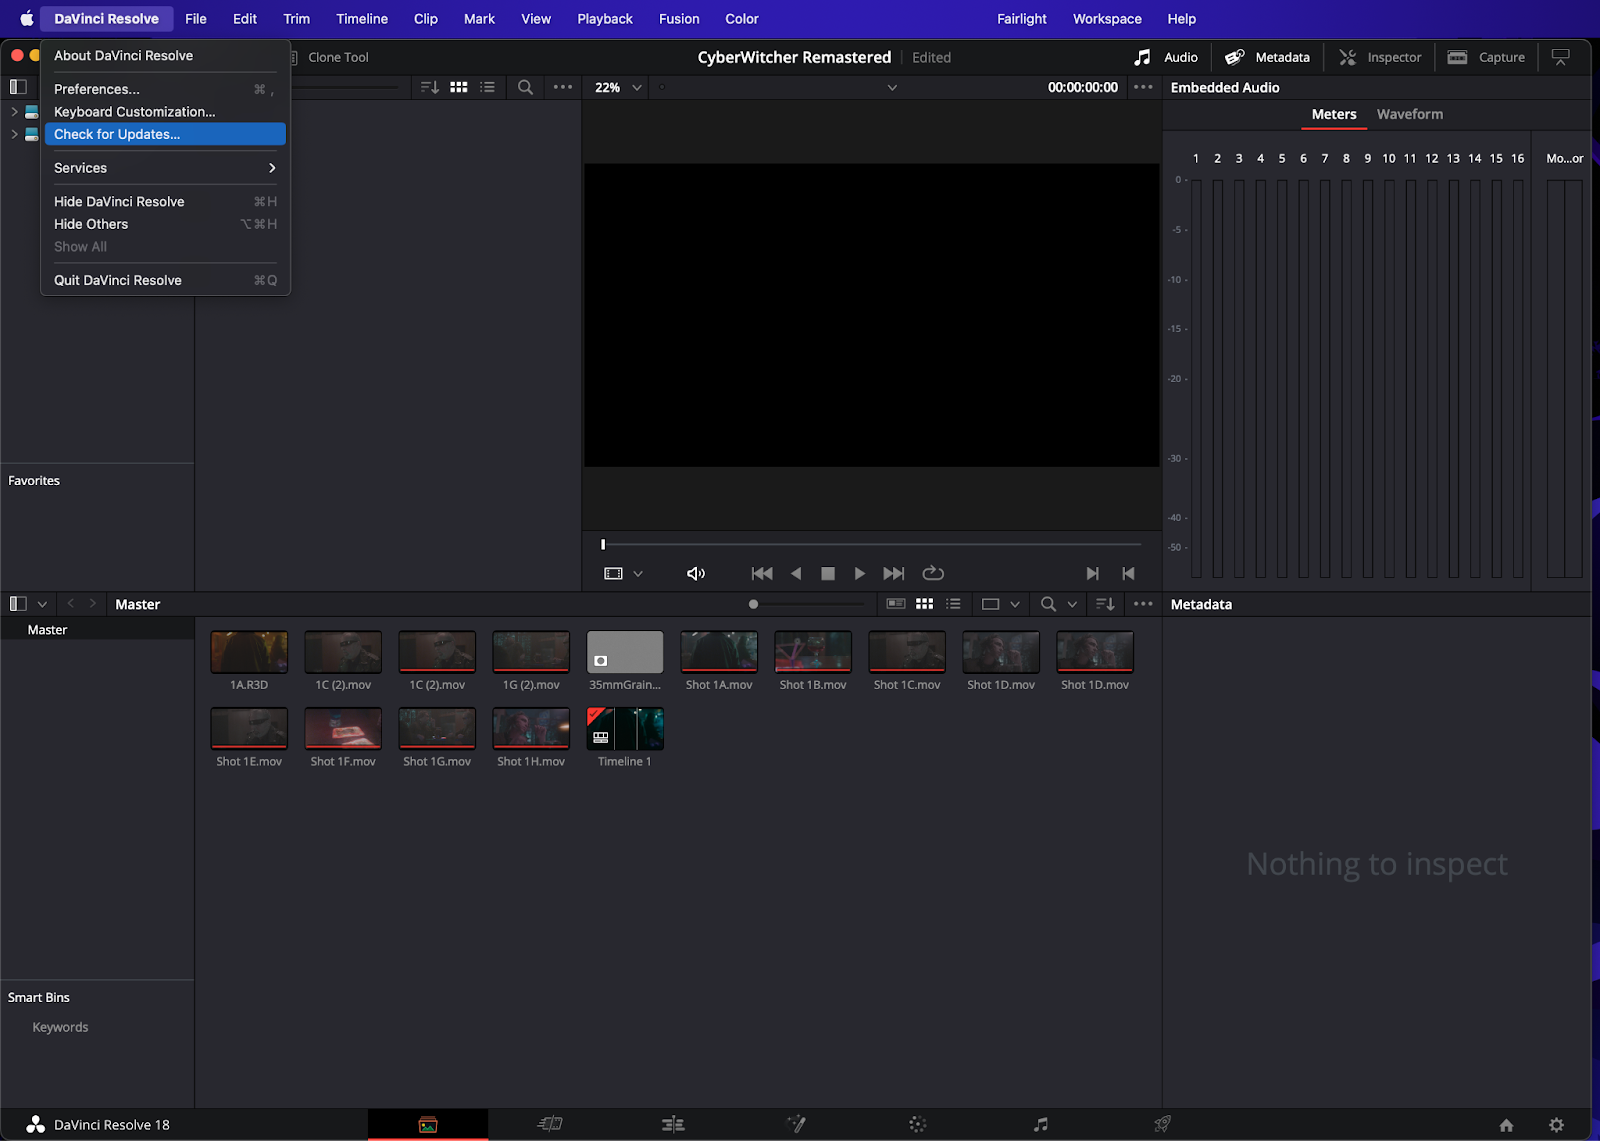
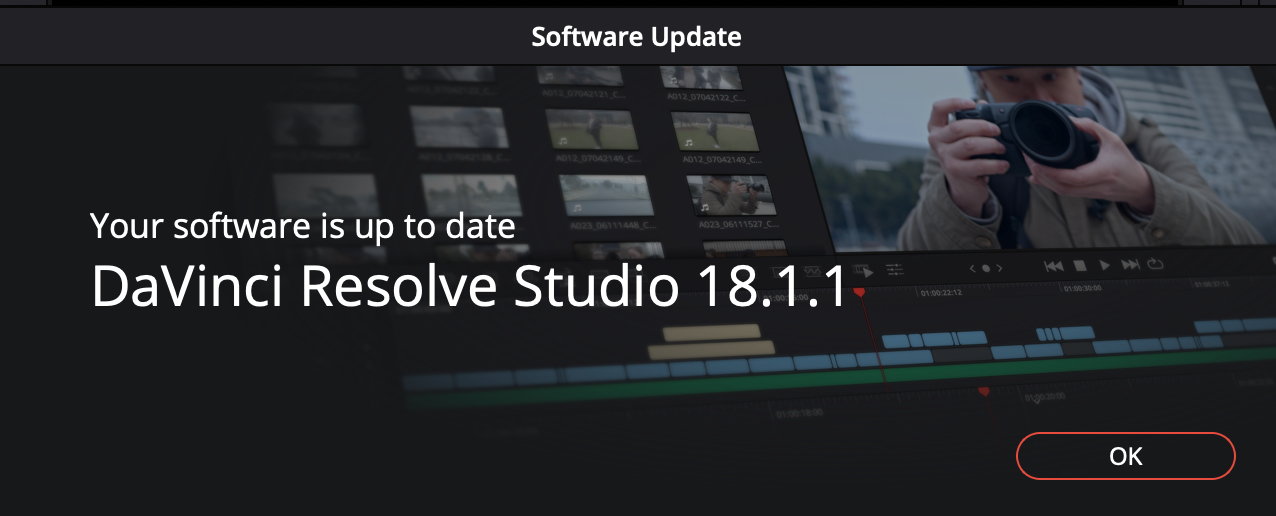
A software update in DaVinci Resolve can be done by simply selecting DaVinci Resolve in the upper left-hand corner of the screen after you launch DaVinci Resolve. You’ll want to click on the button labeled check for updates which is located right underneath preferences and keyboard shortcuts. A pop-up window will appear telling you if your software is up-to-date or not (in this case, DaVinci Resolve is set to DaVinci Resolve 18.1).
If your software is not up to date, you’ll be greeted by a prompt that will update the software for you using the neural engine. The download should start via automation and will be downloaded inside your downloads folder. Extracting this file will install the DaVinci Resolve update.
You can check for updates directly on Blackmagic’s site by going to Blackmagic Design Support Center and going all the way down to Latest Downloads. In extreme cases, you may want to uninstall DaVinci Resolve completely and then install it again from this page.

Use a dedicated GPU
Using a dedicated GPU is huge when it comes to performance in DaVinci Resolve. If you’re going to spend a lot of money on one thing for DaVinci Resolve, spend it on a graphics card. DaVinci Resolve is incredibly reliant on the GPU, especially if you have the Studio version of Resolve. A dedicated GPU not only increases render speeds but allows for buttery smooth playback on mov and mp4 file types as well as high-end codecs such as ProRes.
The Studio version of Resolve can use more than one graphics card at a time which is amazing for high-quality footage and visual effects. The recommended graphics cards for DaVinci Resolve all come from Nvidia. While AMD does make graphics cards (the AMD Radeon series), you’ll never see them on the top of the benchmarks.
Users have to be careful when picking a GPU though. While graphics cards like the GTX 1660 Super are wonderful cheap options, most GPUs nowadays will cost an arm and a leg due to scalping. The RTX 3090 was notoriously expensive for the longest time.
The RTX 3070 and RTX 3080 are great midrange options though and are still top-of-the-line Nvidia GeForce GTX GPUs. Most of these have great GPU VRAM as well which is another factor that can speed up rendering on DaVinci Resolve.
For the windows version of DaVinci Resolve, you’ll sometimes need to disable the integrated GPU to stop it from crashing. On systems with dedicated and integrated GPUs, there will often be a fight for which one is in charge.
To turn off your integrated GPU, you’ll want to press the Windows key + R to open up your dialogue box, type in devmgmt.msc, and press Enter. This will open up your Device Manager. With the Device Manager open, open up the Display Adapters folder. Right-click on your integrated GPU and select Disable Device to turn off your integrated GPU.
Increase your virtual memory
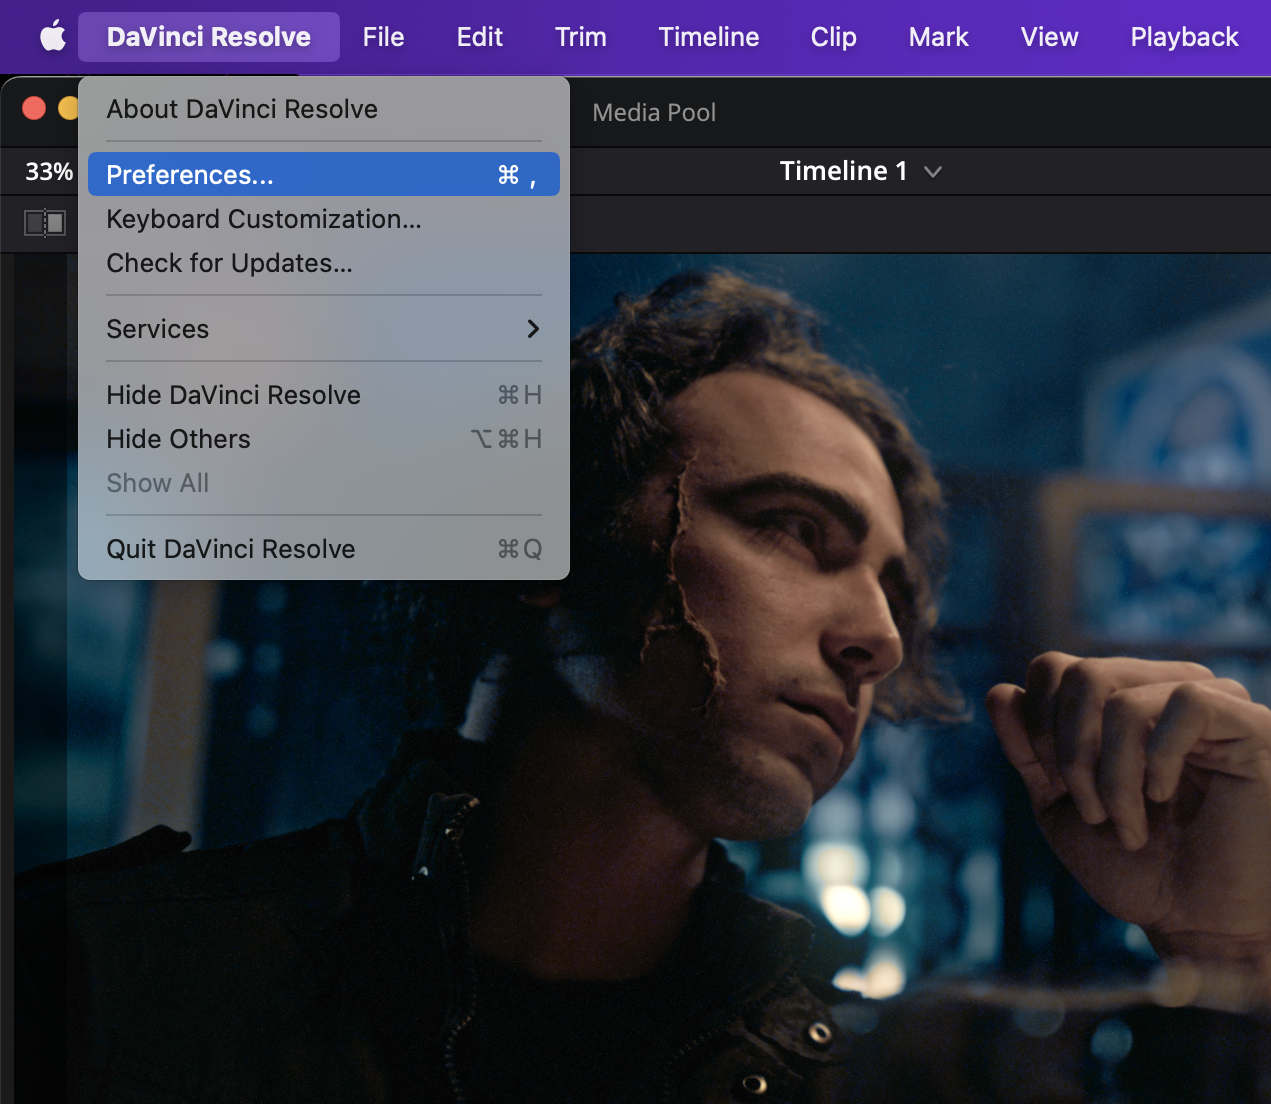
Increasing the virtual memory in DaVinci Resolve is quite simple, no matter what operating system you’re using. You’ll want to click on DaVinci Resolve in the top left-hand corner and select Preferences (or use the keyboard shortcut ⌘,).
Once here, you’ll want to go to the Memory and GPU tab and edit your memory configuration settings. A lot of these settings should be set to auto by default, but you can customize them to your liking depending on your needs. You can also manually select what GPU you want DaVinci Resolve to use at the bottom of the screen.

Upgrade to the latest operating system
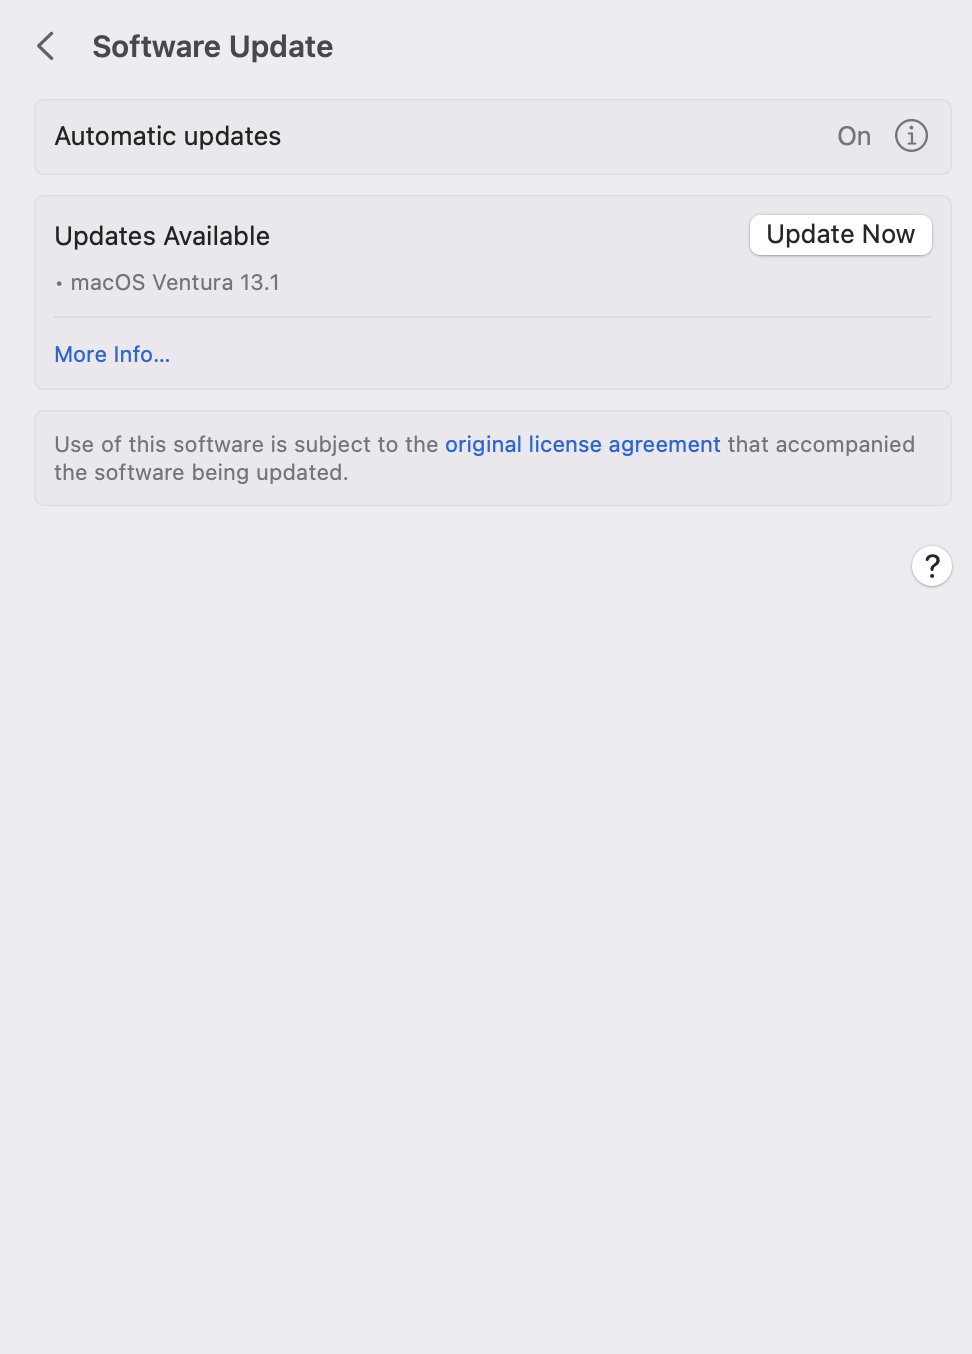
In some cases, it isn’t DaVinci Resolve at fault for crashing but your operating system. On macOS devices, updating your system can be done by clicking the apple icon in the top left-hand corner and going to System Settings > General > Software update.
On Windows, this process is done by selecting Start > Settings > Update and Security > Windows Update. You’ll be asked to give permission before updating.
Summary
DaVinci Resolve is one of the best video editing programs on the market, but even it isn’t free from the occasional crash here and there. Making sure your hardware is up-to-date along with running the latest version of DaVinci Resolve can help mitigate these types of issues.
When it comes to video editing, it’s always important to create the most seamless and quick workflow possible. Extensions such as Simon Says really go a long way when it comes to this process.