How to Digitally Zoom In With Premiere Pro
The introduction of NLEs was something of a renaissance for the post-production industry. Video editors were able to do things that they weren’t able to do on film. This opened up the door to simplifying video editing techniques that were once incredibly complicated.
Among these is the digital zoom effect. In the past, zooming in on a subject would have to be done in the production phases using some sort of a dolly. Now, zooming can be done right in post-production. NLEs such as Adobe Premiere Pro CC, Final Cut Pro, and DaVinci Resolve have made zooming in on footage more accessible than ever.
Zooming in Premiere Pro using scale and keyframes
Adobe makes zooming in on a subject incredibly simple in Premiere Pro. All it requires is some basic knowledge of keyframes. A keyframe is what helps animate objects or effects inside Premiere Pro.
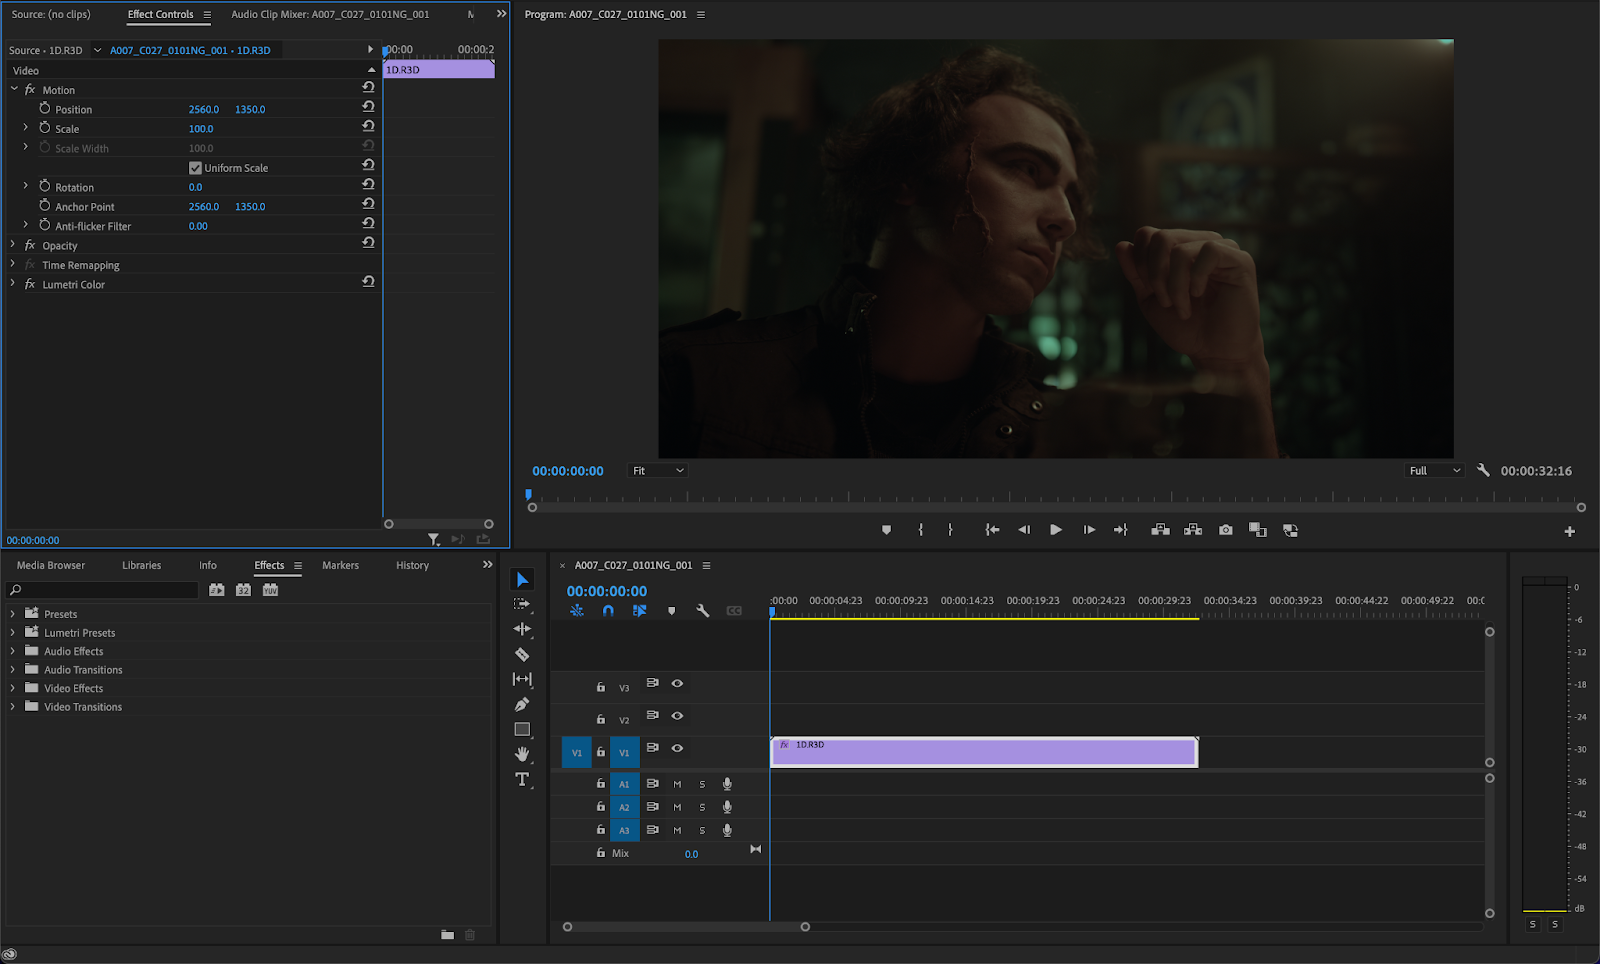
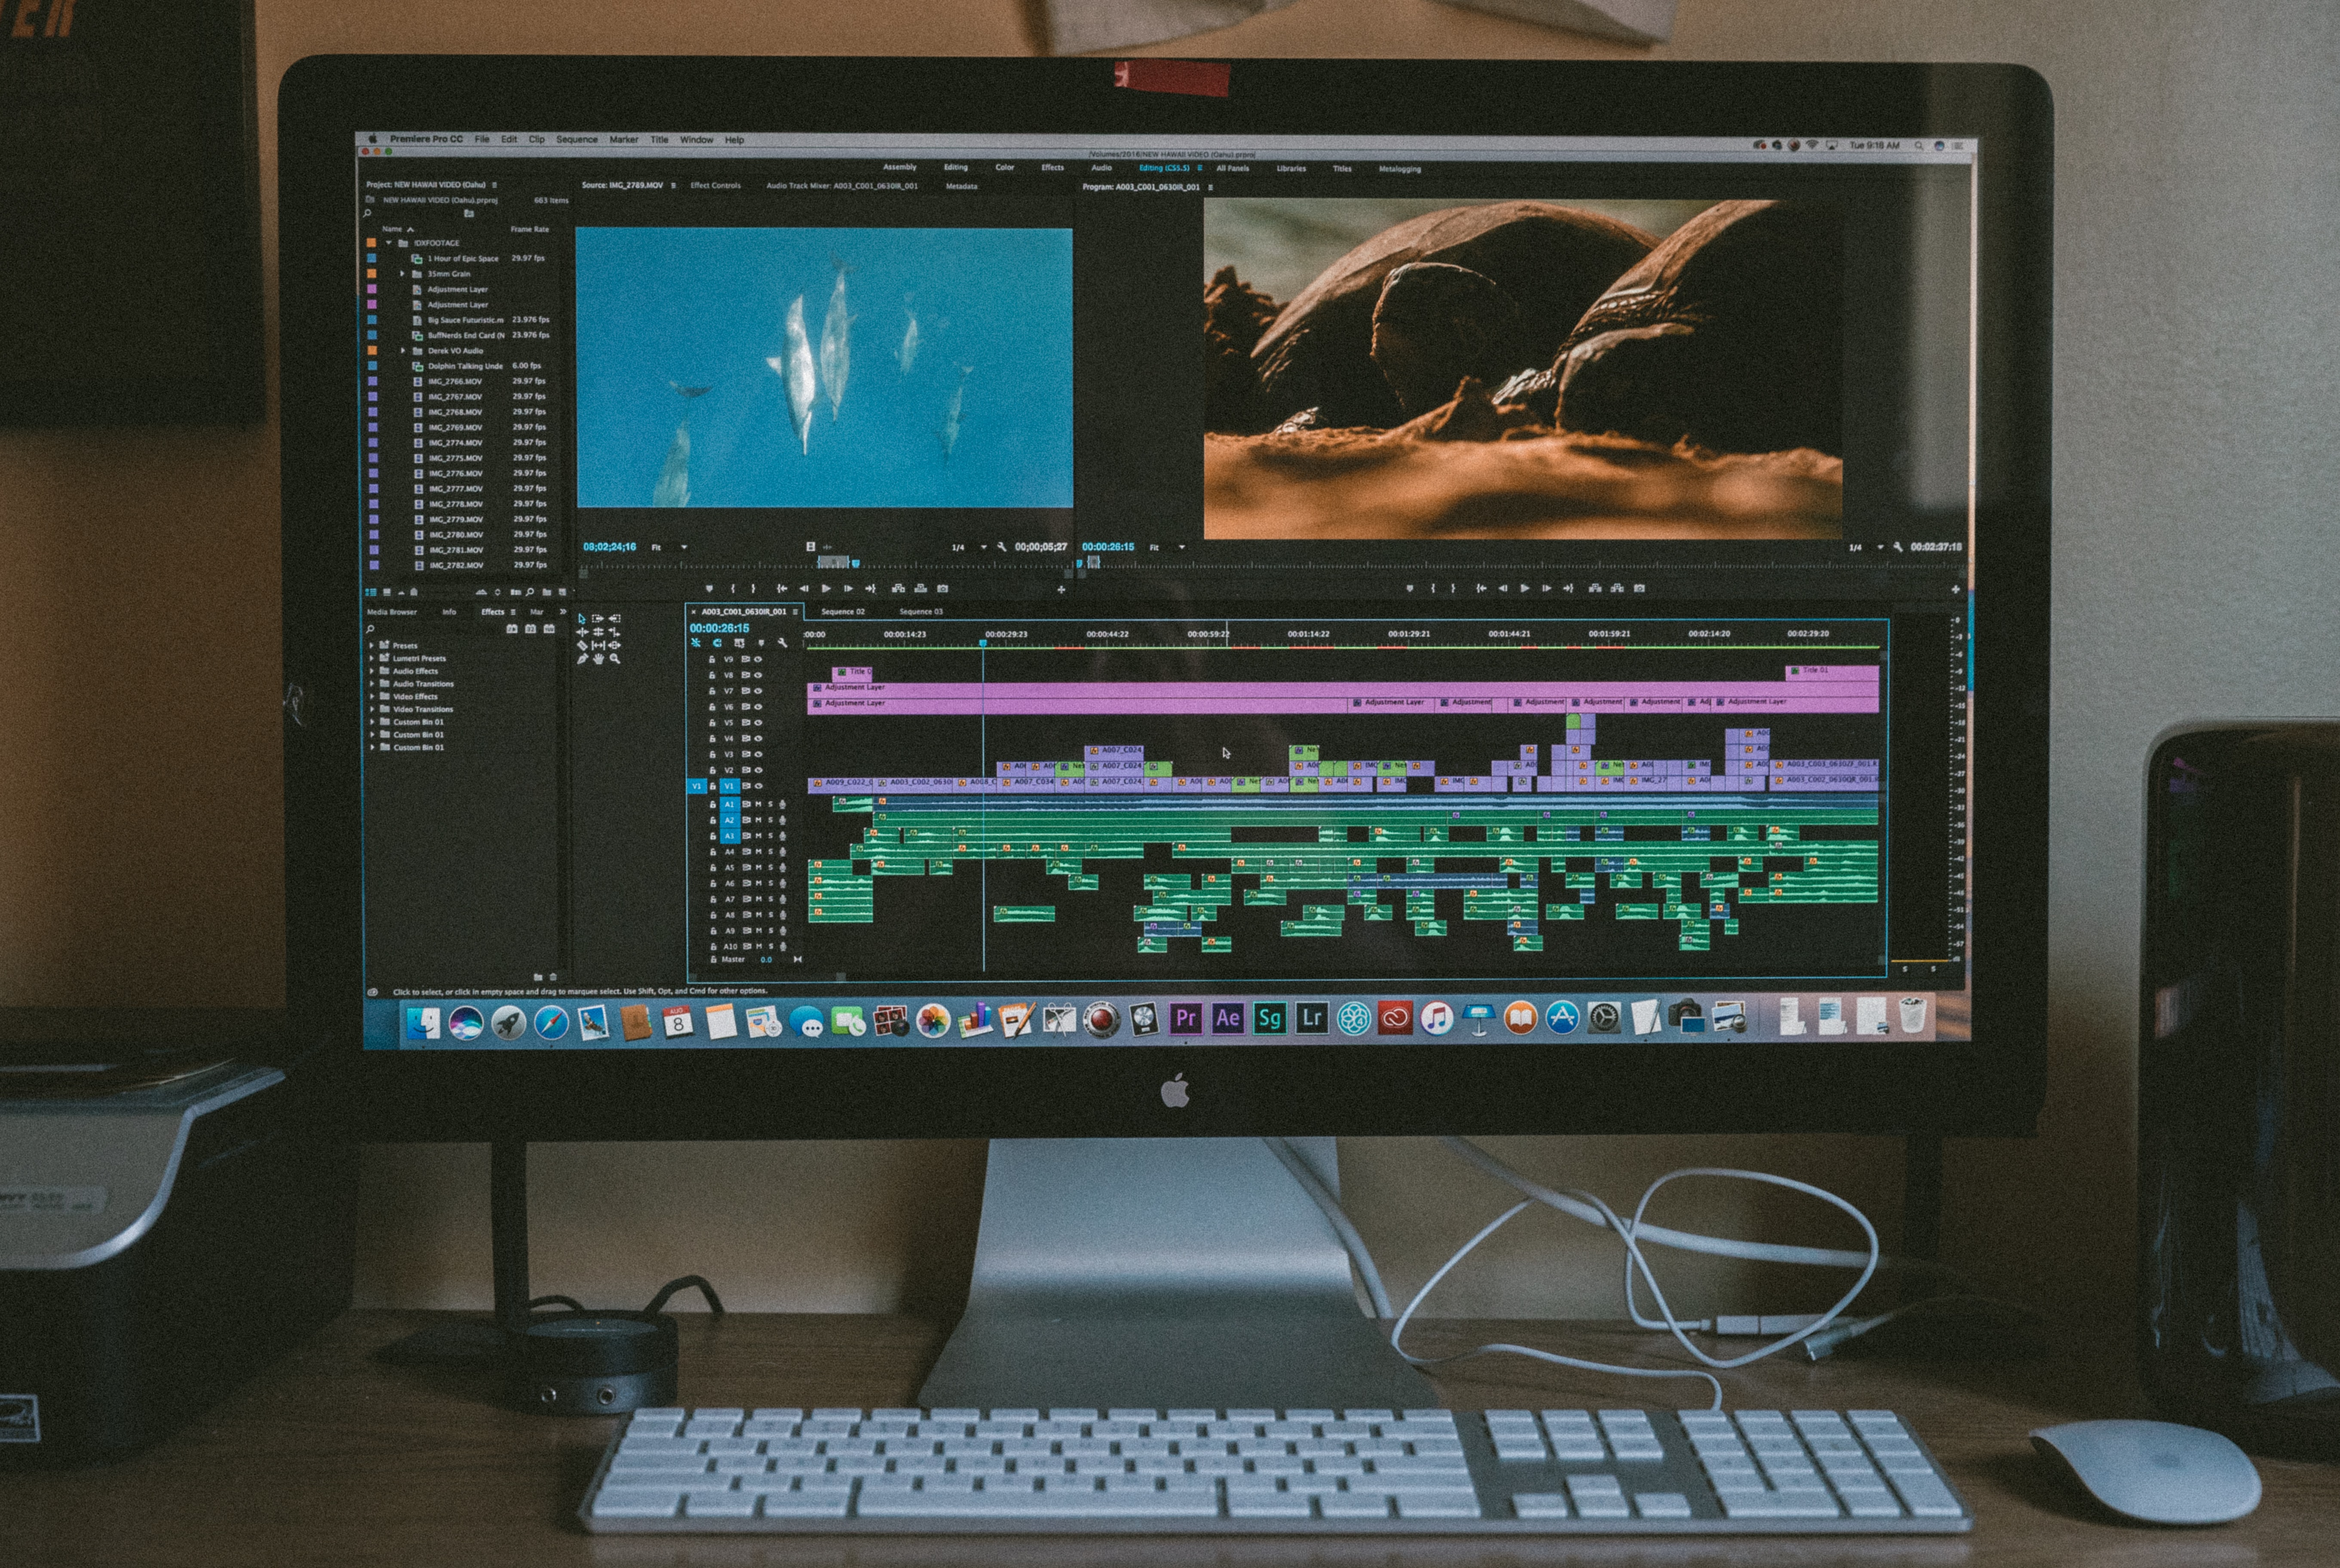
You’ll first want to select the video clip that you intend to animate. I’m using the Editing workspace in Premiere Pro to make things as easy as possible. You’ll then want to go to the effects controls panel in the upper left-hand side of the screen and click the stopwatch icon next to Scale.

Just like that, you’ll have created your first keyframe. Scale is what allows you to resize your footage in Premiere Pro. Next to the scale numbers is a diamond icon that will turn blue if your playhead is stopped on a keyframe. Clicking this diamond icon will create new keyframes and clicking the Undo button next to that will clear all keyframes active on that video clip.
Next to the Effect controls panel is a windowed timeline that shows you all of your keyframe data. You can scale and zoom into this panel as well, making it easier to see if you have a lot of keyframes on your clip.
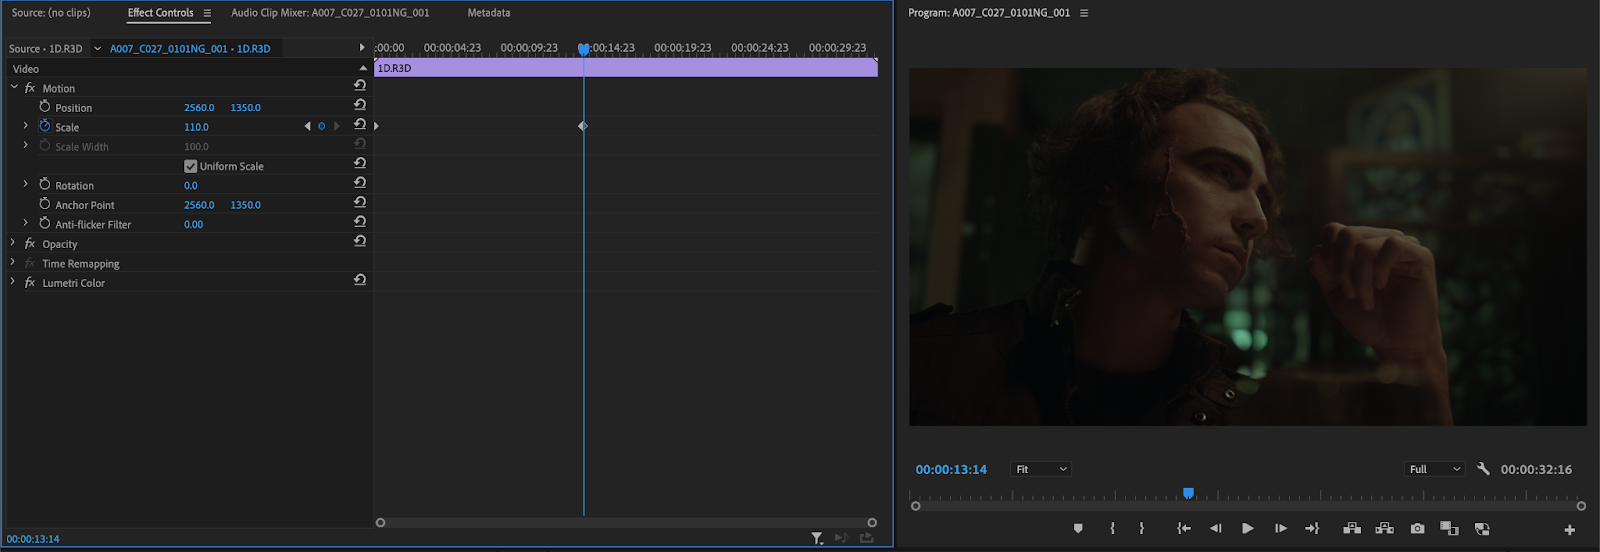
Move forward a few frames and add another keyframe by either clicking on the diamond icon or by changing the value of the scale. For my example, I went from a scale of 100 to a scale of 110.
Upon playback, you’ll find that your video clip now has a zoom-in effect. In some instances, you’ll need to change the framing of your video to match the zoom transform effect. All this requires is additional keyframes using the position parameters. This is also done by clicking the stopwatch next to Position and then changing the numbers to fit your need.
You’ll notice that the digital zoom might seem a bit rough initially. The way that it starts and stops is very jagged. There are two tricks to use to get an ultra-smooth zoom. The first method can be done by right-clicking on the first keyframe and selecting Ease in and then by rick-clicking on the last keyframe and selecting Ease out.

What this does is creates a smoother fallout. Unfortunately, there are no keyboard shortcuts for ease in and ease out like in After Effects. You can always create your own though by going to Premiere Pro > Keyboard Shortcuts. There’s also no motion blur in Premiere as there is in After Effects either.
Motion blur is something that really sells the zoom effect, especially when it comes to quick movements, so I would highly recommend using After Effects if you need something a bit more advanced.
Just like that though, you now have a digital zoom made entirely within an NLE that plays back in real-time. While this effect can be incredibly useful, there are still some things to keep in mind when digitally zooming.
How to zoom in on Premiere Pro without losing quality
Naturally, zooming into your footage digitally is going to come at the cost of some quality. This is because all you’re doing is zooming in on some pixels. The fewer pixels your footage has, the blurrier it’s going to get as you zoom in. For the absolute best results with a digital zoom, it’s important to shoot at a high resolution.
To maximize quality, your footage resolution should also be higher than your timeline resolution. You can view your timeline resolution by right-clicking on your footage and selecting sequence settings. A pop-up window will then appear, allowing you to change your timeline resolution to something smaller than your footage.

Saving zoom presets
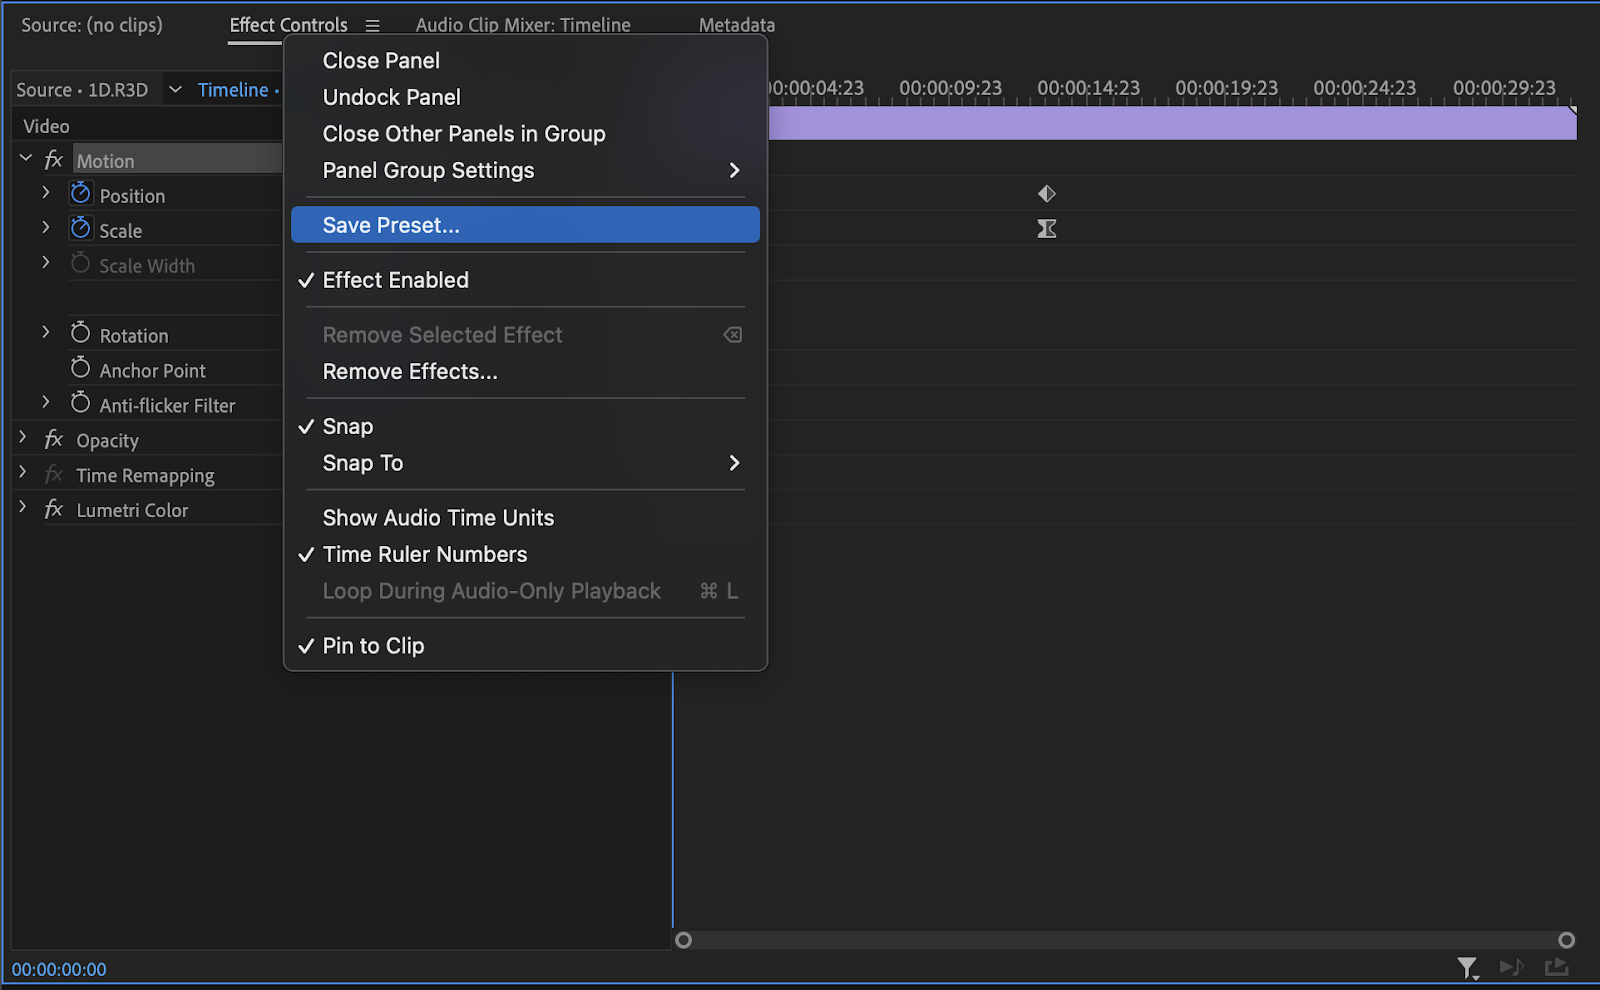
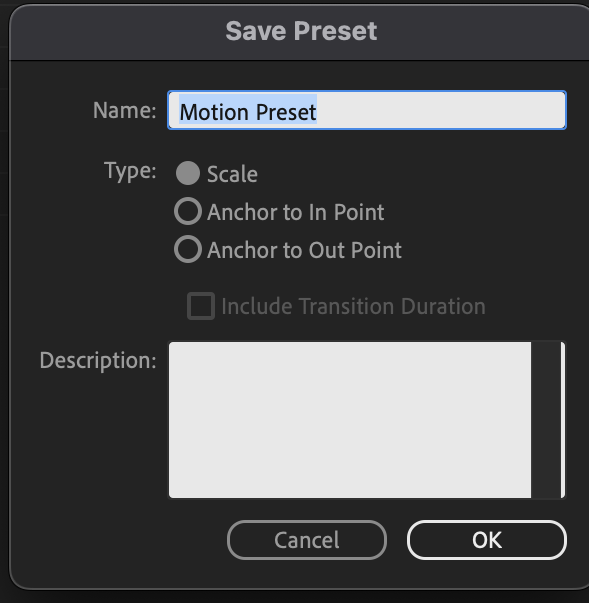
Saving your digital zoom as a preset can be a great way to recycle it for later use on other clips. First, make sure that you have motion selected in the Effect Controls panel. Then, right-click on Effect Controls and select save preset.
This will bring you to a small pop-up window where you can adjust a few settings for the preset including name and description. Your preset will then be saved to the effects library, allowing you to drag and drop it onto any clip that you desire.
Zoom transitions to try in Premiere Pro
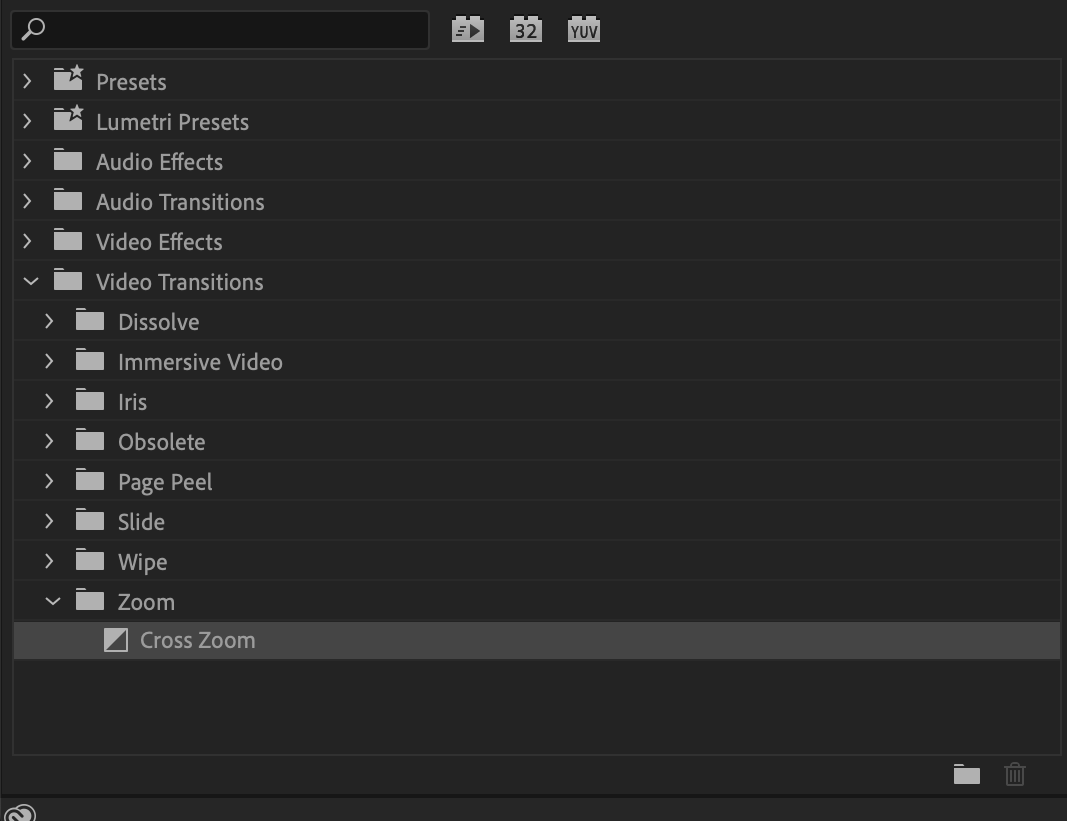
A fun way to utilize zooms in Premiere Pro is through zoom transitions. These transition effects can be great for all types of content, whether that be for filmmakers or social media creators. One of these transitions is actually built natively within Premiere Pro.
Cross Zoom
The Cross Zoom is the only default zoom tool that adobe has to offer. It can be found by going to effects and clicking on the folder zoom. The cross zoom is will zoom into a clip and then zoom out into another clip.
In and Out Zoom Transition
This transition requires manually keyframing your clips. This transition is quite simple in practice though. It’s similar to the cross zoom with the only exception being that the clip slightly zooms in before zooming out all the way.
Summary
Digitally zooming in apps such as Premiere Pro is such a simple yet effective way to add production value to your content. If done well, a digital zoom can almost be indistinguishable from a practical one. It’s tips such as these that can really elevate your content to the next level and make it stand out. And with third-party extensions and plugins like Simon Says you can save even more time while editing, something crucial in the post-production industry.