Adobe Premiere Pro Tutorial for Beginners
Adobe Premiere Pro CC has been one of the most popular video editing software for nearly twenty years. It has been around since 1991, being introduced as one of the first computer-based non-linear editing systems.
Throughout the years, video editors such as Final Cut Pro and DaVinci Resolve have emerged as wonderful pieces of software as well, but none have remained as consistent as Premiere Pro
With wonderful Creative Cloud integration in apps such as After effects and photoshop, Adobe Premiere Pro is a creator’s dream.
This beginner's guide to Adobe Premiere Pro will go over everything you need to know about how to edit videos with the platform. It will cover a slew of different editing techniques and workflows for both Mac and Windows devices.
Note: Premiere Pro is great at a lot of things but it isn't a comprehensive tool when it comes to captioning and transcribing your videos. For that, you'll need Simon Says, and our handy Premiere Pro extension that runs natively in the platform.
Adobe Premiere Pro Interface Overview
Adobe Premiere Pro might seem complicated at first, but the interface is quite simple once you get accustomed to everything. Upon opening Premiere Pro, the interface will be a completely blank slate. If you go up to Window > Workspaces, you’ll be able to cycle between a variety of workspace presets.
- Assembly: This is great for organizing your footage, providing users with a large project window to work in.
- Audio: The Audio workspace is great for those working with a plethora of audio files. It organizes the Premiere Pro workspace into something with easy access to the audio clip mixer as well as the audio effects.
- Captions and Graphics: This is a perfect workspace for adding text and creating motion graphics for your projects. There are also a series of motion graphic templates to choose from.
- Color: The color workspace has all of the color correction and color grading tools you could possibly need. It also has incredibly easy access to the lumetri color panel.
- Editing: This is where a majority of your basic editing will be done. The editing workspace has a nice large timeline to work in as well as easy access to the source window and program monitor.
- Effects: The effects workspace gives you easy access to the effect controls, providing you with a series of great video effects.
- Essentials: This is simply a workspace providing you with a large timeline and a large media and effects control panel sandwiching your source monitor.
- Learning: The learning workspace provides users with quick and easy video tutorials for those just starting out in Premiere Pro.
- Libraries: If you’re working within the Adobe Creative Cloud library, the Libraries panel is for you. It gives you quick and easy access to all of your shared files within the Adobe Creative Cloud.
- Metalogging: Metalogging is wonderful for more advanced users who are working with a larger team and need to organize and write up all their metadata.
- Production: The production workspace is great for filmmakers and those who have a lot of different projects they need to work with at one time.
- Review: This is a great tool for large teams that need to give plenty of notes, and it even has native support for Frame.IO.
- Vertical: The vertical workspace is perfect for those who do a ton of social media work and require vertical videos. The program monitor is laid out in such a way to allow access to this.
For the most part, you’ll be spending a lot of time in the Editing workspace, but it’s best to experiment and figure out which workspace fits your needs best. You can also customize your workspace and create saved layouts.

Another great thing that you can do when it comes to customization is a customized keyboard layout. There’s an article that you can read here detailing everything you’ll need to know about keyboard customization.
How to create a new project in Premiere Pro
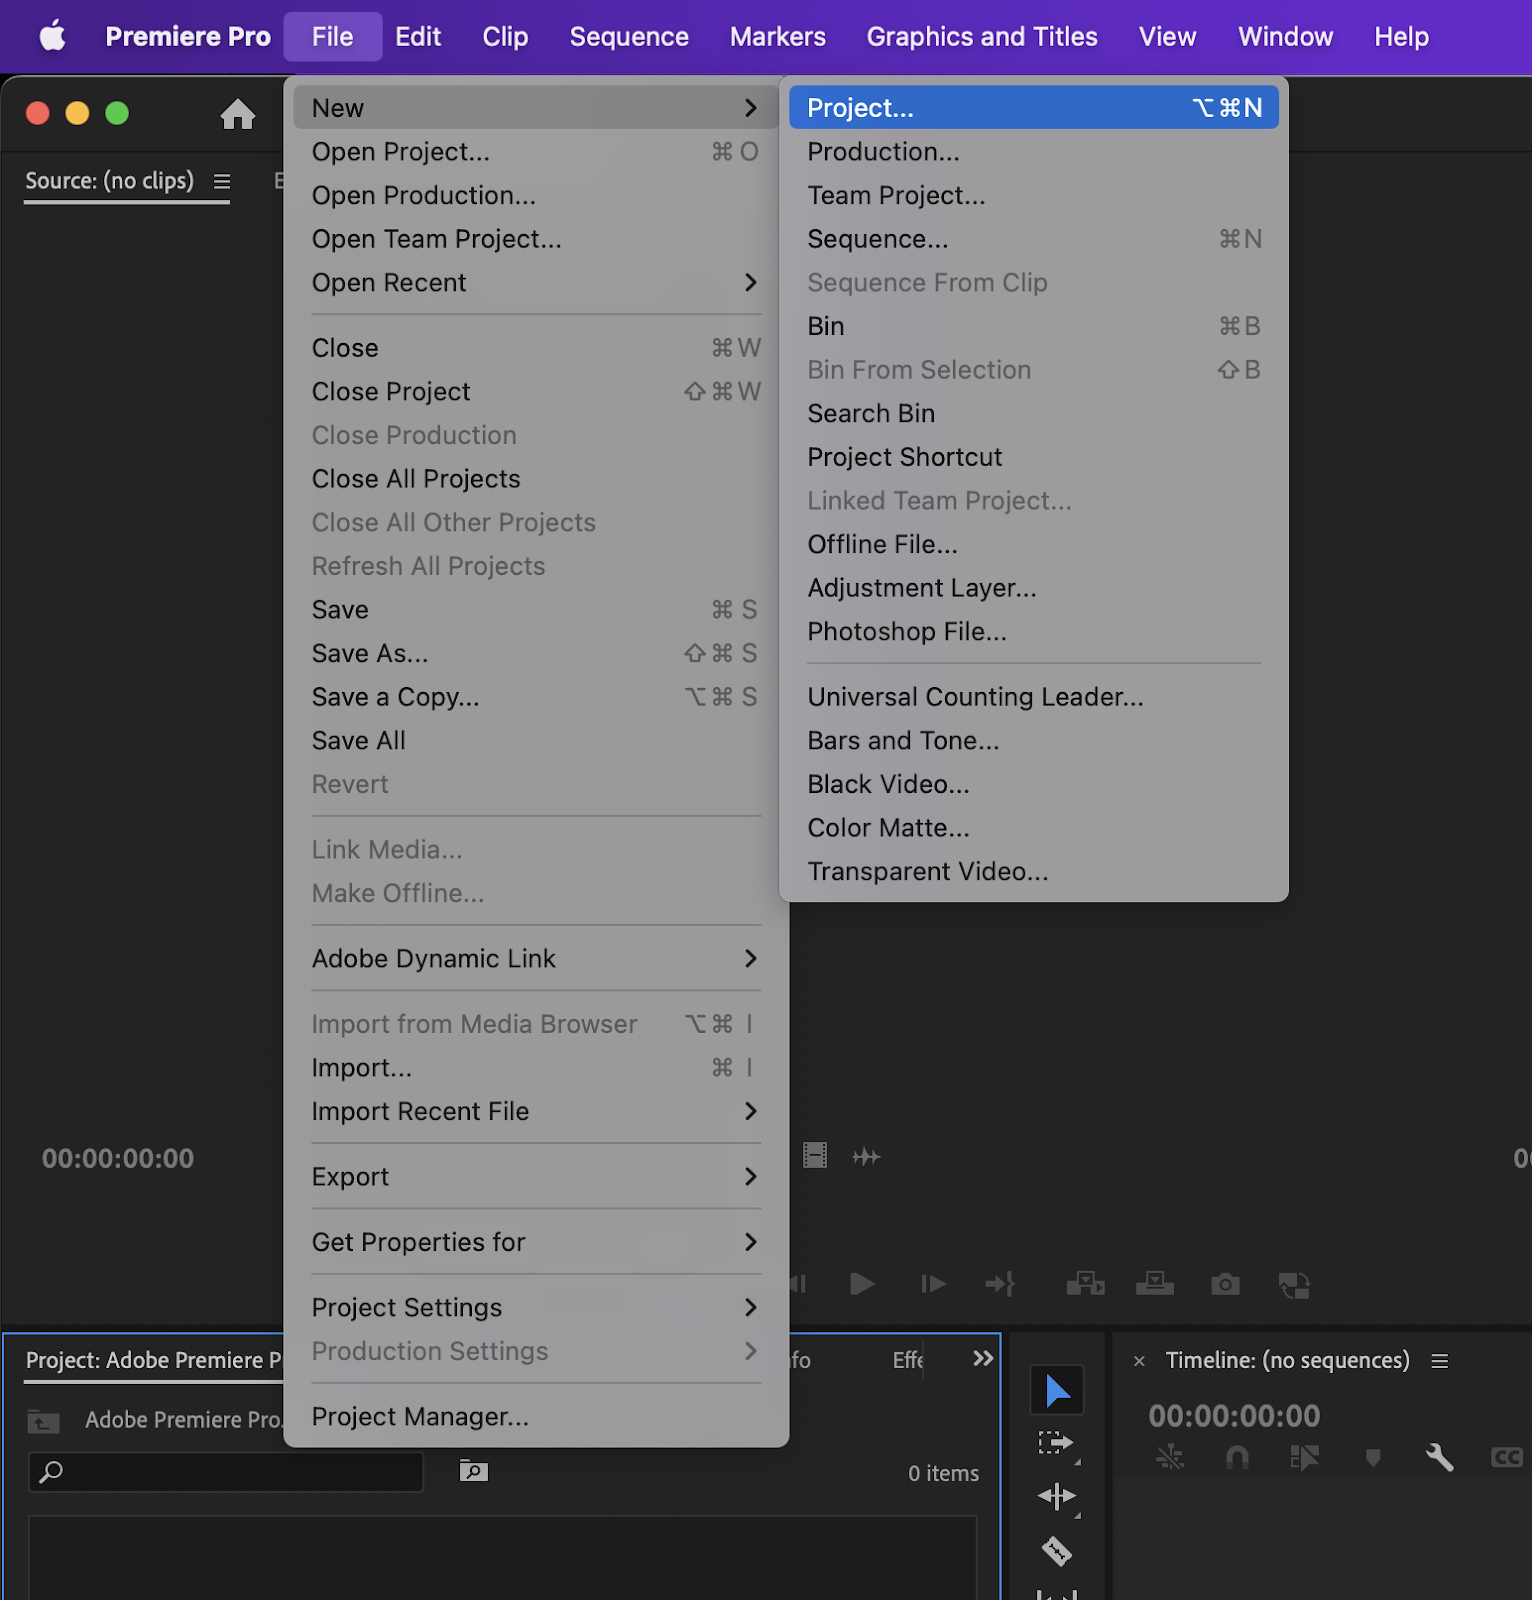
Creating a new project in Adobe Premiere Pro can be done by going to File > New > Project or by using the keyboard shortcut ⌥ ⌘N on Mac or CTRL + N on Windows.
How to import footage (and B-Roll)
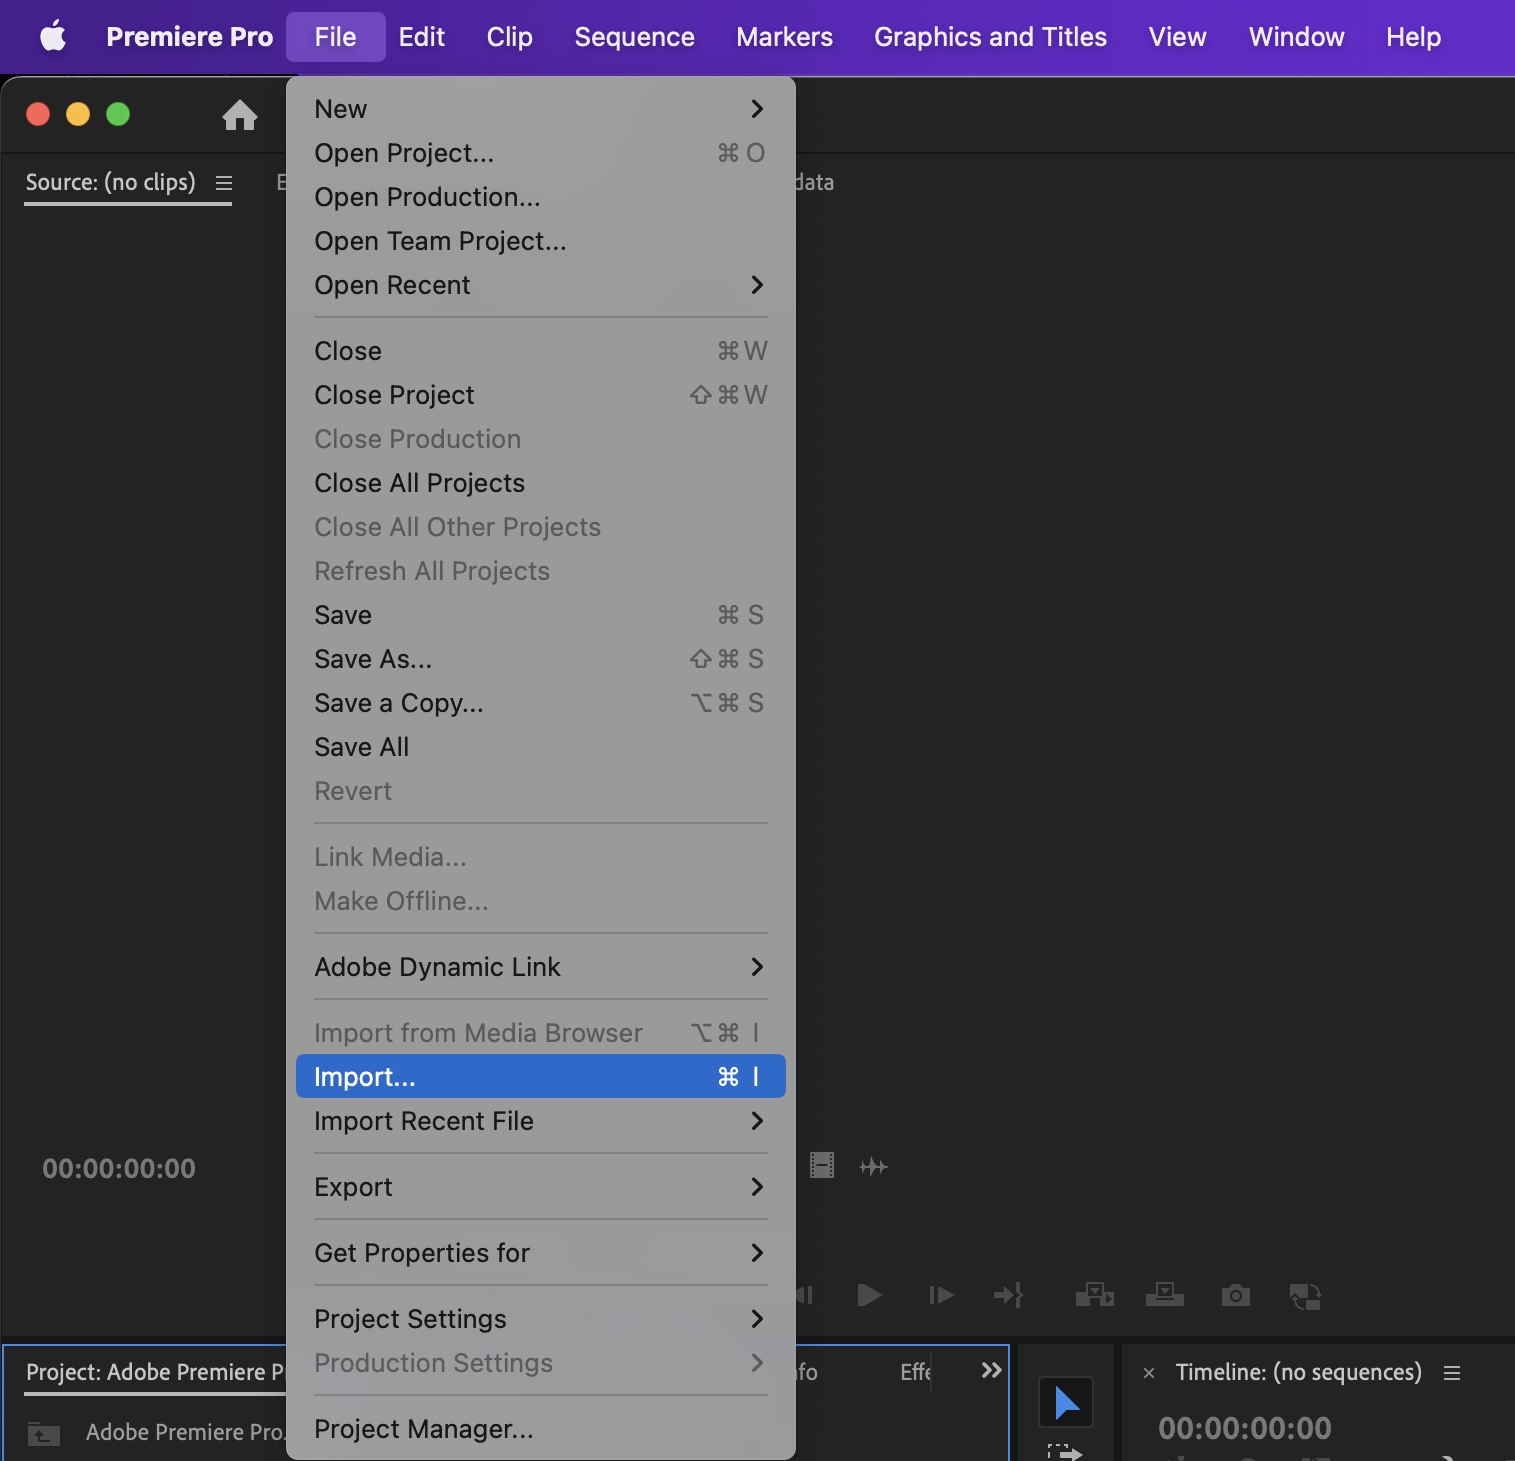
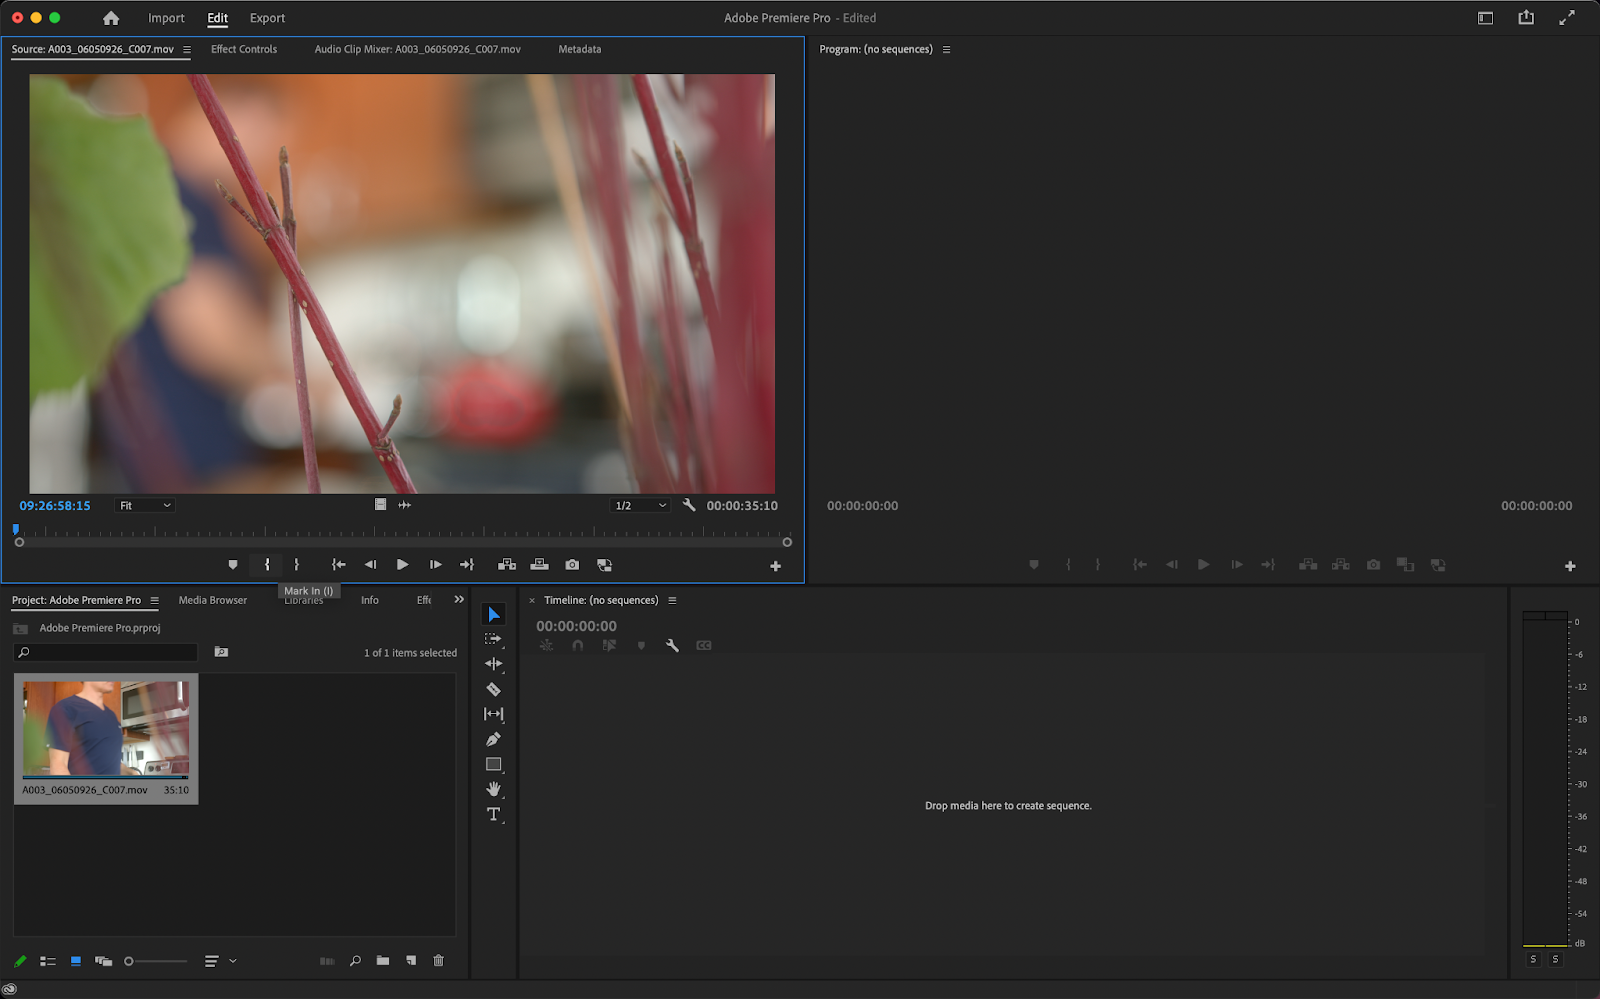
Of course, you’ll need to import media to start creating content. Importing video clips is as easy as going to File > Import or by clicking ⌘I on Mac or CTRL + I on Windows. You can also drag and drop footage from your finder window directly into your media bin. Once there, you can double-click on your footage view the footage in your source window.
Here, you can mark in and mark out in specific areas by pressing I or O on the keyboard. Marking in and out is handy to select particular points in your footage. This is a handy way to add B-roll as well.
How to create and edit the timeline
Now where do you put your footage? All editing is done in a thing known as a sequence (or timeline). To create a new sequence, you’ll want to right-click the project window and go to New item > Sequences. You can also go to File > New > Sequence.
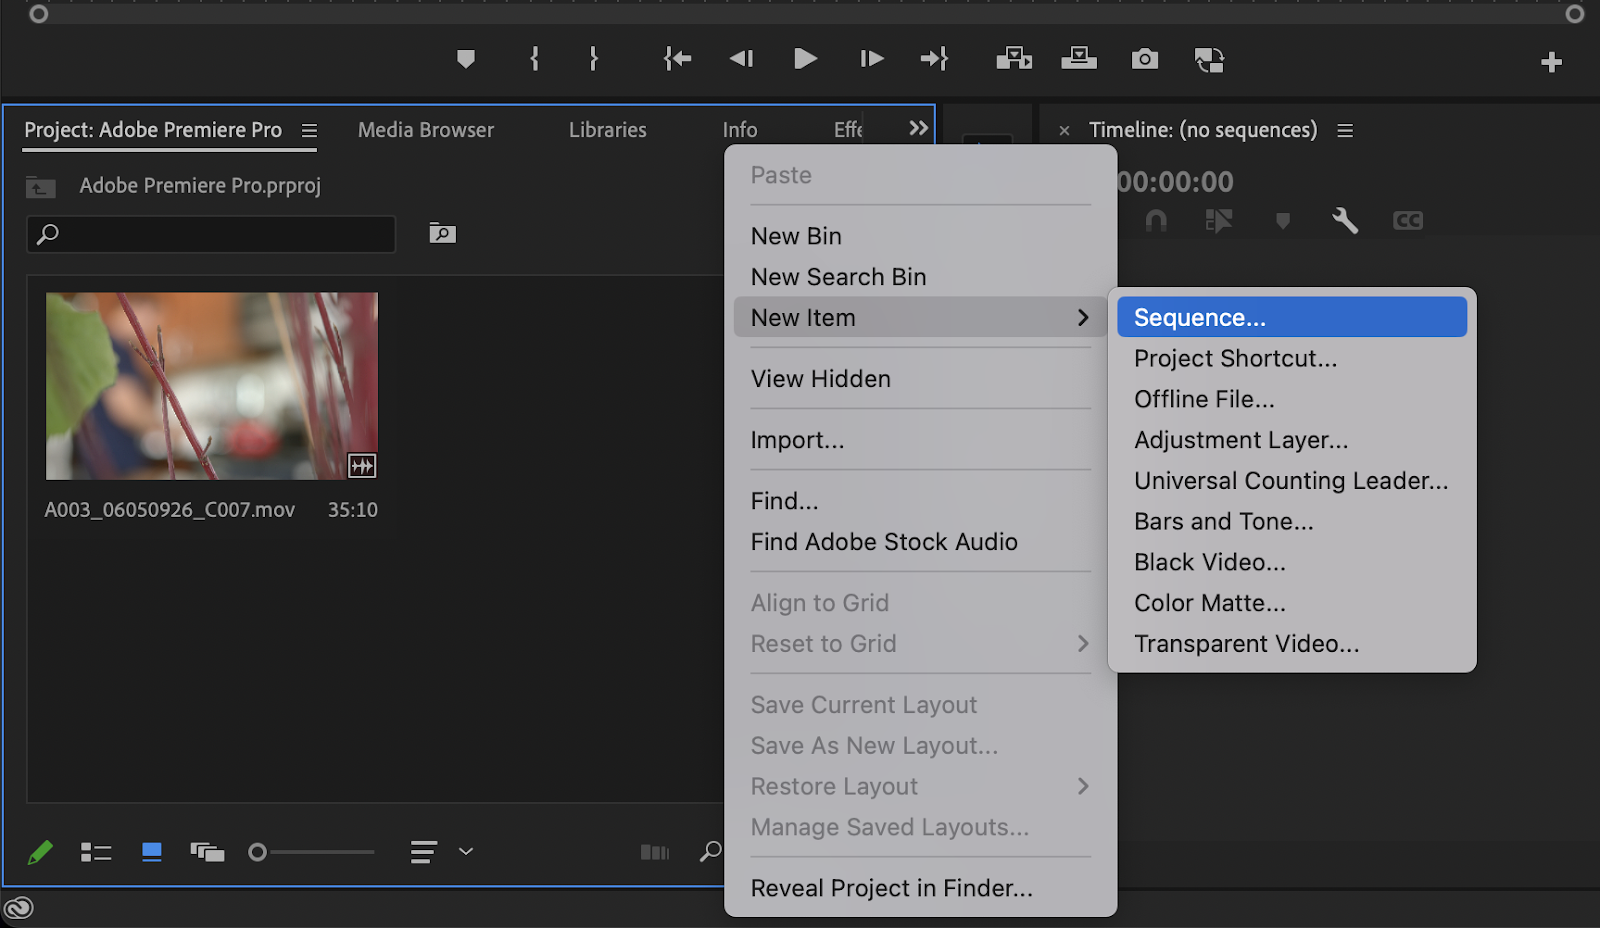
Once this is selected, a pop-up window will appear allowing you to choose your sequence settings. Immediately, you’ll be greeted by a series of templates for your sequence.
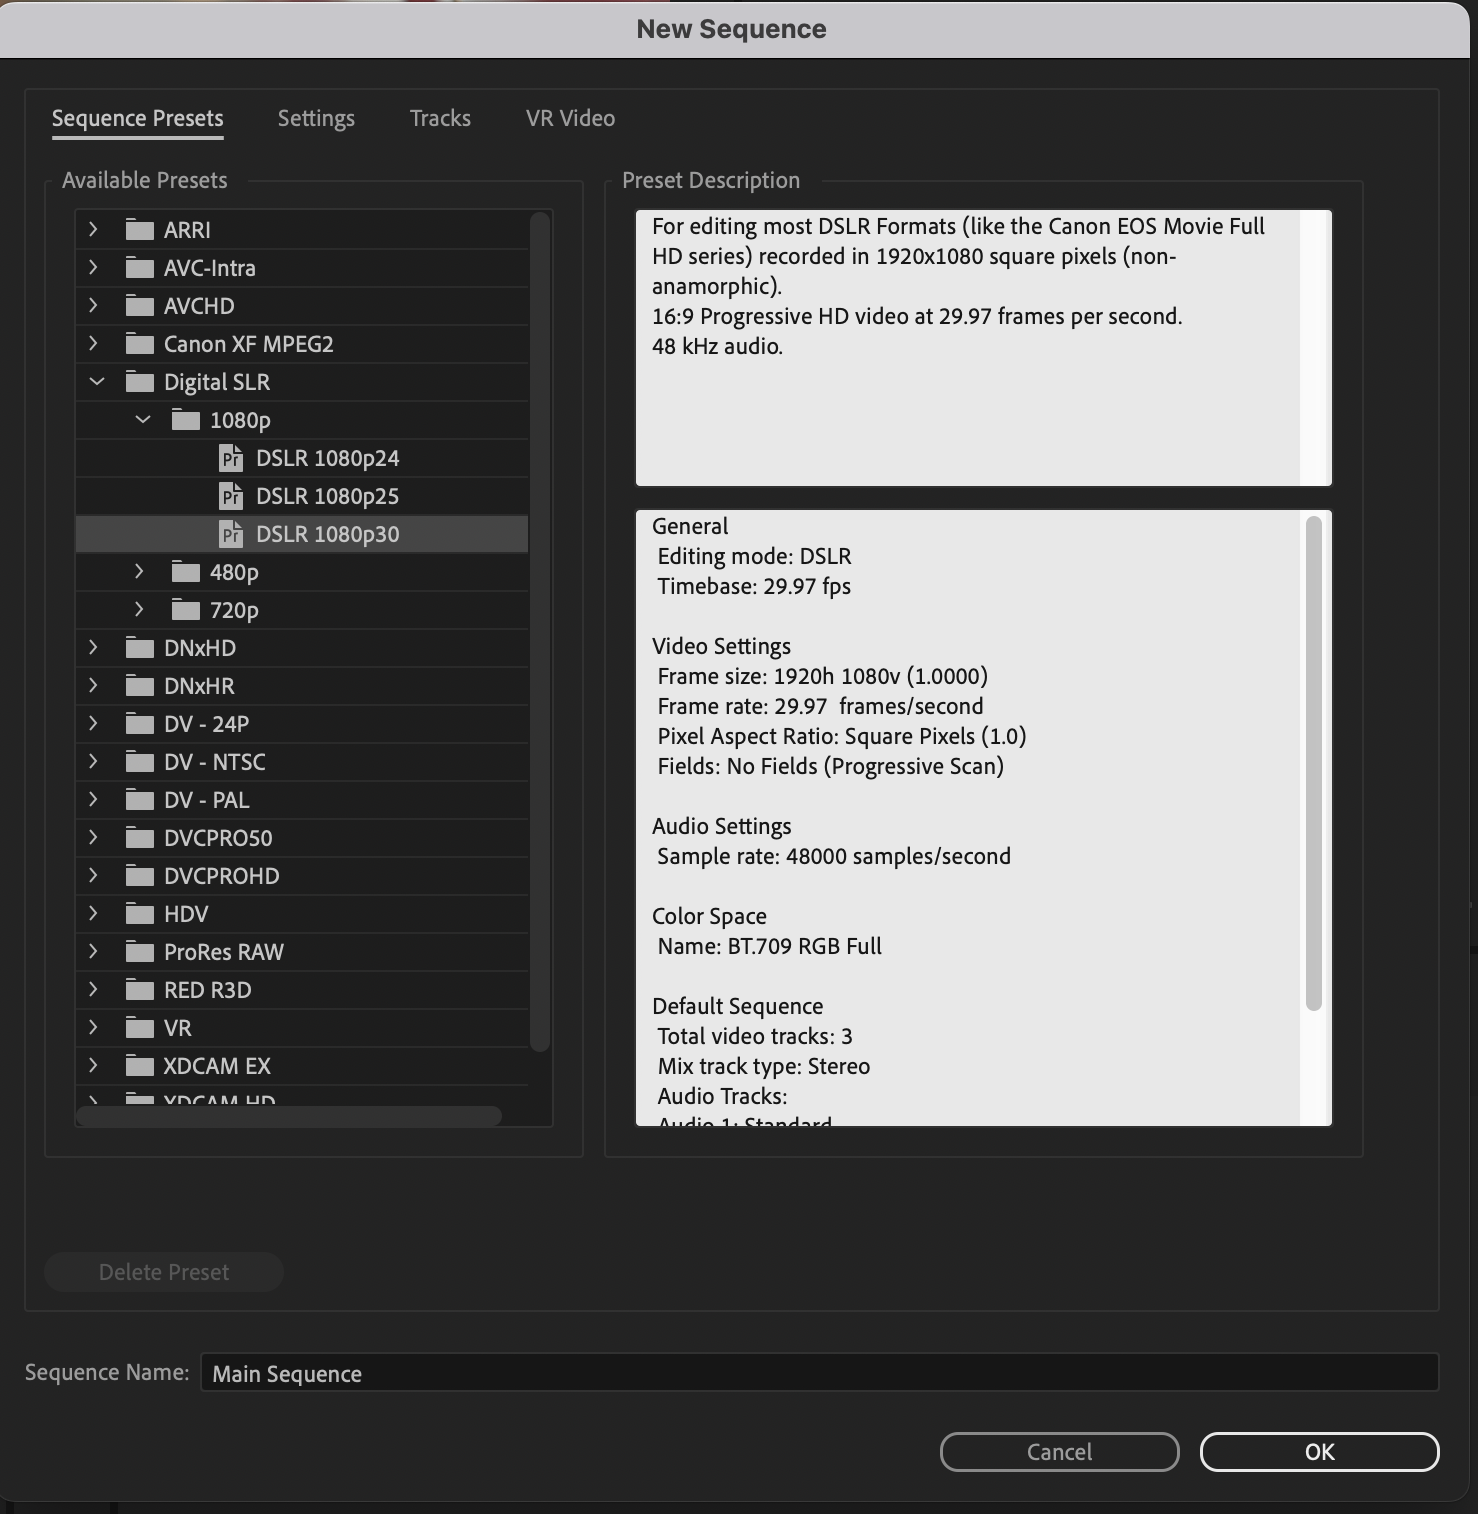
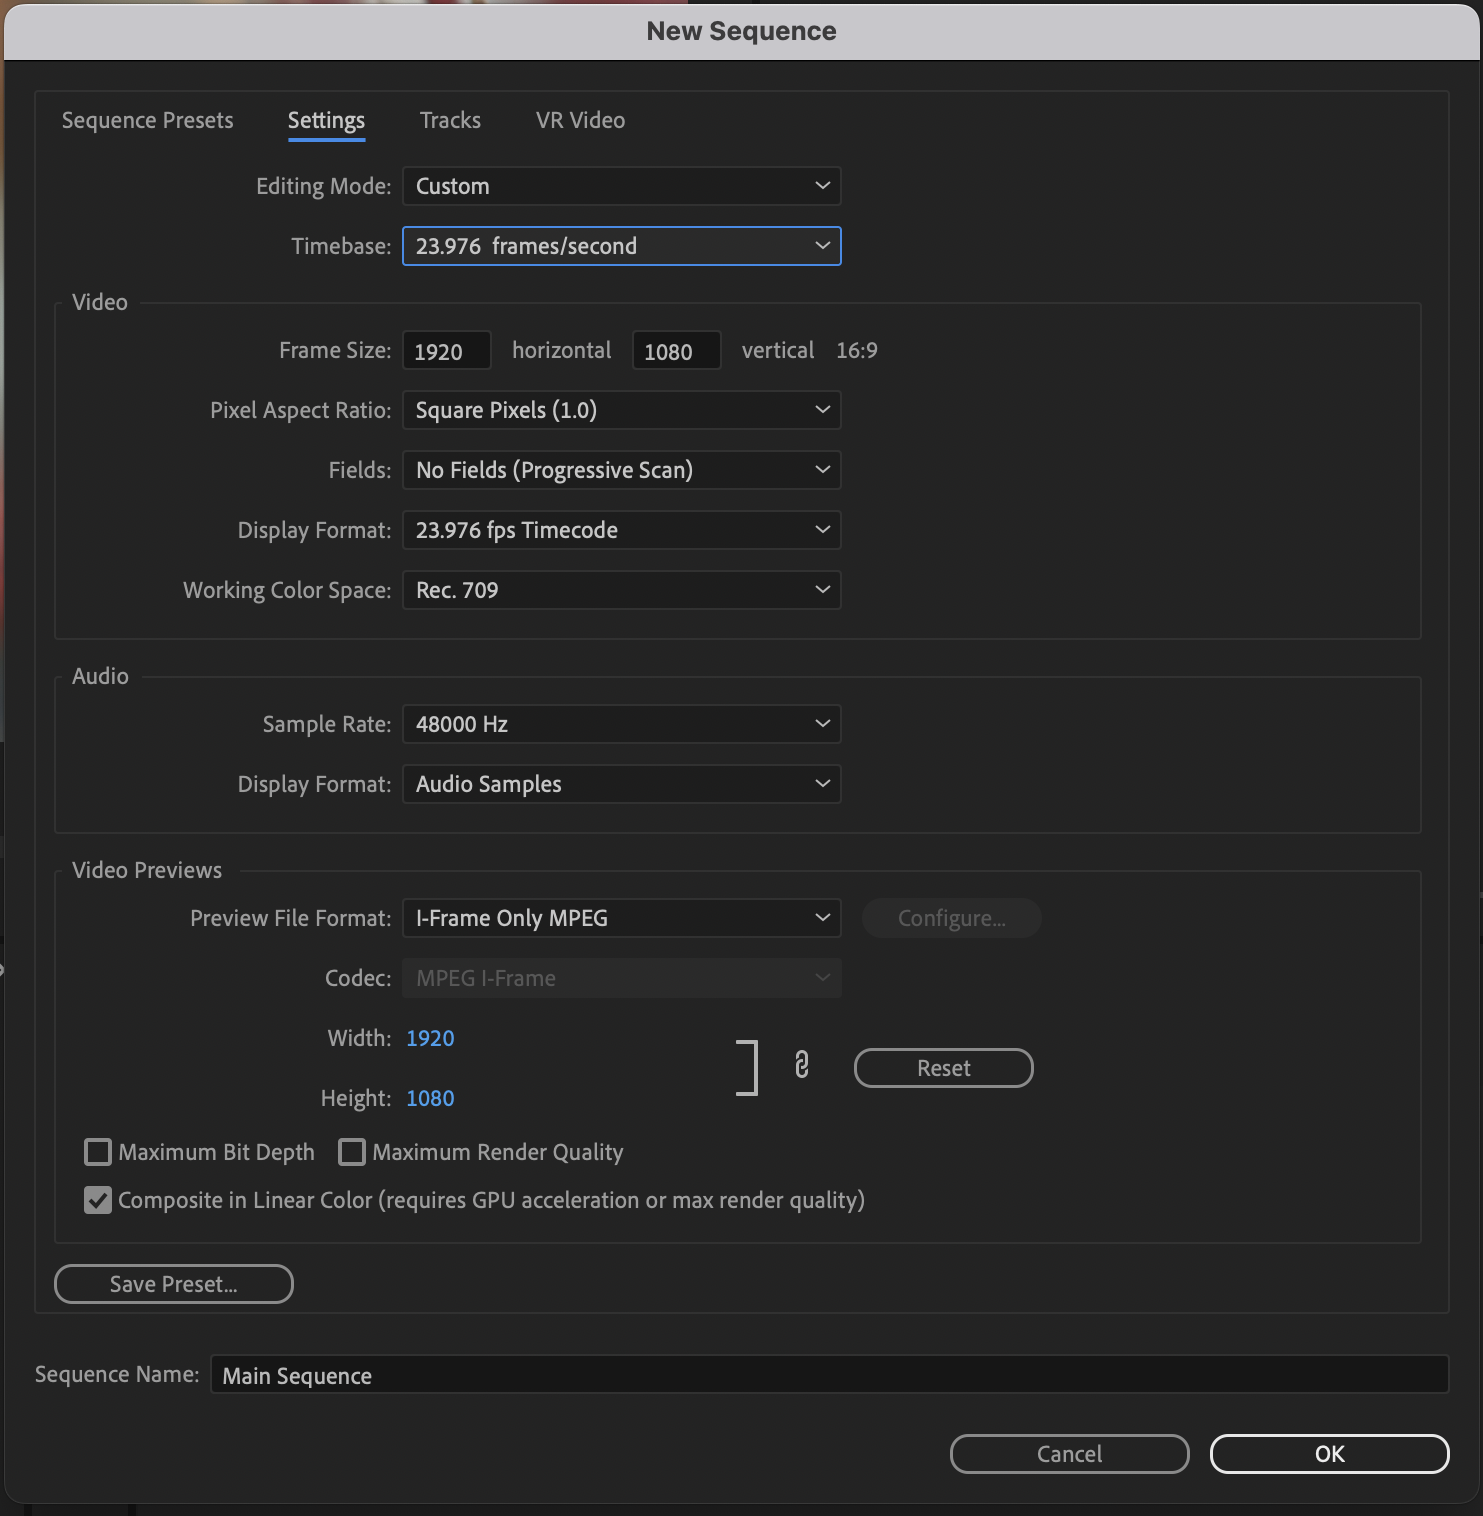
Going into Settings will give you even more options so that you can customize your sequence to your liking with options for frame size and framerate.
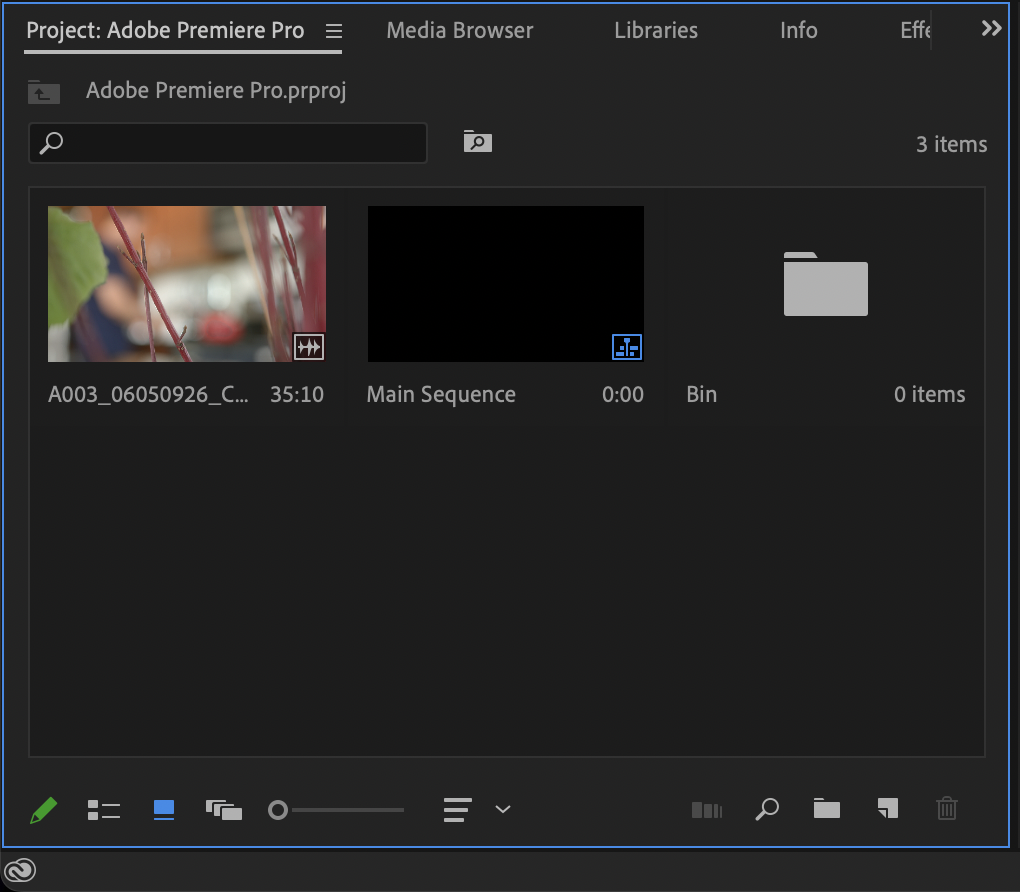
Once your timeline is created, it’ll automatically be put into the media bin. You can create new bins (or folders) by right-clicking in the media bin and clicking on New Bin. Creating new bins allows for more organization within the media bin since you can throw things such as footage and sequences inside of there.
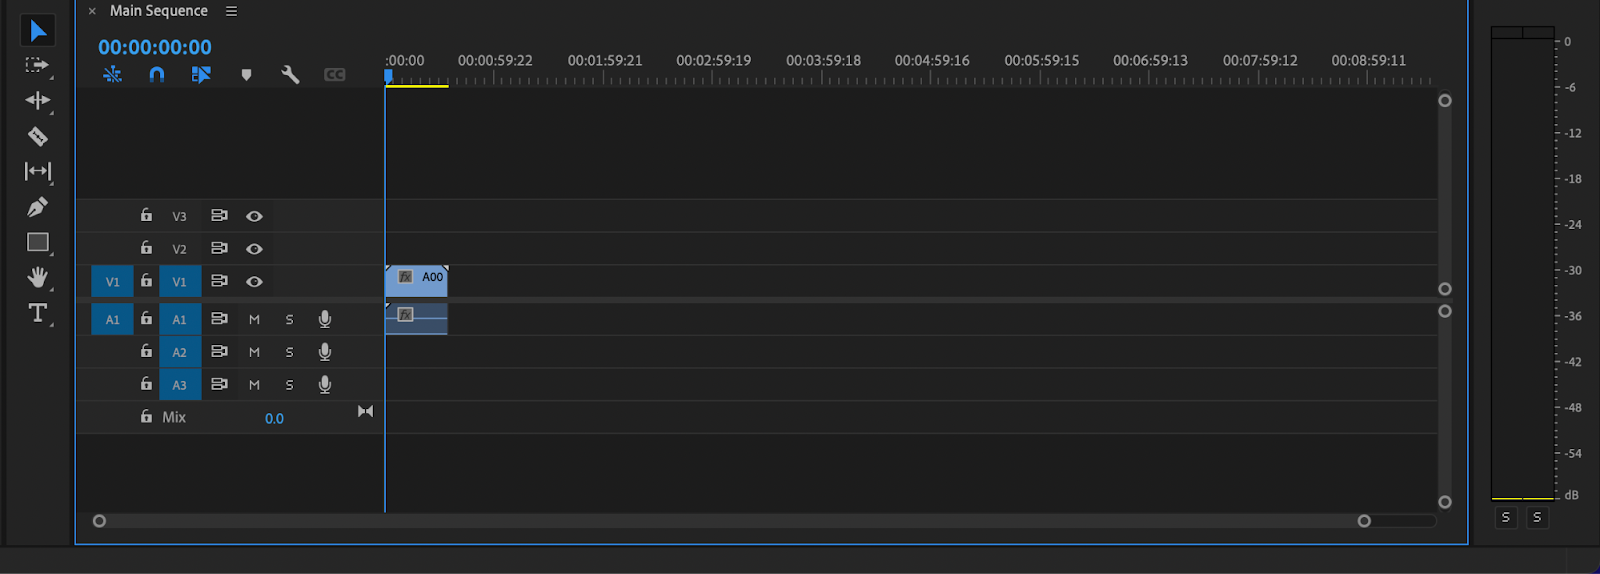
After your timeline is created, you can put footage inside of it by dragging and dropping from your Media Bin. On the right side of the timeline are your audio levels which you can use to monitor your video’s audio measured in decibel levels.
On the left-hand side of the timeline are editing tools that you can use to manipulate your footage.

- Selection Tool (Hotkey “V”) - lets you drag footage around the timeline. You can shorten or lengthen your clip by pulling on the very end of it (indicated by a red marker).
- Track Select Forward (Hotkey “A”) - lets you push all footage in the timeline toward the back. This is indicated by two arrows.

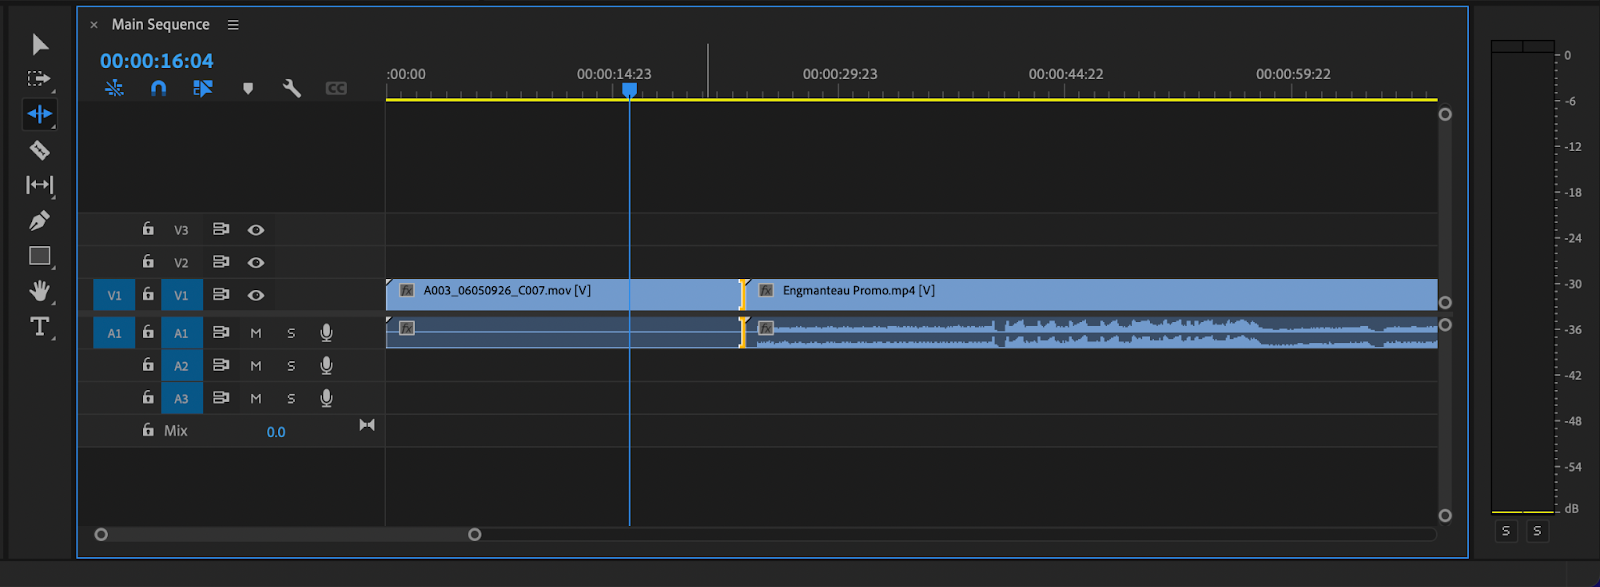
- Ripple Edit Tool (Hotkey “B”) - lets you shorten or lengthen clips in your timeline even if there’s another clip in front of it. This is indicated by a yellow line and arrow at the end and front of the clip you’re editing.
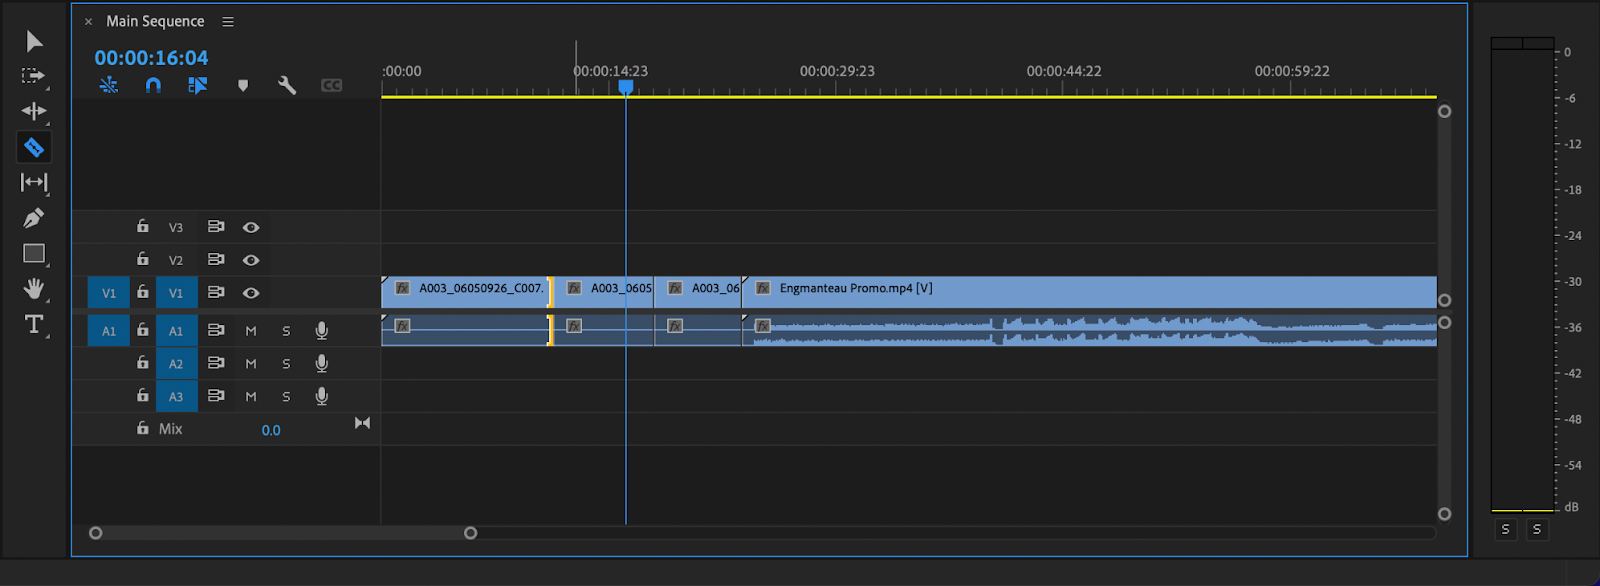
- Razor Tool (Hotkey “C”) - lets you create cuts inside of your footage. A line will appear on your footage indicating where a cut has been made.
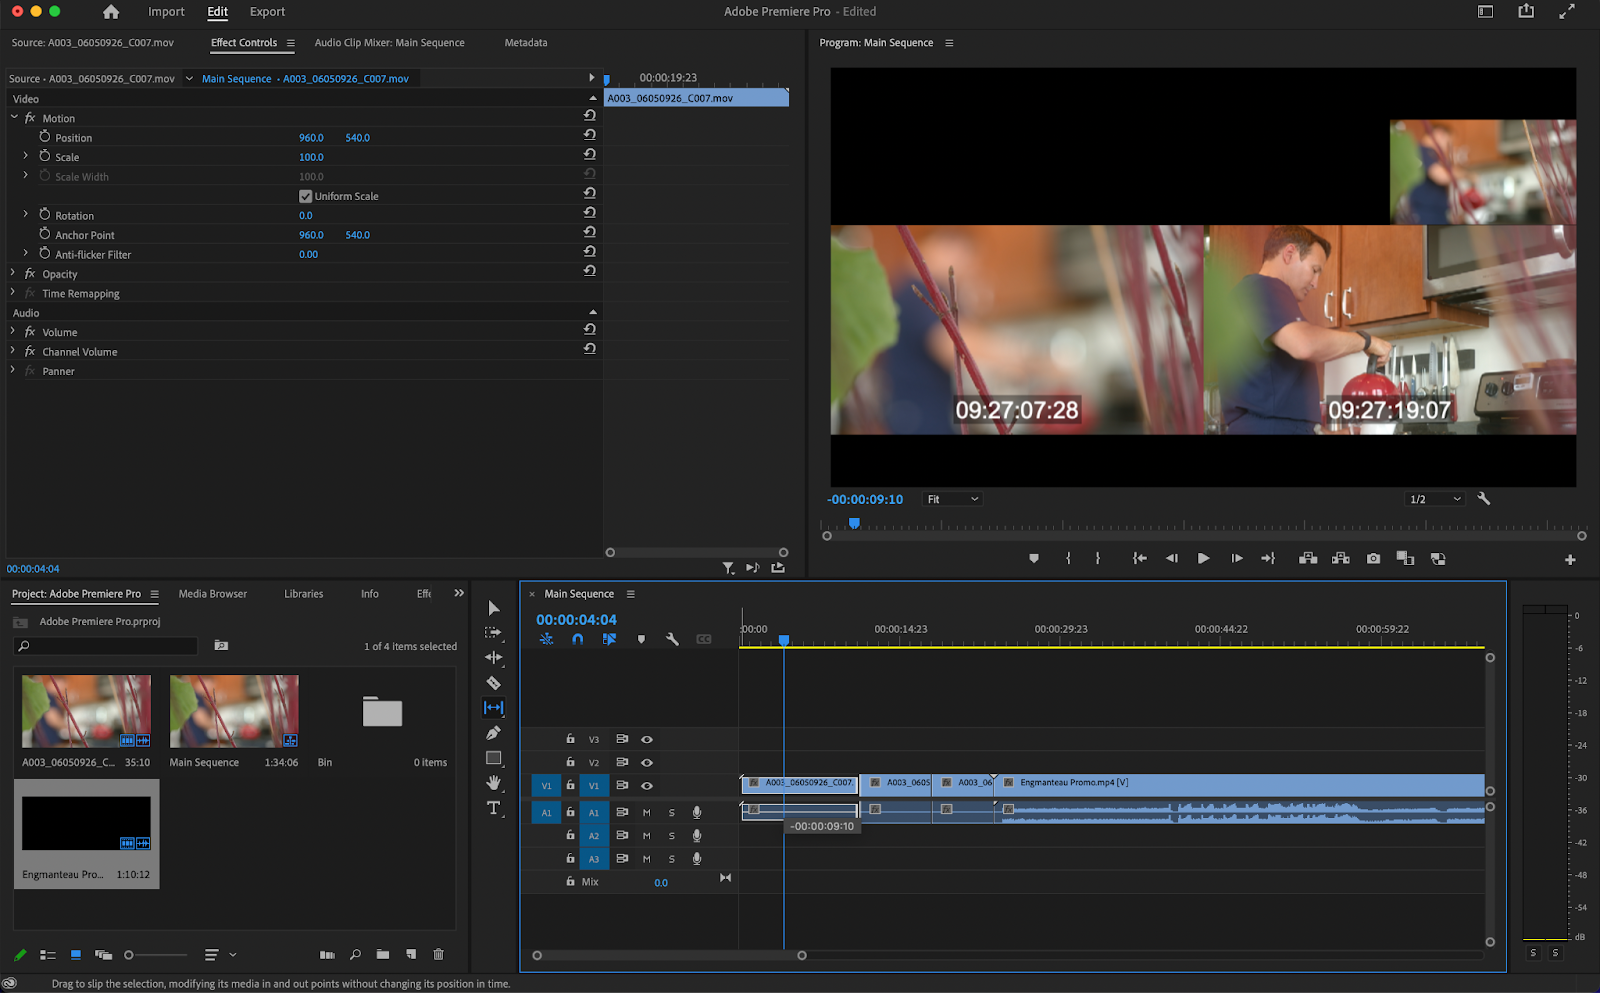
- Slip Tool (Hotkey “Y”) - what the slip tool does is retimes your footage. If you’ve made a bunch of cuts, it’ll retime the footage inside of that cut to a different point in time.
- Pen Tool (Hotkey “P”) - will let you create custom shapes inside of your timeline.

- Rectangle Tool - will create a rectangular shape inside of your timeline.

- Hand Tool (Hotkey “H”) - will let you drag your timeline around.
- Type Tool (Hotkey “T”) - will create text inside of your timeline which you can edit to your liking.
How to add effects and transitions
Adding transitions in Premiere Pro is similar to adding video effects. Like video effects, transitions can be created manually or through the use of templates. Most users will be going the template route when it comes to transitions.
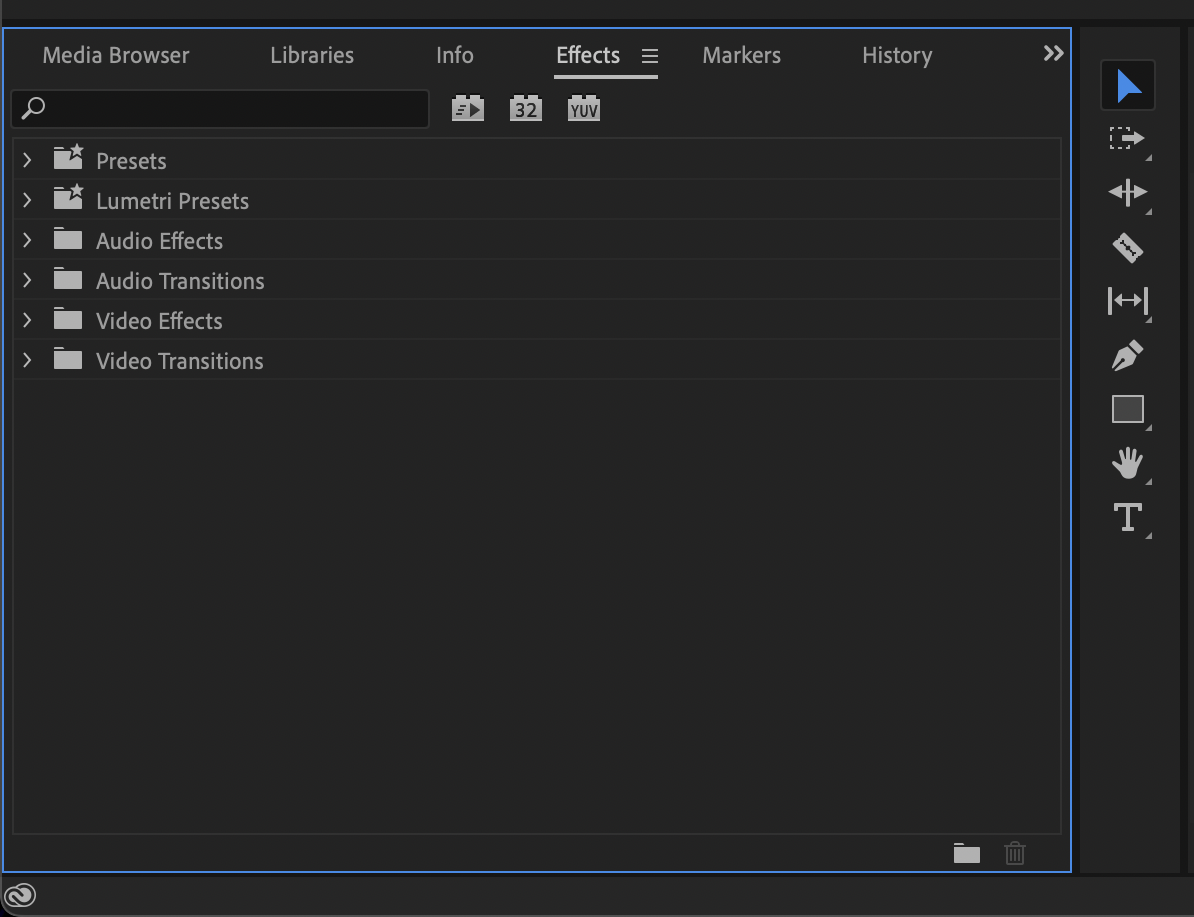
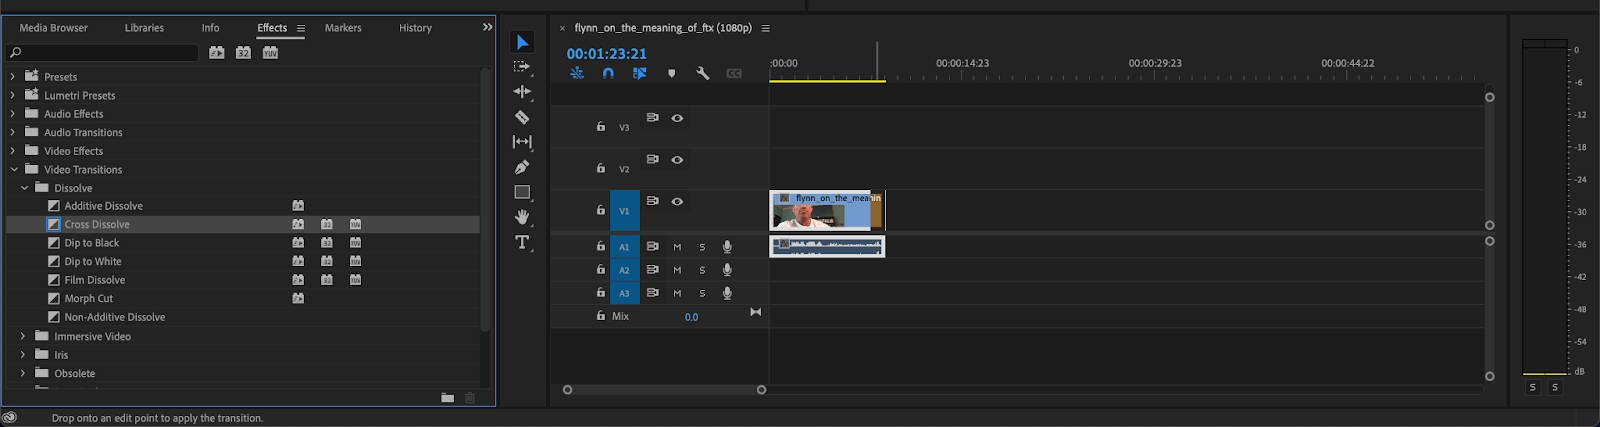
In Adobe Premiere Pro, transitions are actually found in the effects pannel. This panel has folders containing video transitions and audio transitions.
All you need to do to add a transition is to drag and drop the transition you want onto your respective video clip. You’ll need to drag the transition over either the end or the beginning of the clip.
We have a previous article detailing everything you need to know about effects and transitions in Premiere Pro.
How to add audio and music
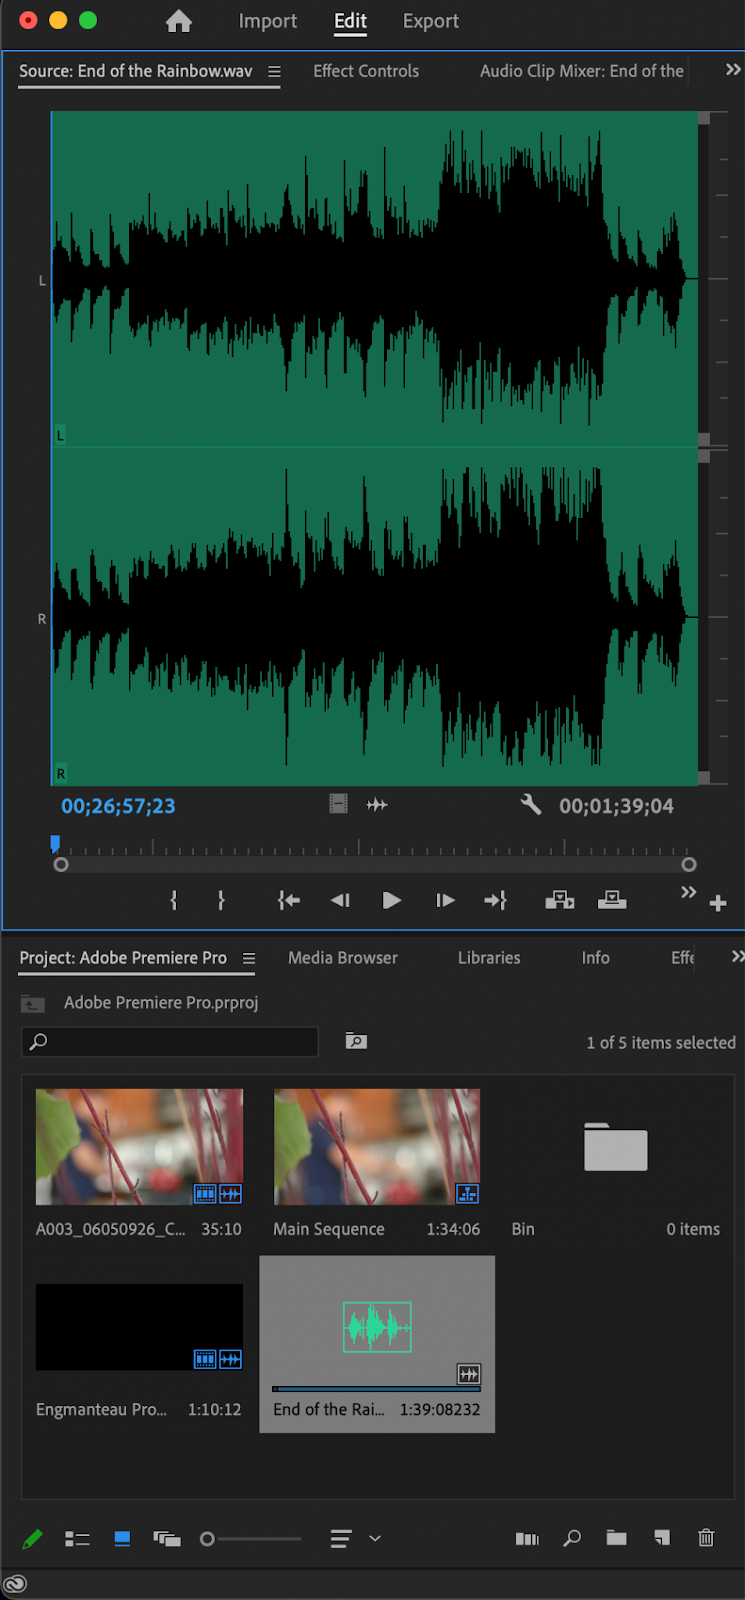
Audio and music are added in a similar way to footage. Like before, importing audio and music clips is as easy as going to file>import or by clicking ⌘I on Mac or CTRL + I on Windows. You can also drag and drop audio from your finder window directly into your media bin. Once there, you can double-click on your footage view the audio in your source window.
How to color grade and color correction
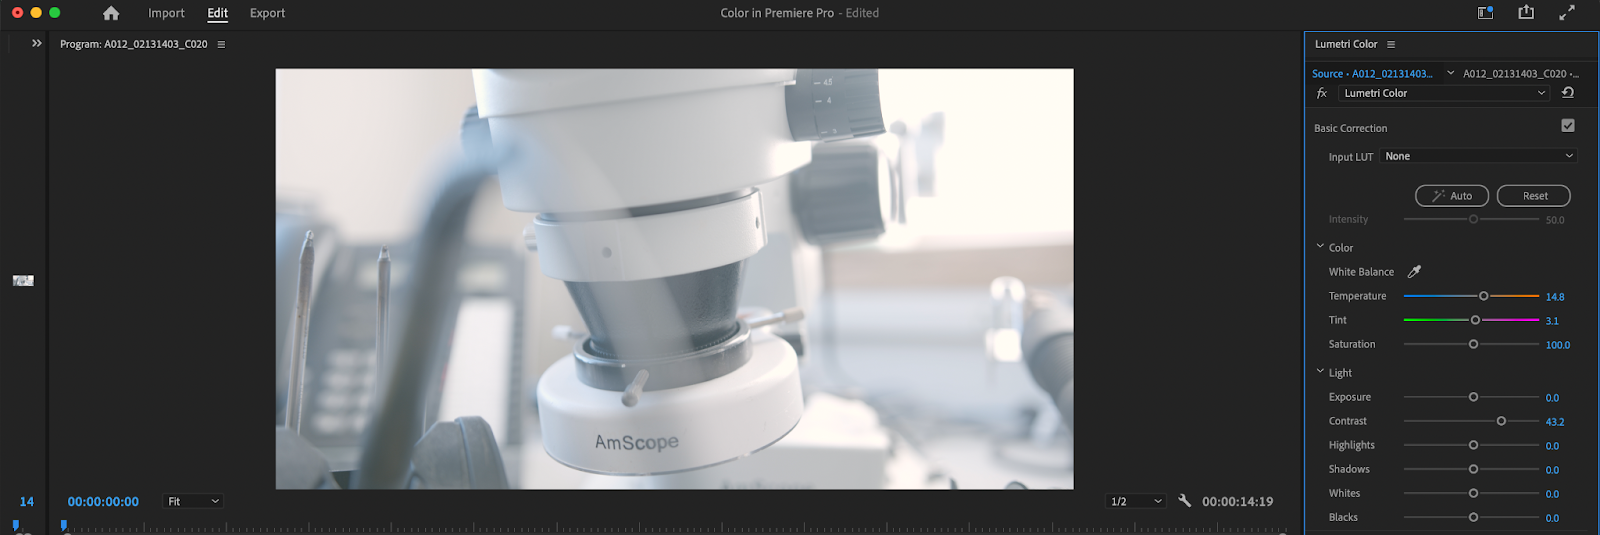
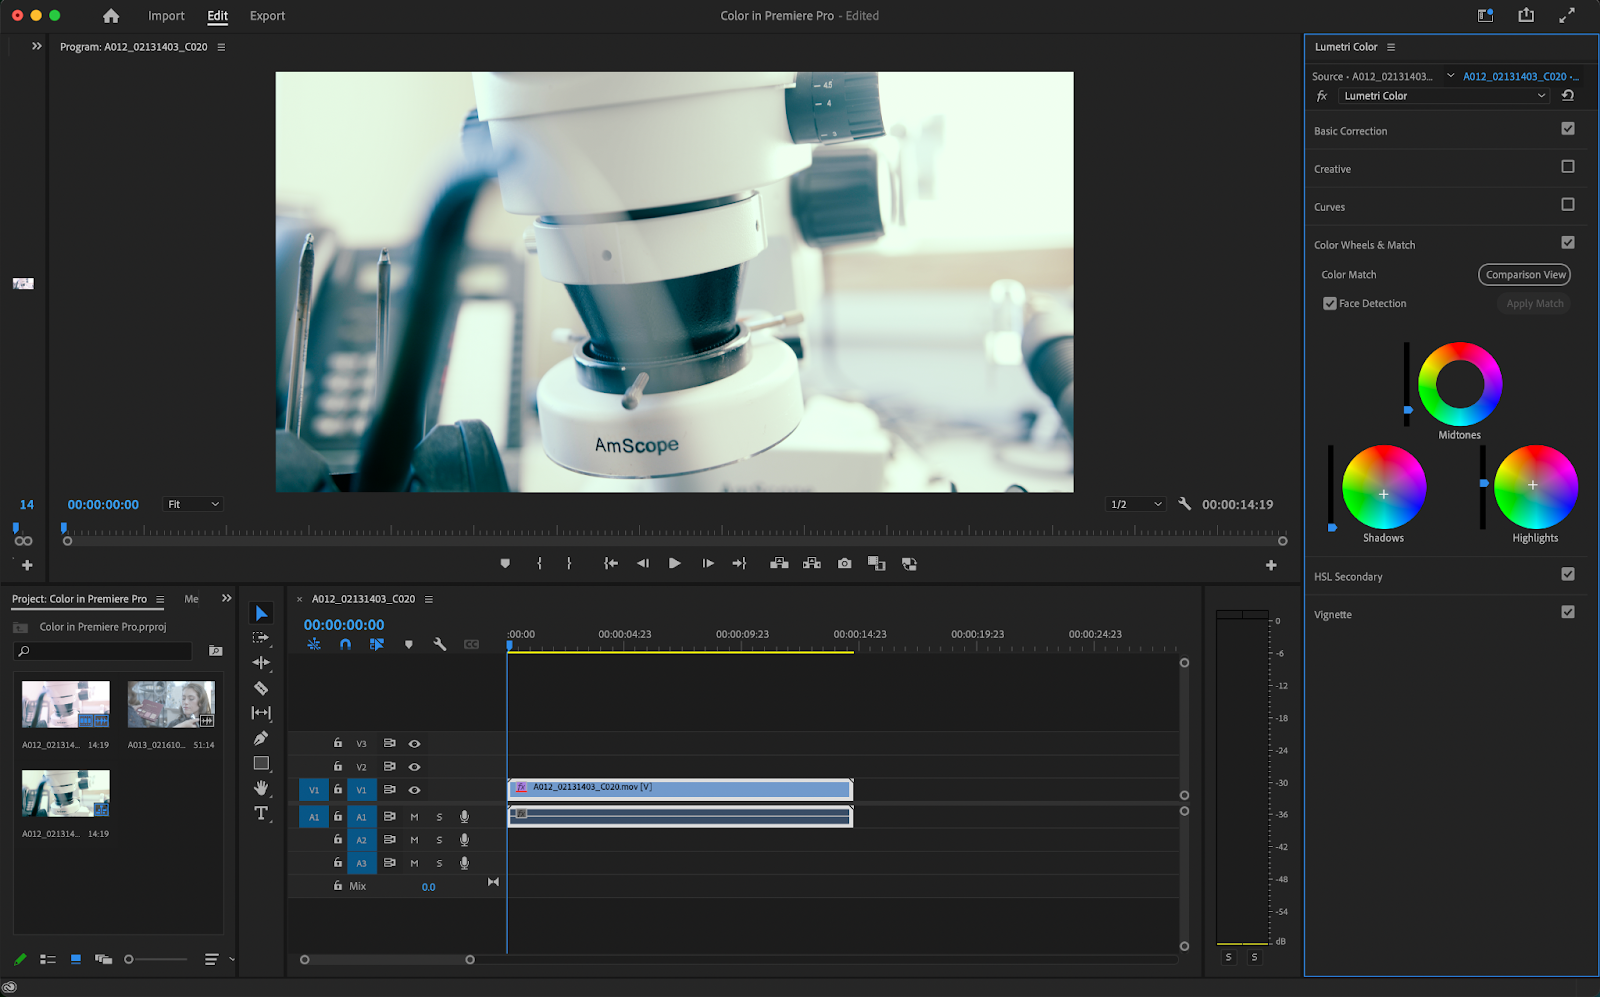
The Lumetri Color Panel in Premiere Pro is where you’ll find all of your color grading tools. Simply go to Window > Workspaces > Color. The Lumetri Color Panel is located on the right-hand side of the screen and contains a few different submenus.
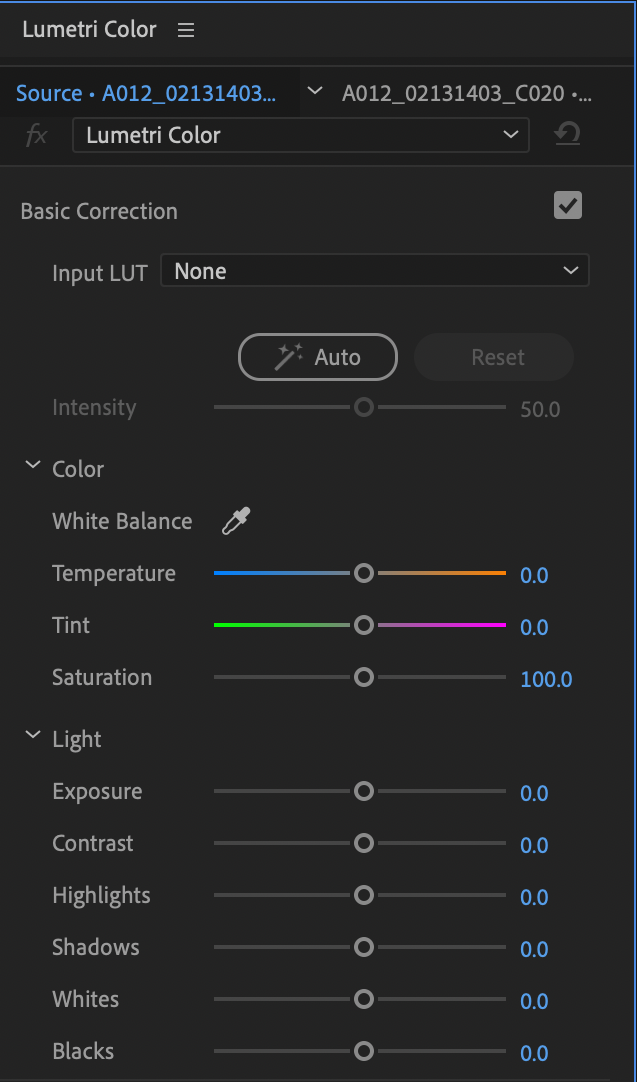
Basic Correction
The Basic Correction window has a few very simple color effects and is a great starting point for coloring your clip.
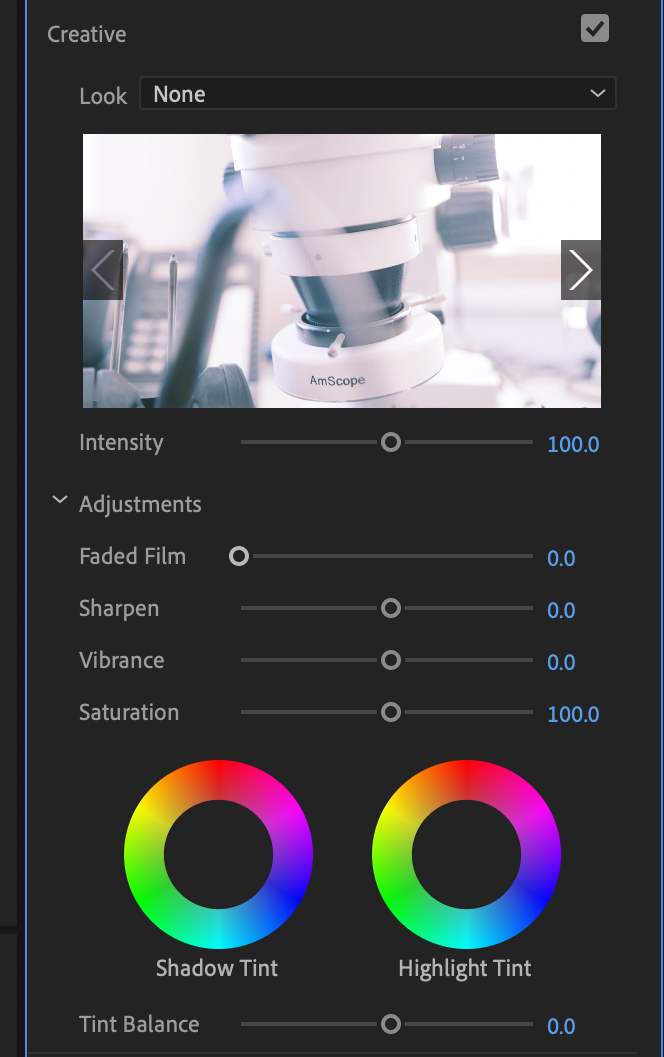
Creative
Underneath the Basic Correction tab is the Creative Window. The Creative Window gives users a few more options that add a bit more flare to their videos.
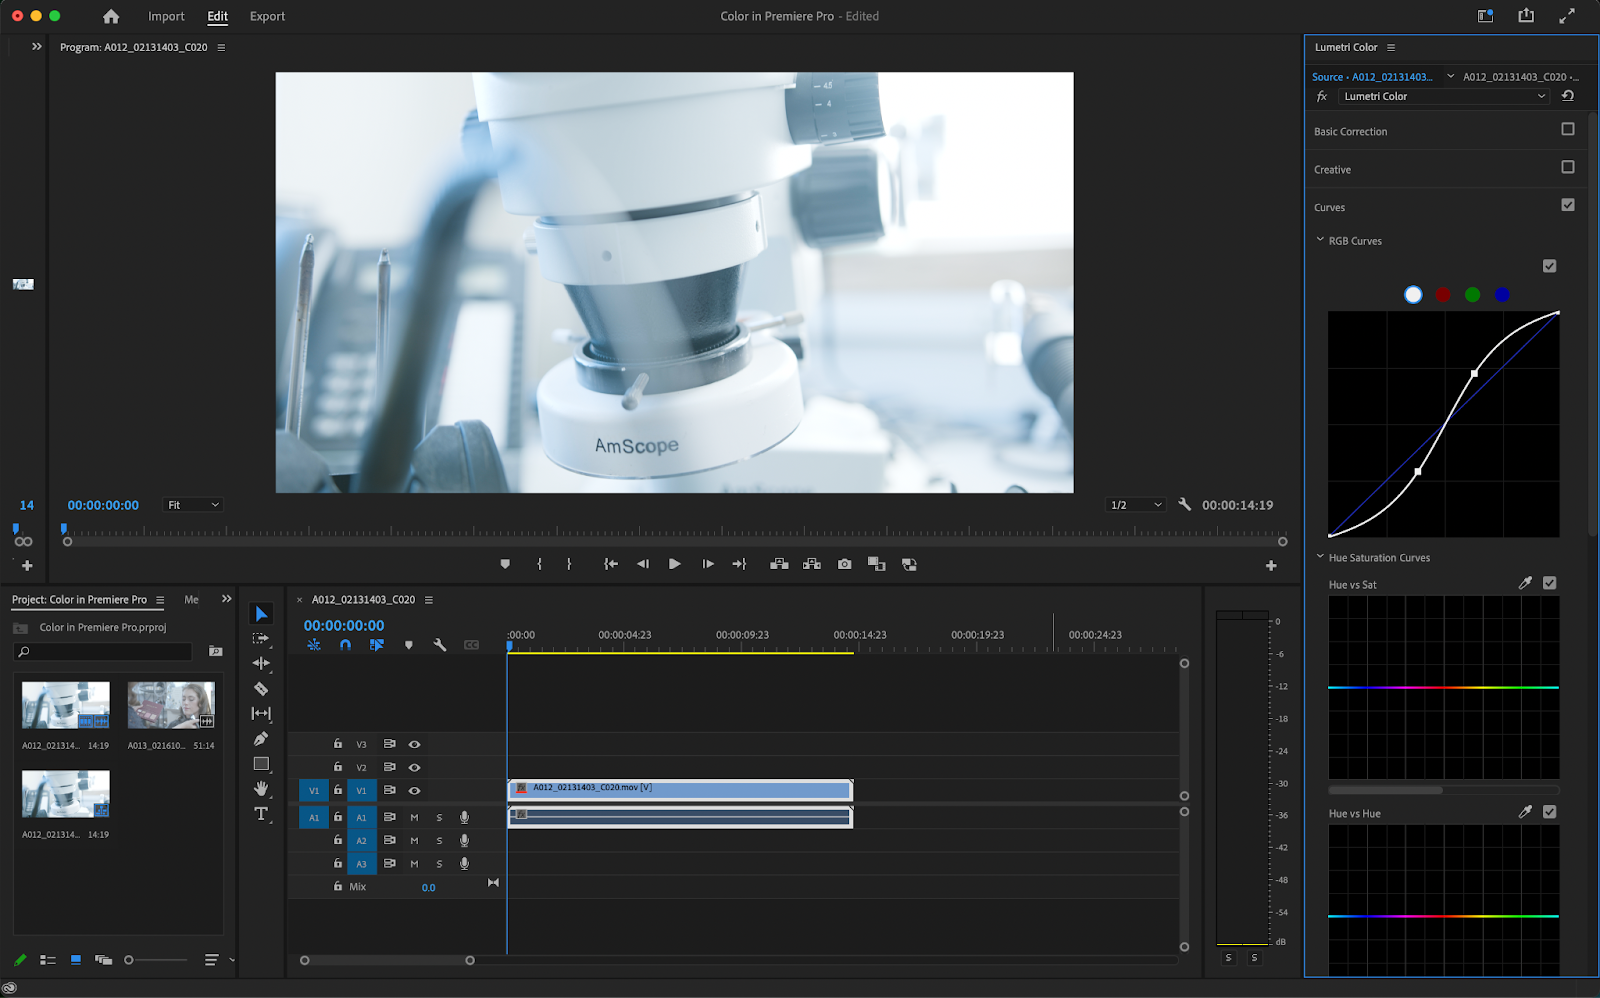
Curves
After Creative is the Curves Window. Curves give you much more control over a lot of the features covered under Creative and Basic. For example, the RGB Curve is used to adjust the contrast of your image.
A simple “S curve” will boost the highlights and darken the shadows. You can create a curve by clicking on the line in the middle of the color graph. A dot will form that you can drag around. Double-clicking this dot will reset everything back to normal.
Color Wheels
Color Wheels are another way to color your image. They’re very similar to curves but in wheel form. The Highlight Curve adjusts the intensity of your highlights, the Shadow Curve will adjust the intensity of your shadows, and the Midtone curve will adjust the intensity of your mid-tones (which is pretty much everything in between your highlights and shadows).
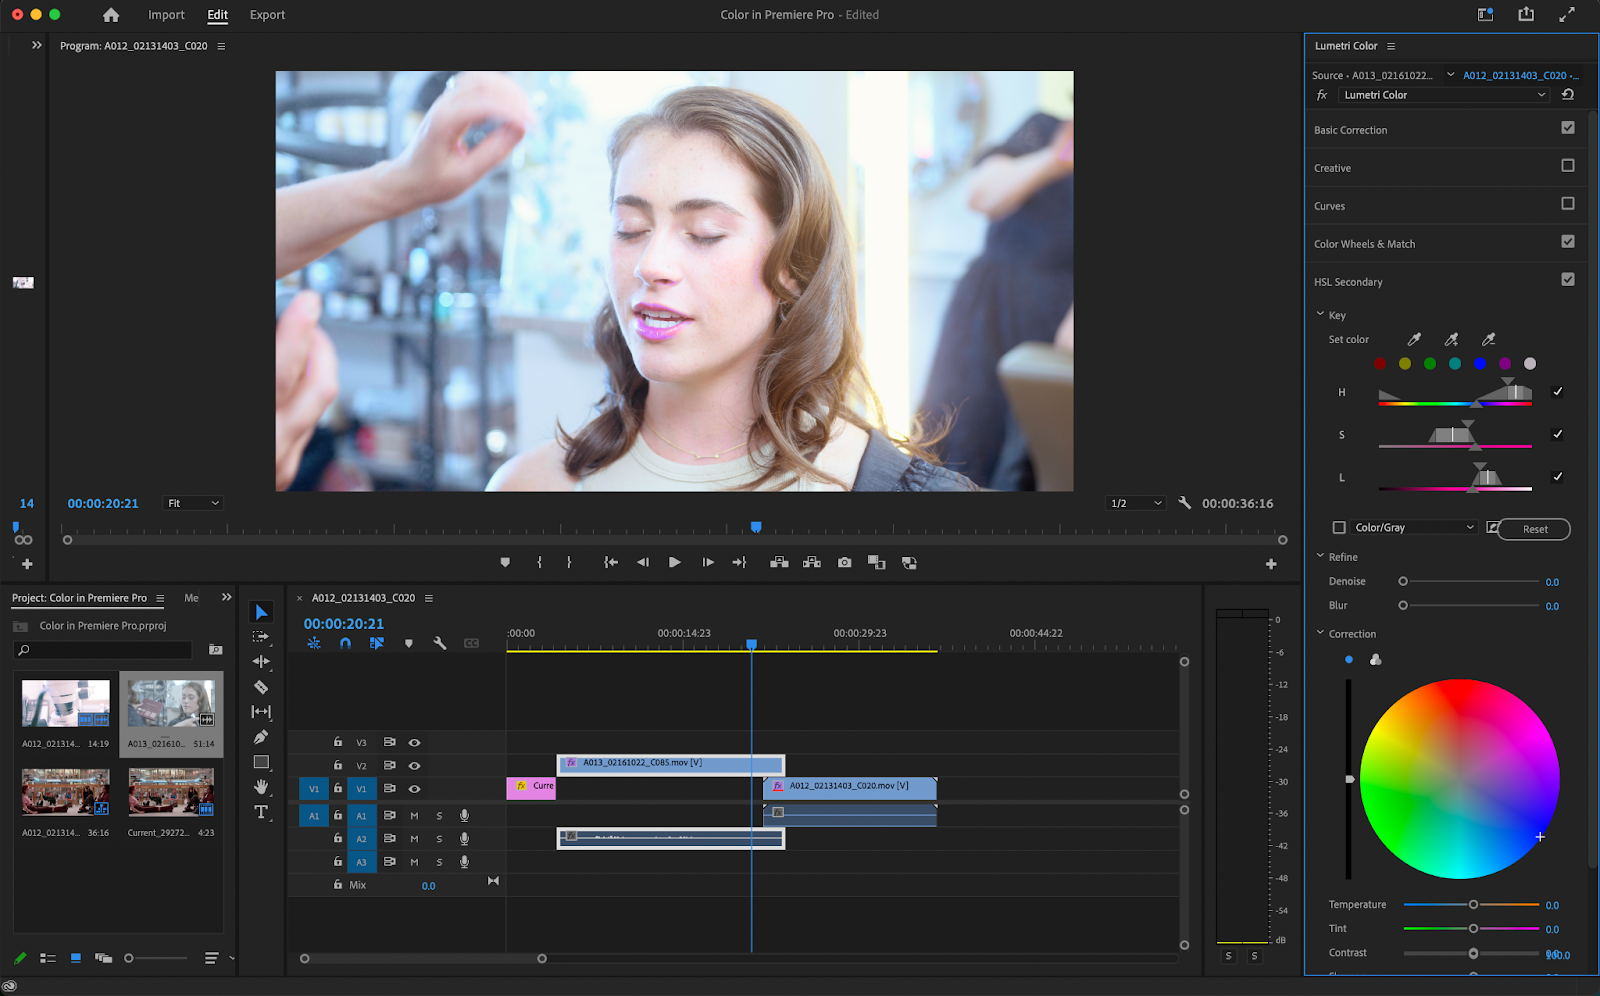
HSL Secondaries
The HSL secondaries panel is a culmination of everything looked at so far. You can select specific colors in your image using the eye dropper tool and edit or enhance those specific colors using the color wheel located at the bottom.
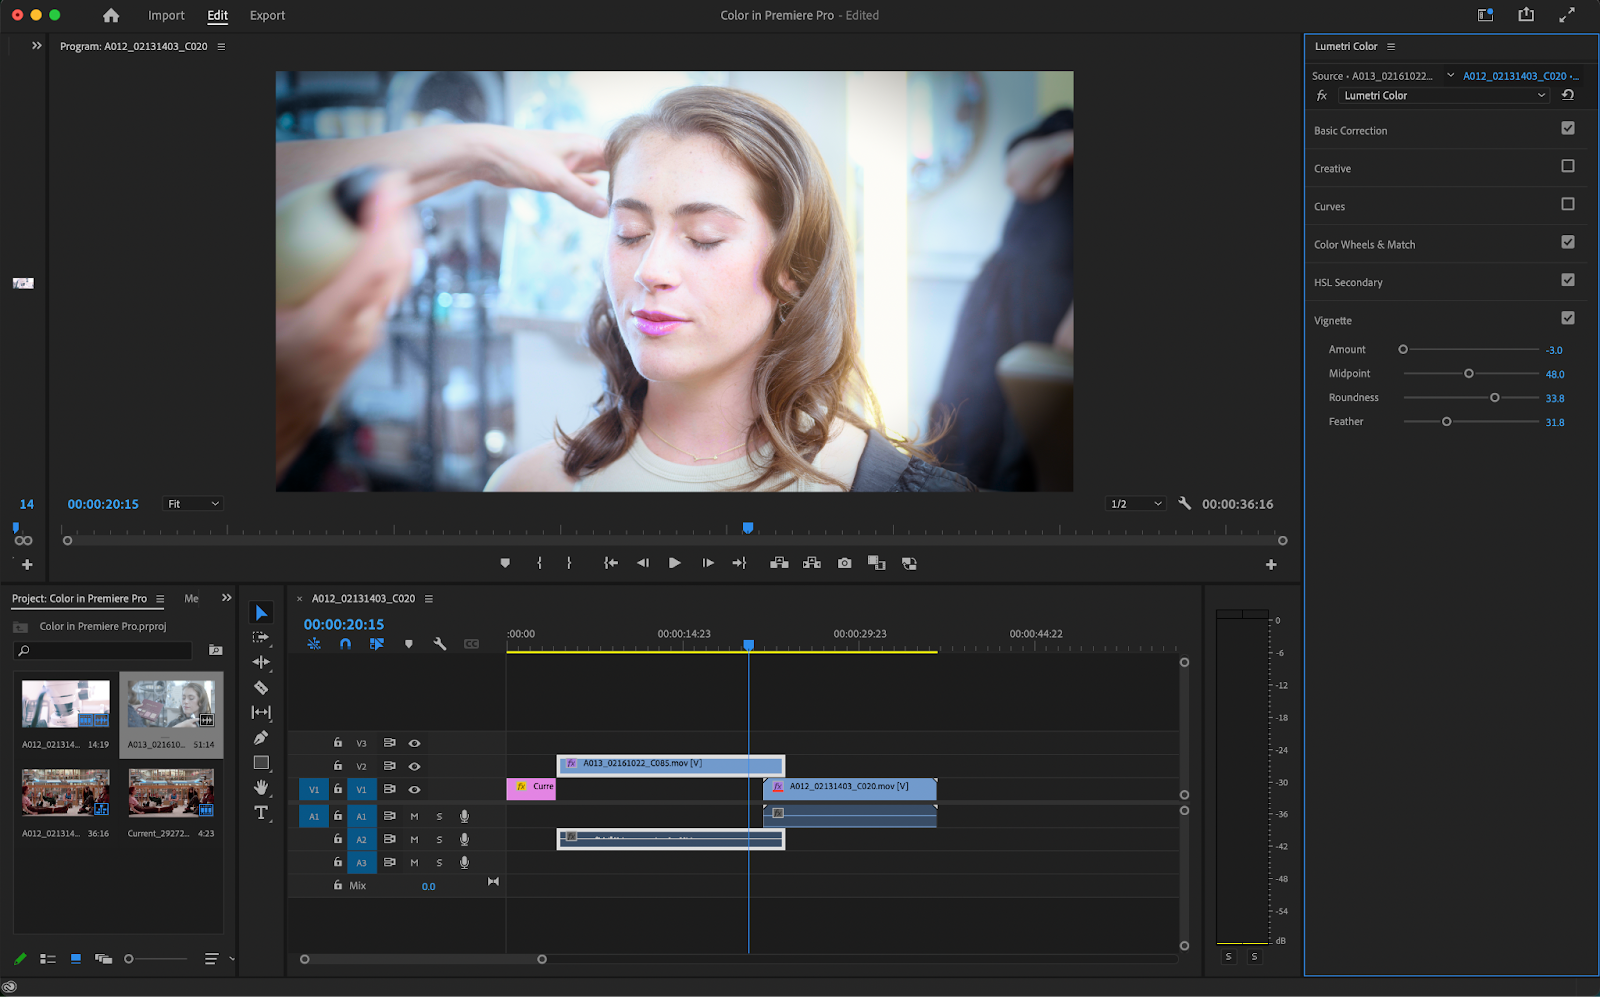
Vignette
Finally, there’s the Vignette window which lets you add a Vignette to your image. All a Vignette does is add a soft black or white circle around your image. This can be done either as a cool stylistic choice or as a way to focus in on a subject.
For a more in-depth look at color in Adobe Premiere Pro, we have an article that you can read.
How to add and edit titles
Adding text in Adobe Premiere Pro is straightforward for beginners, with plenty of advanced options for more technical users. Everything you need can be found by clicking on Window in the top toolbar and going to Essential Graphics in the drop-down menu as talked about before.

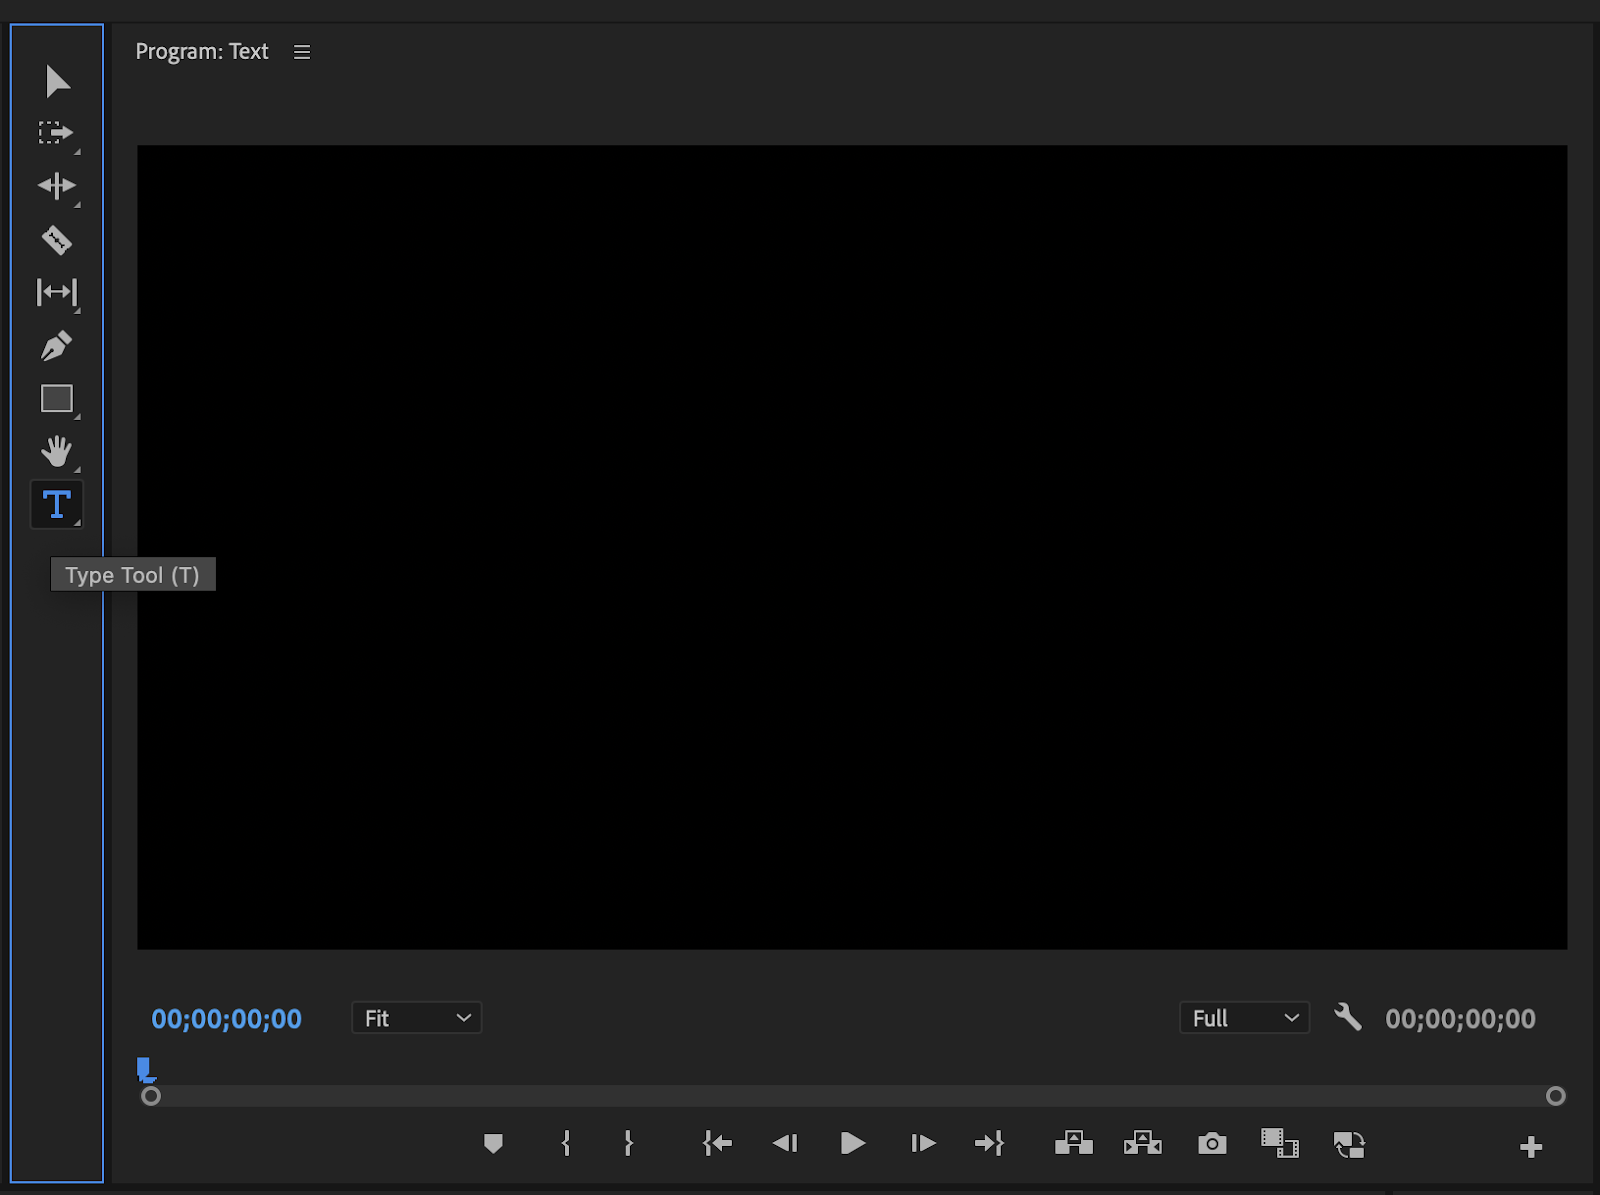
Select the Type Tool
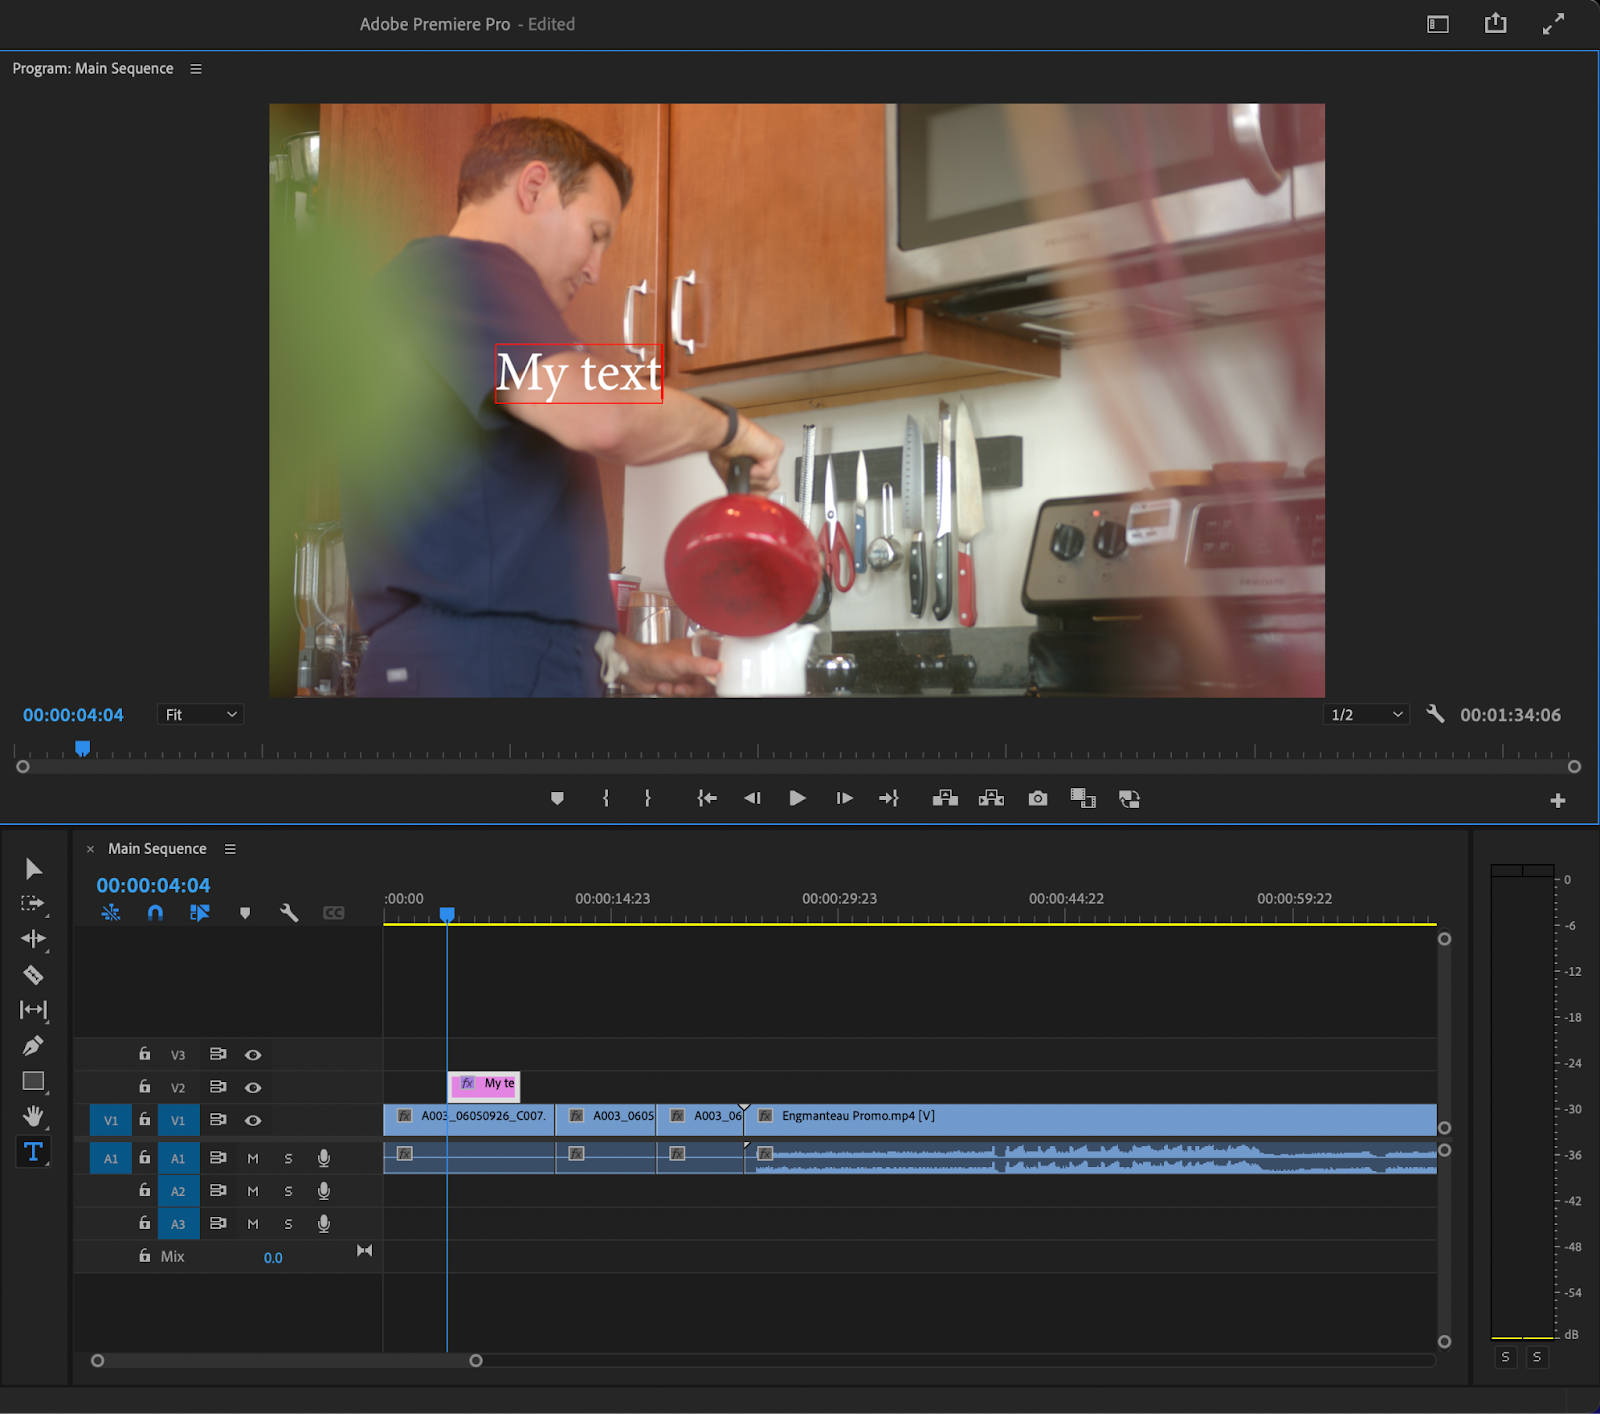
The first thing you’ll want to do to add text in Adobe Premiere Pro is click on the Type Tool button in the tools menu to the left of the timeline. If you’re in the captions and graphics workspace, the tools menu will be to the left of the viewer window. You can also access this tool by pressing T on your keyboard.
Add a text box
Once the Type Tool is selected, you’ll want to click the viewer window to add the text box. You’ll then be able to type whatever it is you want into it. You’ll need to deselect the Type Tool and switch to the Selection Tool by clicking on it.
Using the hotkey V while the Type Tool is selected will only add to your text box. Once the Selection Tool is selected, the text box will turn blue, and you’ll be able to drag and edit it in any way you want.
Customize the text
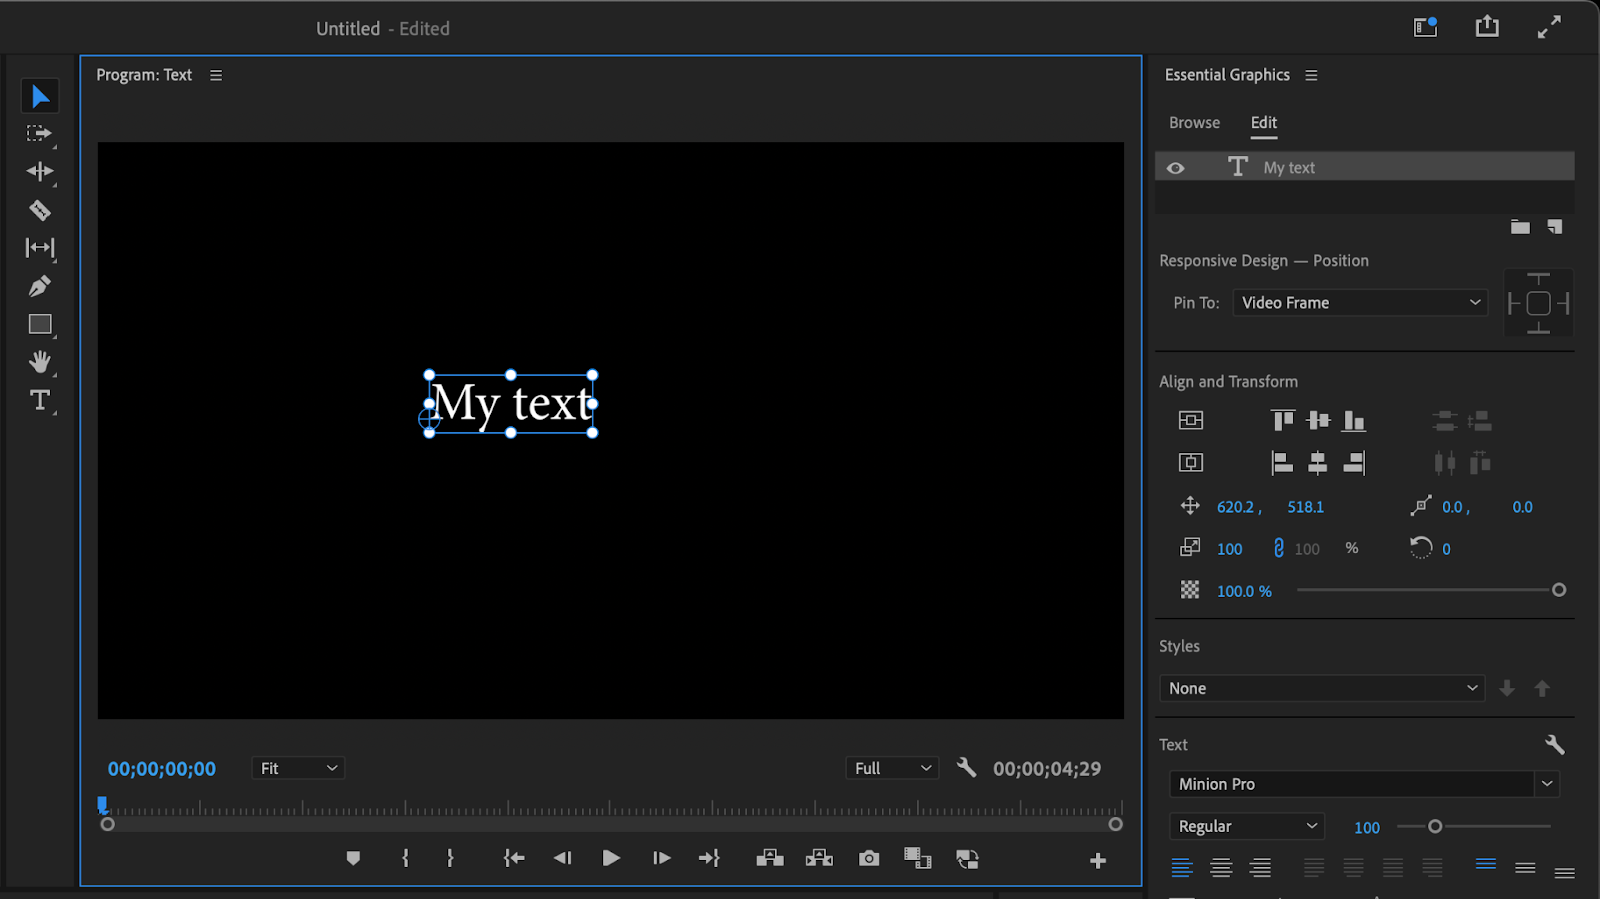
All the customization to the text will mostly be done in the essential graphics panel. First, an easy way to transform the size of the text is by selecting one of the white circles around the text box.
Your cursor will turn into an arrow, allowing you to either decrease or increase the size of the text. There’s a tiny blue crosshair that can be dragged around as well which will change the anchor point of the text. This determines where the text is scaled from.

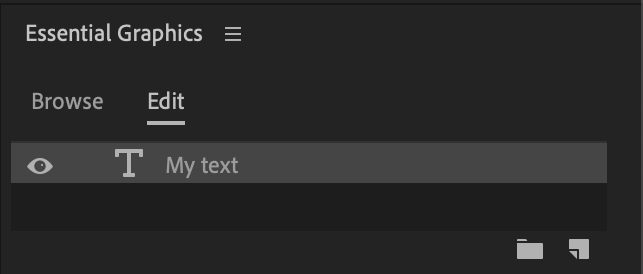
Going into the essential graphics panel, the first thing you’ll see are all of your text layers. Multiple text boxes will show up in this panel as layers allowing for a much more fluid experience. You can also create new layers or group layers by clicking the two icons in the bottom right-hand corner.
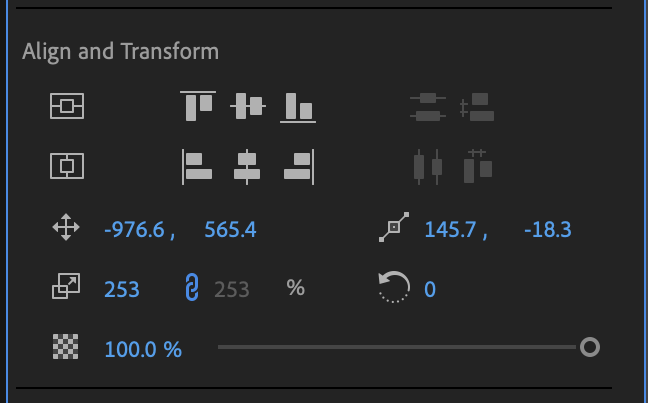
The “Align and Transform” tab in the essential graphics panel allows you to do a couple of different things to your text. First, and probably most importantly, there are buttons that automatically snap your text to be properly centered both vertically and horizontally.
Below that, you’ll also have options for precise location, rotation, scale, and opacity of your text. Clicking on the icon next to any of these numbers (or the slider in the case of opacity) will let you set keyframes.
The text tab gives you design options for your text. Font style, spacing, and centering text within the textbox are all found here. Beneath that is the appearance tab which allows you to change your text color. You can add things like fill and stroke as well as add a drop shadow to your text.
How to export in Premiere Pro
The various export options can be found by clicking the File Dropdown Menu and then hovering over Export.
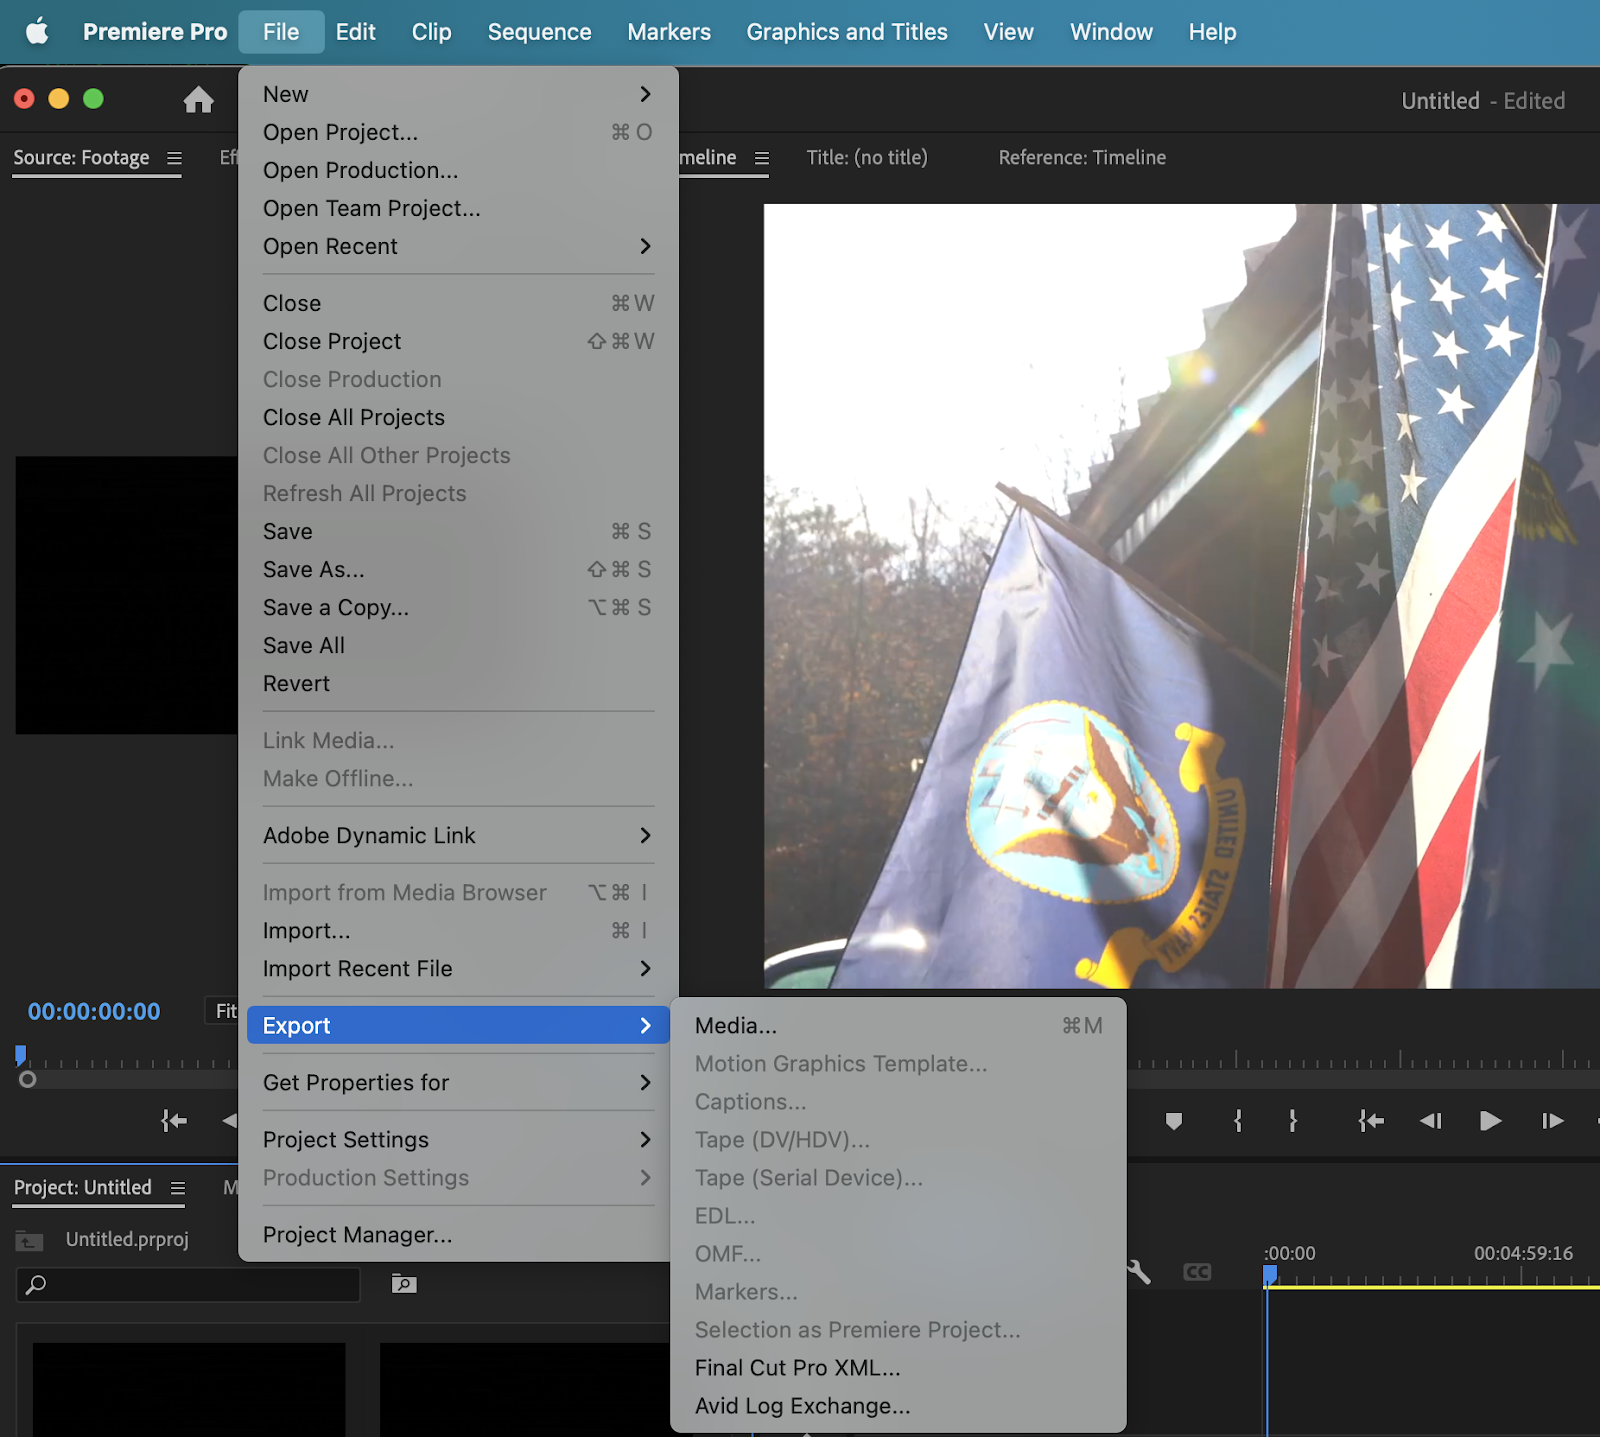
The most common export type that you’ll most likely use is Media. Media brings you to the traditional export settings window with codec, bitrate, and output options. This window has recently had an updated new look in the 2022 version of Adobe Premiere Pro but functions essentially the same as older builds.
This can also be accessed by clicking Ctrl + m on your keyboard or ⌘m if you’re on a Mac.
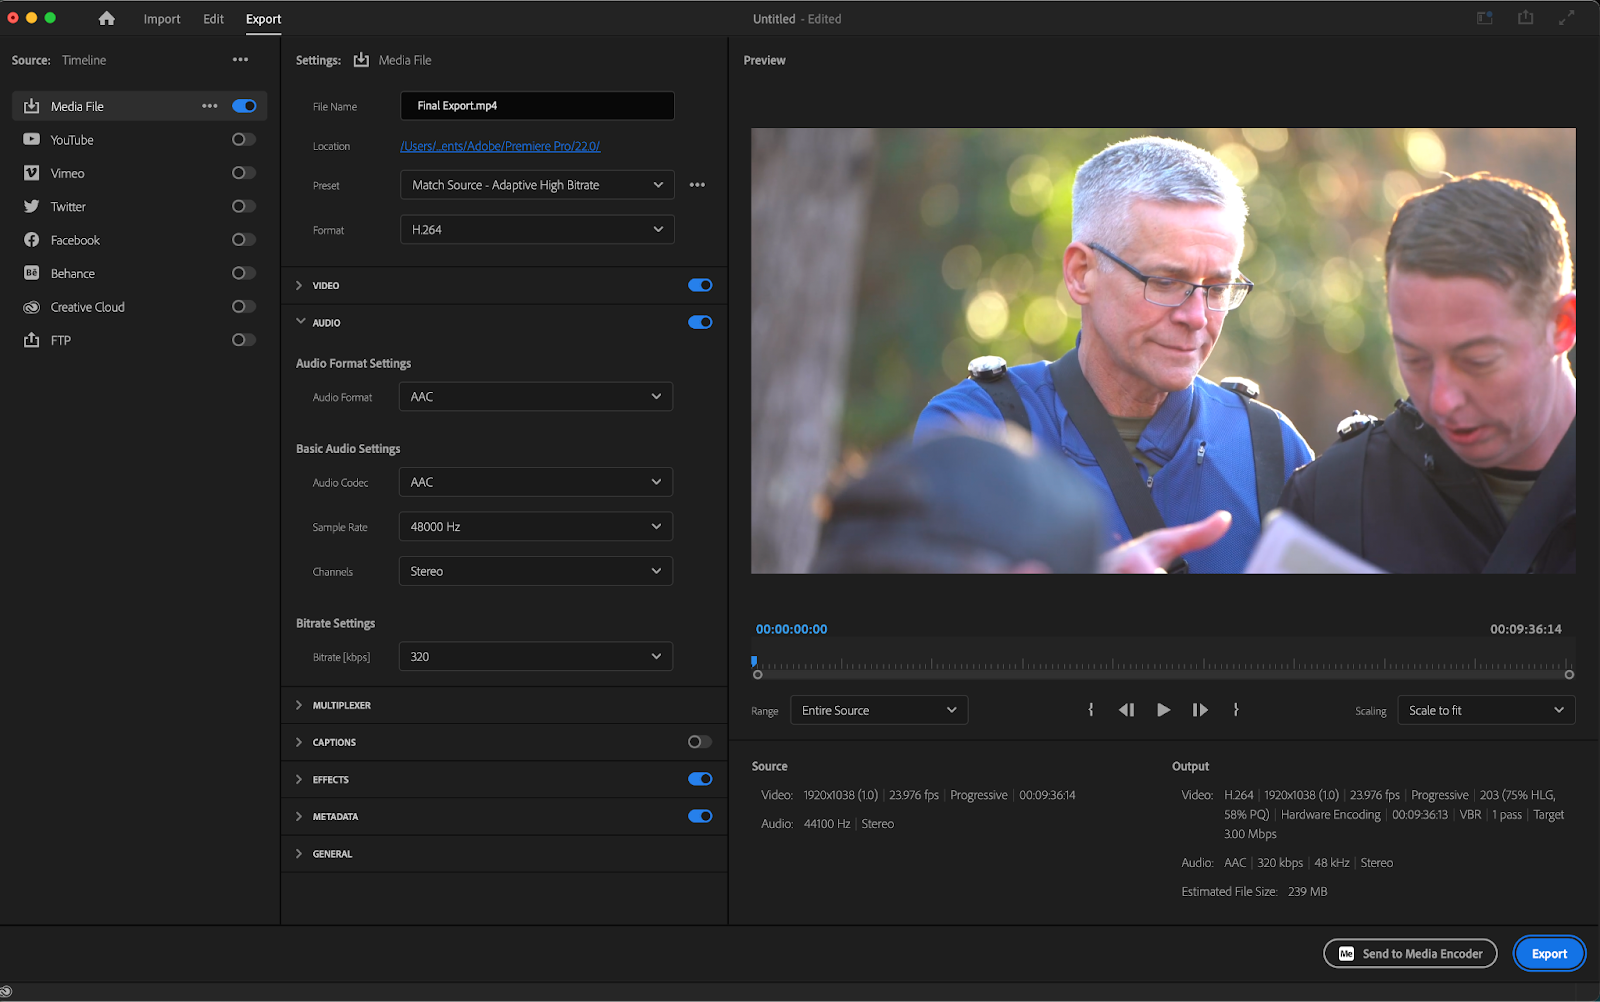
Once all of your settings are to your liking you’ll want to give your file a unique output name before sending it off to export. You’ll also want to choose an output location by clicking the blue highlighted text underneath File Name.
This will bring you to a finder or file window where you can choose the output location of your export.

In the lower right-hand corner are two export options. There’s a blue button labeled Export and a button right beside it labeled Send to Media Encoder. Clicking Export will export your file to the destination you chose. Clicking on Send to Media Encoder will open up Adobe Media Encoder.
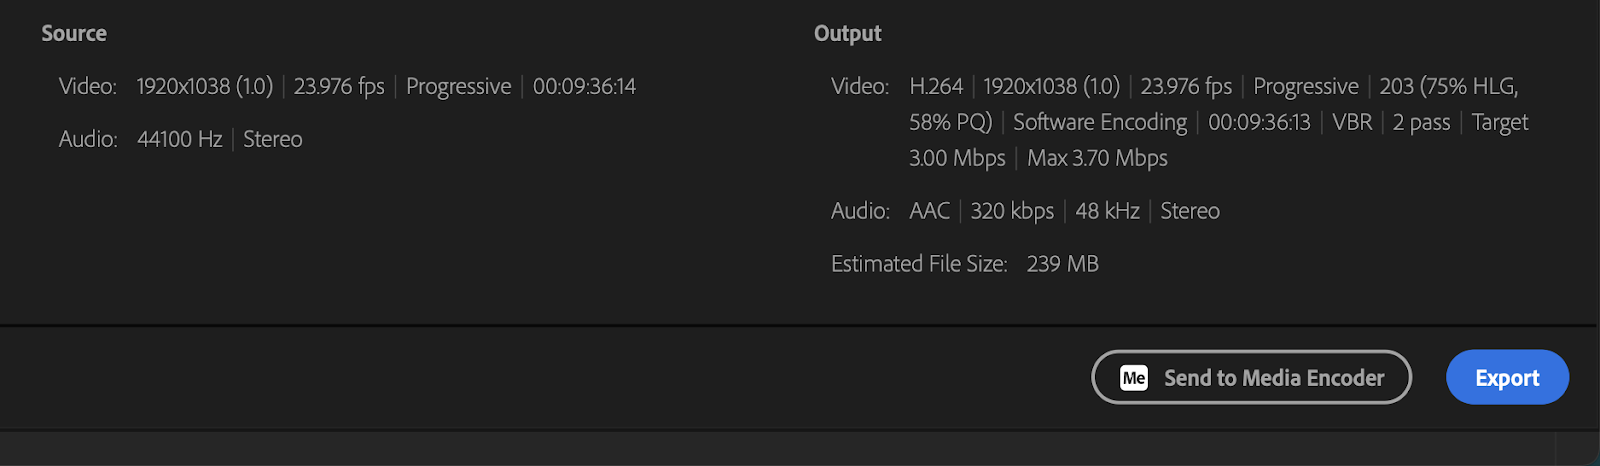
Adobe Media Encoder is free with Adobe Creative Cloud and a great tool to use for exporting multiple video files at once. It also provides even more encoding options and allows you to keep on working as your video exports in the background.
Conclusion
With incredibly strong features and a great interface, it’s not at all hard to see why Adobe Premiere Pro has been a mainstay in the film industry and a popular choice among video creators around the world.
With this guide, you now have everything you need to get started with Premiere Pro. When you’re ready to take your creations to the next level, check out the Simon Says extension for Premiere Pro. The software allows you to transcribe, caption, and translate videos in a seamless manner directly in Premiere.