The Ultimate Guide to Adobe Premiere Pro Keyboard Shortcuts
In the world of video editing, there’s no such thing as “too quick”. As an editor, it’s important to save as much time as you can on the little things when working on a project. Figuring out a good workflow is an absolute must, and the key to any good workflow is utilizing Keyboard shortcuts.
Premiere Pro is the defacto software for many editors due to its powerful editing tools, integration with the Adobe suite of products, and amazing customization options. Among these customization options are shortcut keys. This tutorial will be the ultimate guide in using keyboard shortcuts in Premiere Pro for macOS and Windows devices.
What is a Premiere Pro keyboard shortcut?
Premiere Pro keyboard shortcuts (or hotkeys) are commands that can be accessed entirely on your keyboard. Usually, this command has a slower means of being accessed. For example, to save a project in Premiere Pro, you can go all the way to the top of the screen and go to File > Save or you can choose the much simpler option of pressing cmd + s (or ctrl + s) on your keyboard.
It may not seem like a lot, but simple hotkeys such as these can be huge timesavers once you get a feel for everything.

Most useful Premiere Pro keyboard shortcuts
So what are the go-to shortcuts in Premiere Pro? Well, this is something that’s going to be subjective based on the user since every editor has a different workflow and different shortcuts that work best for them.
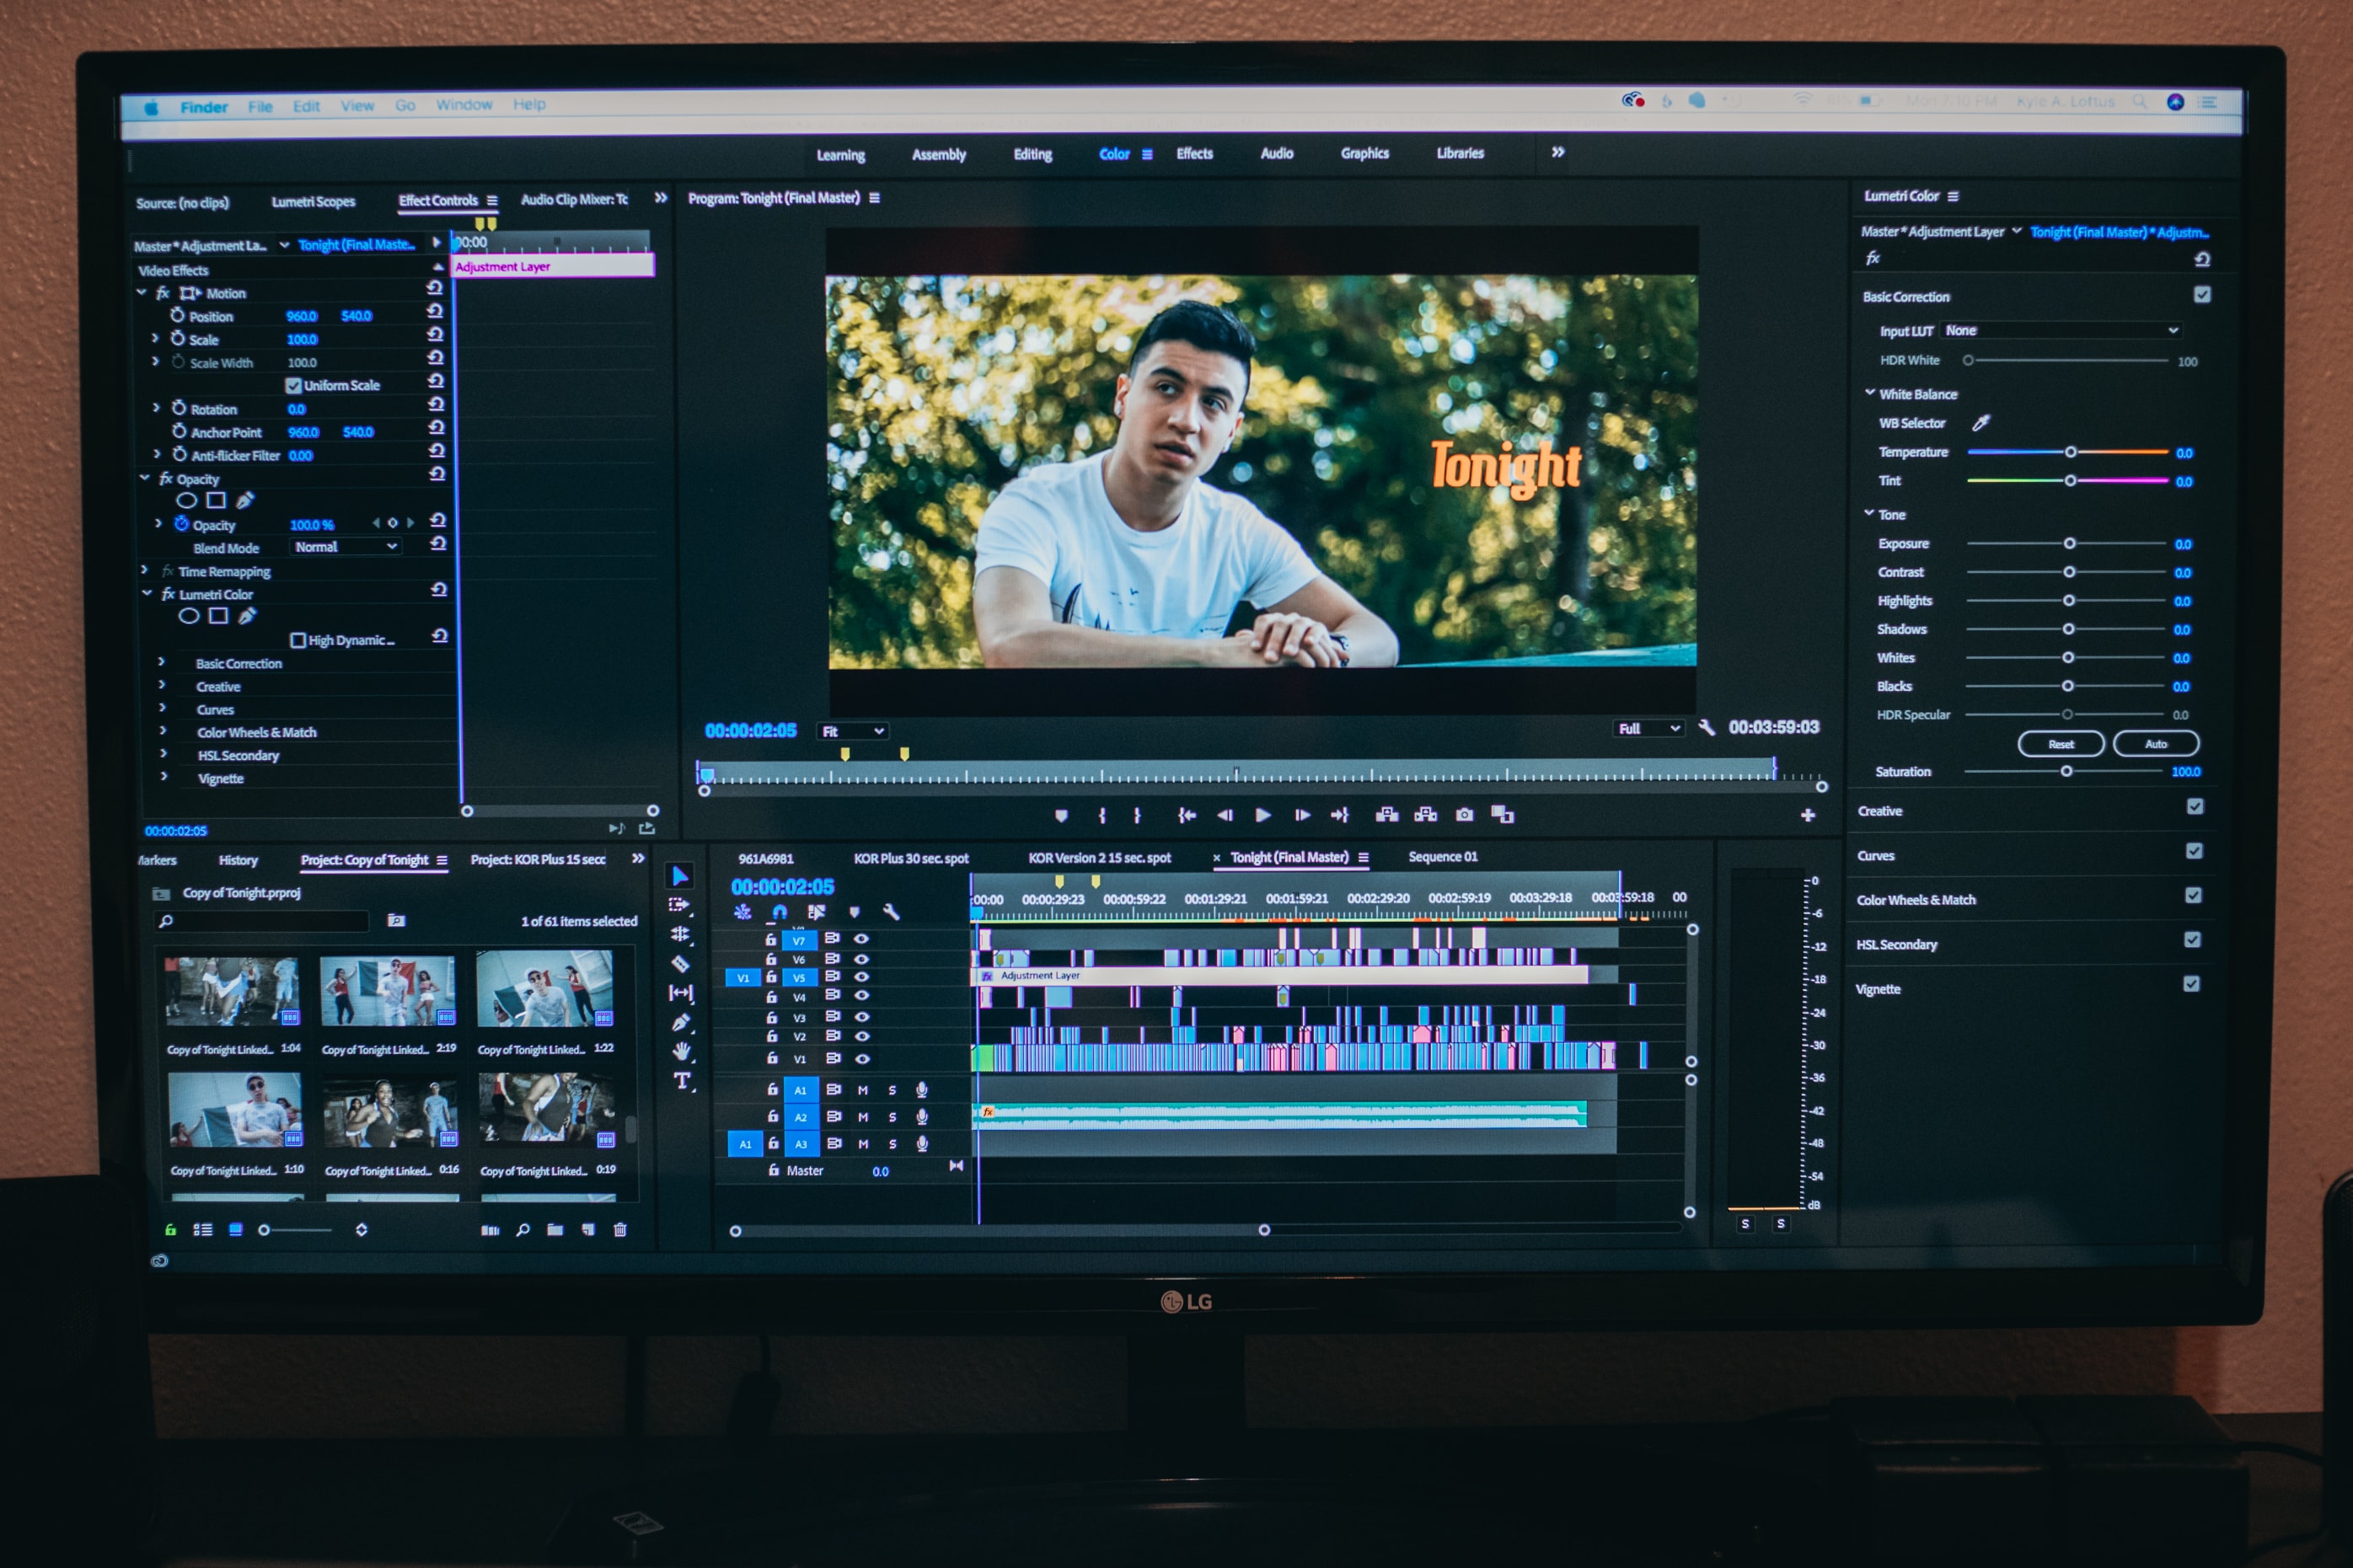
However, most time spent in Premiere Pro is usually within the timeline, making shortcuts in this area some of the most widely used. For example, to zoom in on the timeline, you’ll want to press = on the keyboard, and to zoom out you’ll want to press - on the keyboard.
Below are a few more examples of some useful keyboard shortcuts for Adobe Premiere Pro.
List of Premiere Pro shortcuts by type
Keyboard shortcuts in Premiere Pro are broken up into a few different sections. These are based on the type of key that is pressed as well as the action you’re completing in Premiere. The one’s we’ll be covering in this article are command shortcuts, navigation shortcuts, clipboard shortcuts, and tool shortcuts.
Command Shortcuts
Command shortcuts are simply shortcuts that use either the command key on Mac or the control key on Windows. There are a wide array of these command shortcuts that you can utilize while working in Premiere Pro.
Navigation Shortcuts
Navigation shortcuts are incredibly self-explanatory. Simply put, they help you navigate quickly around Premiere Pro using only your keyboard.
Clipboard Shortcuts
Clipboard shortcuts help you access items that are saved in your clipboard. A clipboard is where temporary data is stored on your computer and in Premiere Pro. It’s what makes functions such as copying and pasting possible.
Tool shortcuts
The tools shortcut is incredibly handy for accessing all of the tools Premiere Pro has to offer. Tools in Premiere Pro are typically located within the timeline panel and allow for different notifications inside your work area.
Creating custom shortcuts in Premiere Pro
On top of all these amazing hotkeys, Premiere Pro also allows for custom keyboard layouts. This can be wonderful for those who want to create their very own hotkeys or match Premiere’s hotkeys to another NLE such as Final Cut or DaVinci Resolve.
To create a custom keyboard shortcut, you’ll want to go to Premiere Pro > Keyboard Shortcuts or use the hotkey ⌘+Option+K.
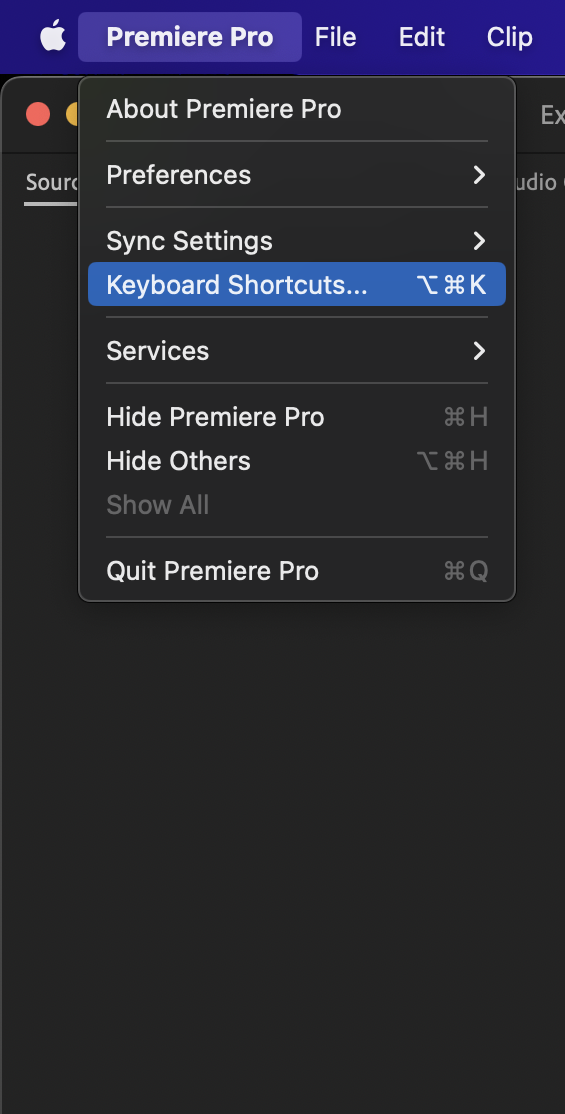
This will bring up a keyboard layout containing a cheat sheet of all the hotkeys available in Premiere Pro. Clicking on a key in this keyboard lets you assign a shortcut to it. You can also search for specific hotkey combinations in the search box at the bottom of the keyboard.

Summary
Utilizing hotkeys is one of the most simple yet effective things that can be done in Premiere Pro to speed up workflows. Adobe allows for so much customization across all of its Creative Cloud platforms and Premiere Pro is no different. Custom keyboard layouts help you create the perfect experience based on your individual preferences.
With Simon Says, you can extend this efficiency and flexibility to your video captioning and transcriptions. The extension works natively within Premiere Pro and you can use it to significantly reduce your production times.