How to transcribe and subtitle in DaVinci Resolve (Windows)
Simon Says (beta) for Resolve Studio Windows is now available with multicam support!
Simon Says supports Resolve Studio v17 and v18 (Windows). This means you can transcribe, caption, translate, and subtitle clips and timelines in DaVinci Resolve Studio.
If you're looking transcribe/subtitle in Resolve for Macs, see this article. For Resolve Macs, we support both Studio and non-Studio versions.
Requirements:
- Windows computer with Resolve Studio v17 or v18.
- Note: you need the paid "Studio" version of Resolve, not the free version
If you have already followed the below instructions and are having issues, here is a troubleshooting guide.
Download Simon Says for Resolve (Win)
(v1.0.4 -- Updated on Oct 9, 2022)
To install: double click the .exe
If the login screen is blank on loading at first, close it and reload login screen again.
Manual (alternative) installation method:
* download this .zip file
* unzip it to this location: C:\ProgramData\Blackmagic Design\DaVinci Resolve\Support\Workflow Integration Plugins
FYI: The folder "ProgramData" is hidden by default. Type %programdata% into Windows Explorer to go there.
Help video overview of how to add markers to clips in Resolve Studio (Windows) using the Simon Says extension
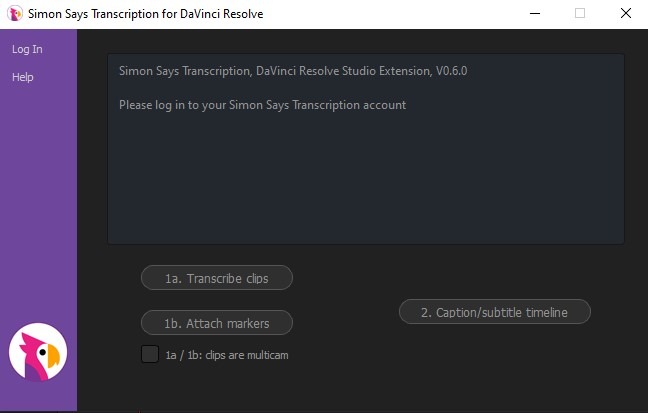
How to - transcribe clips / add transcript markers to clips:
- Open the Simon Says exe application.
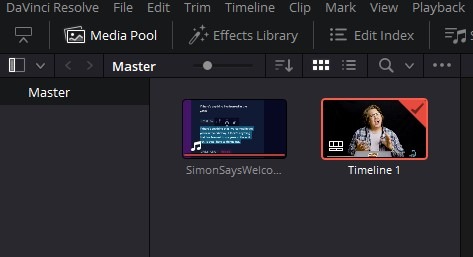
- Select the clips you want to transcribe in your bin. If you are transcribing a multicam*, select the relevant checkbox in the Simon Says Resolve extension. (Learn how to transcribe multicams in Simon Says or see this option to create multicams retroactively)
- *Note: each angle in a multicam will export and be chargeable...for example a 3-angle, 1-hour multicam will cost 3 hours of transcription credit as each angle separately transcribes.
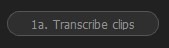
- In Simon Says: click the button 1a. Let the media transcode and upload to the Simon Says server.
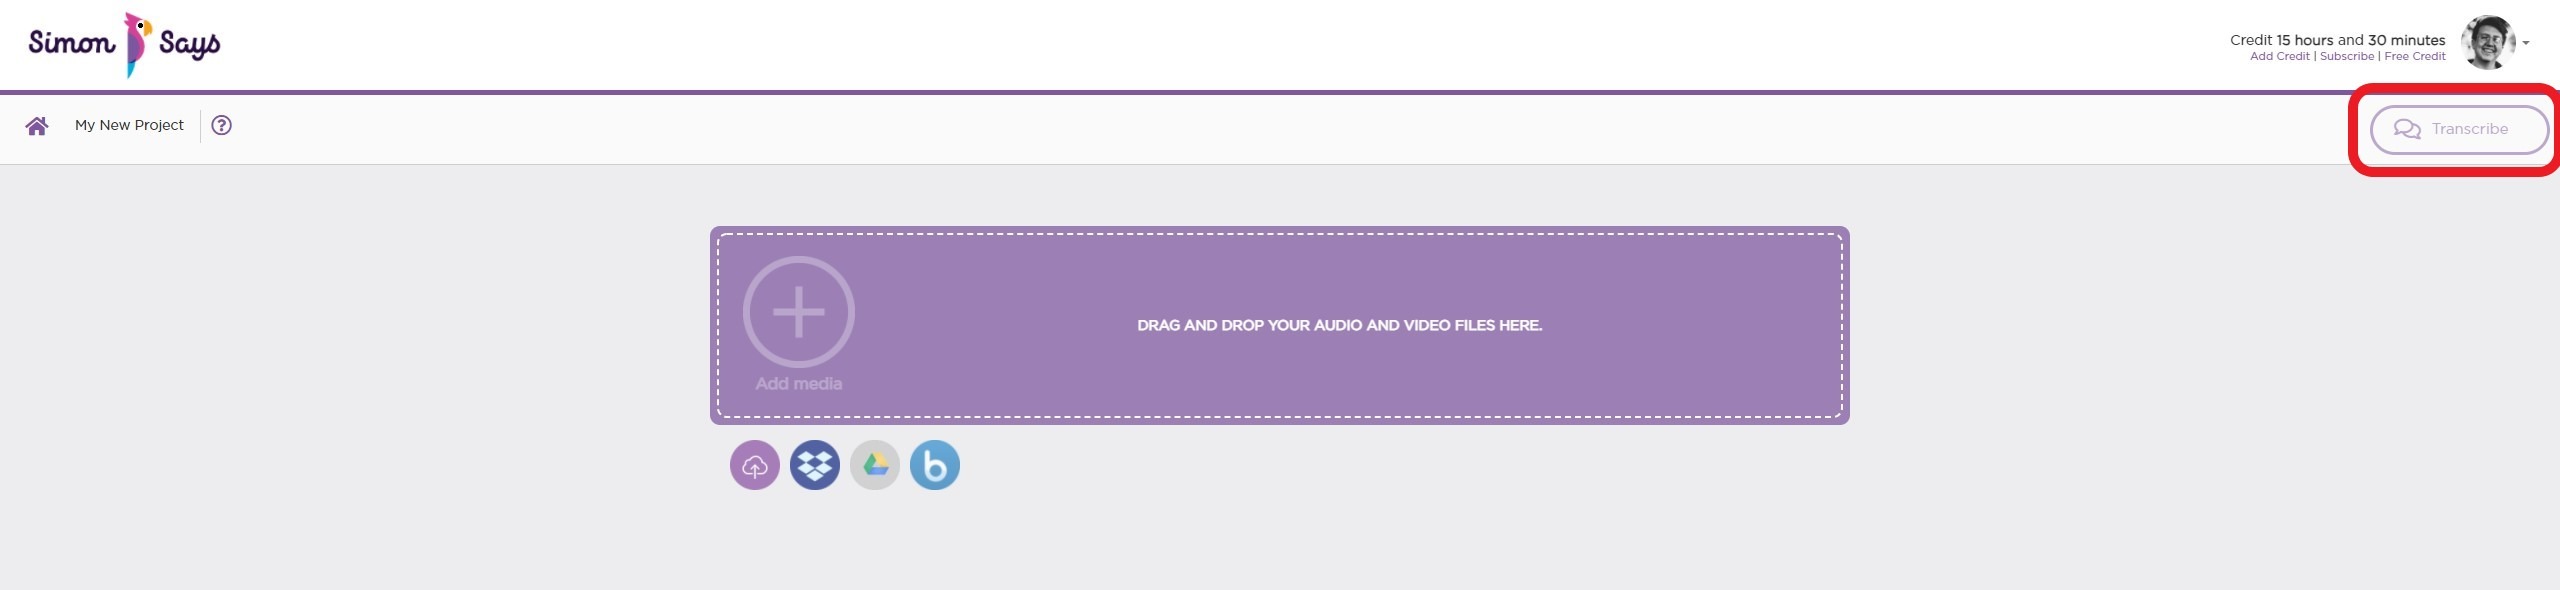
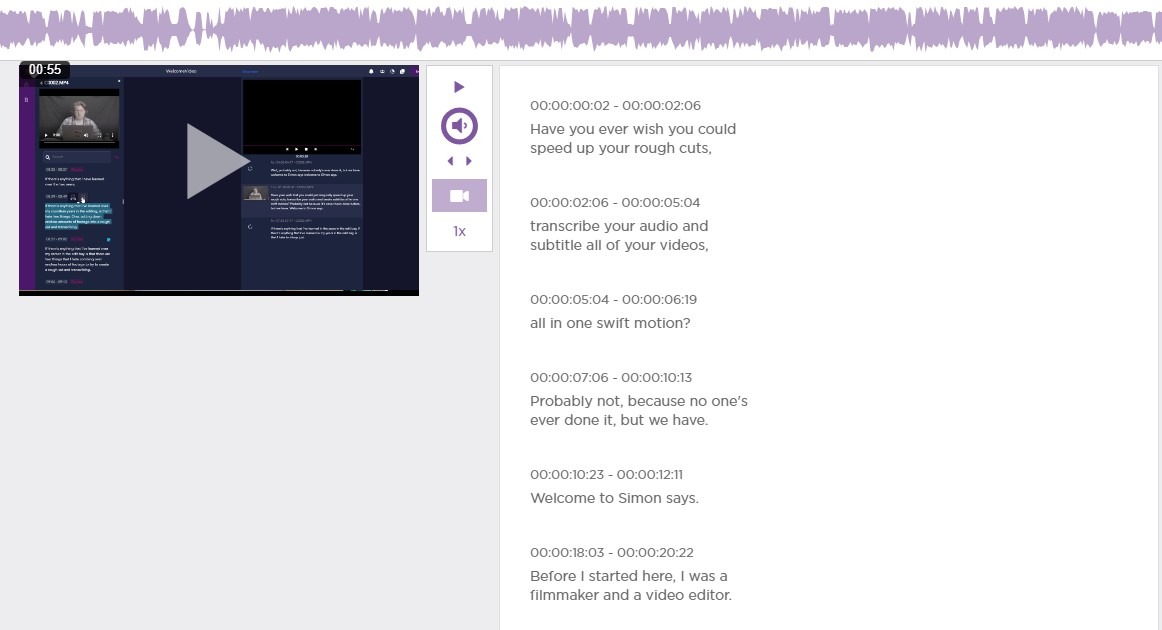
- Go to the Simon Says website, login, and open the newly created project with the uploaded media. Click "Transcribe" on the website and pay.
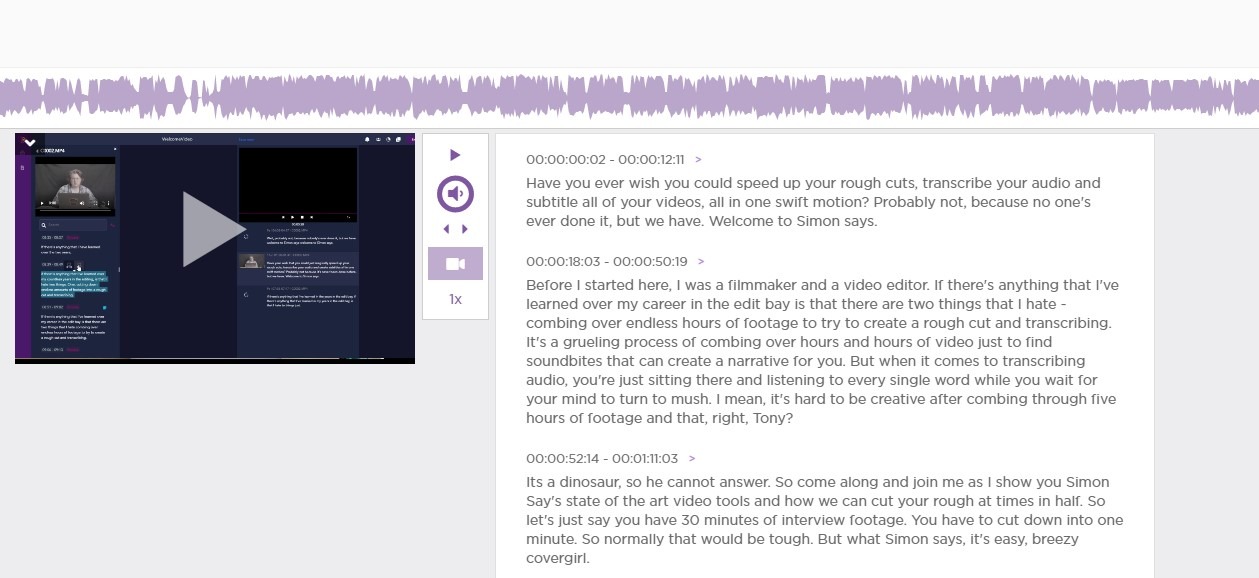
- You will receive the transcripts in a few minutes. Make any edits/corrections; add speaker names and notes.
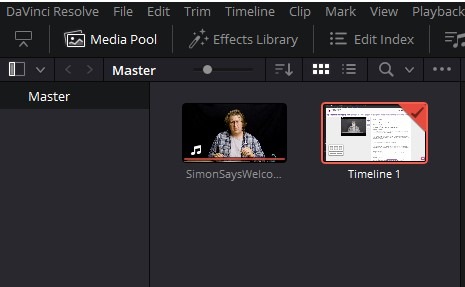
- Once you've have finished editing the transcripts, go back to the Simon Says exe application and click button 1b. Button 1b attaches the transcript markers to the clips in the bin. The original bin which contains the imported clips must be open for the transcript markers to attach to the respective clips. If you are reattaching transcript markers to a multicam, make sure the multicam checkbox is selected in the Simon Says Resolve extension.

How to - caption/subtitle timelines:
1. Open the Simon Says exe application.
2. Select the timeline you want to transcribe in your bin
3. In Simon Says: click button 2. Let the timeline transcode (flatten) and upload to the Simon Says server.

4. Go to the Simon Says website, login, and open the newly created project with the uploaded media. Click "Transcribe" on the website and pay.
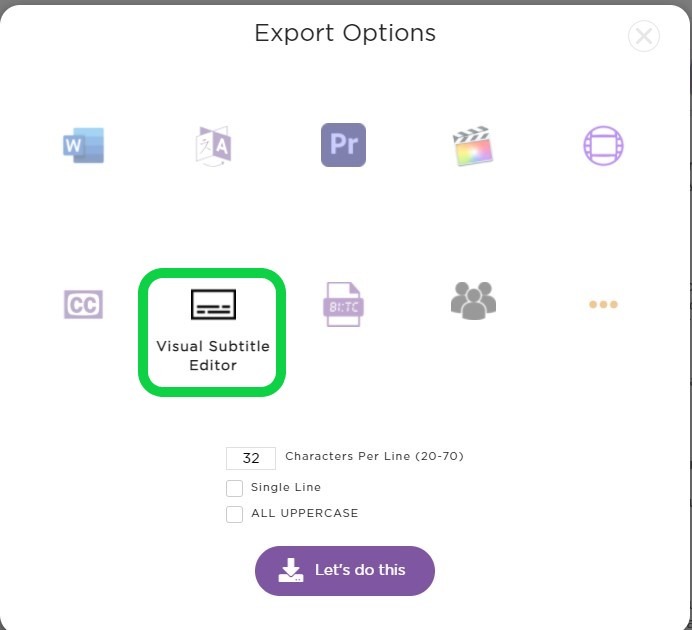
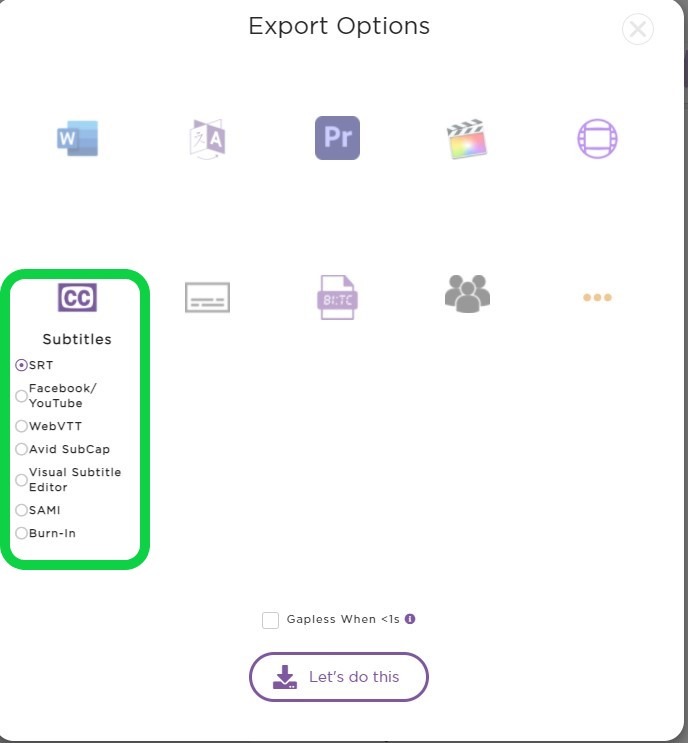
5. You will receive the transcript in a few minutes. Click "export" and choose "Visual Subtitle Editor" to preview the transcript as subtitles / captions.
6. Make any edits/corrections.
7. Once you've have finished editing the subtitles/captions, click export and choose "SRT" to download the SRT file. Unzip it.
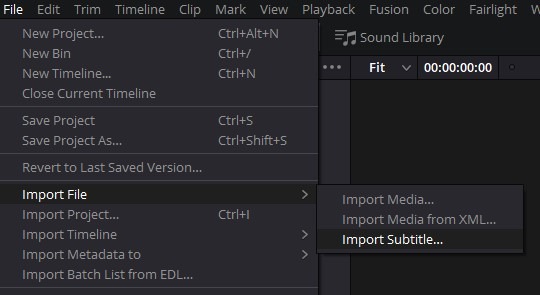
8. Go back to DaVinci Resolve. Locate the SRT file you just downloaded and import it.