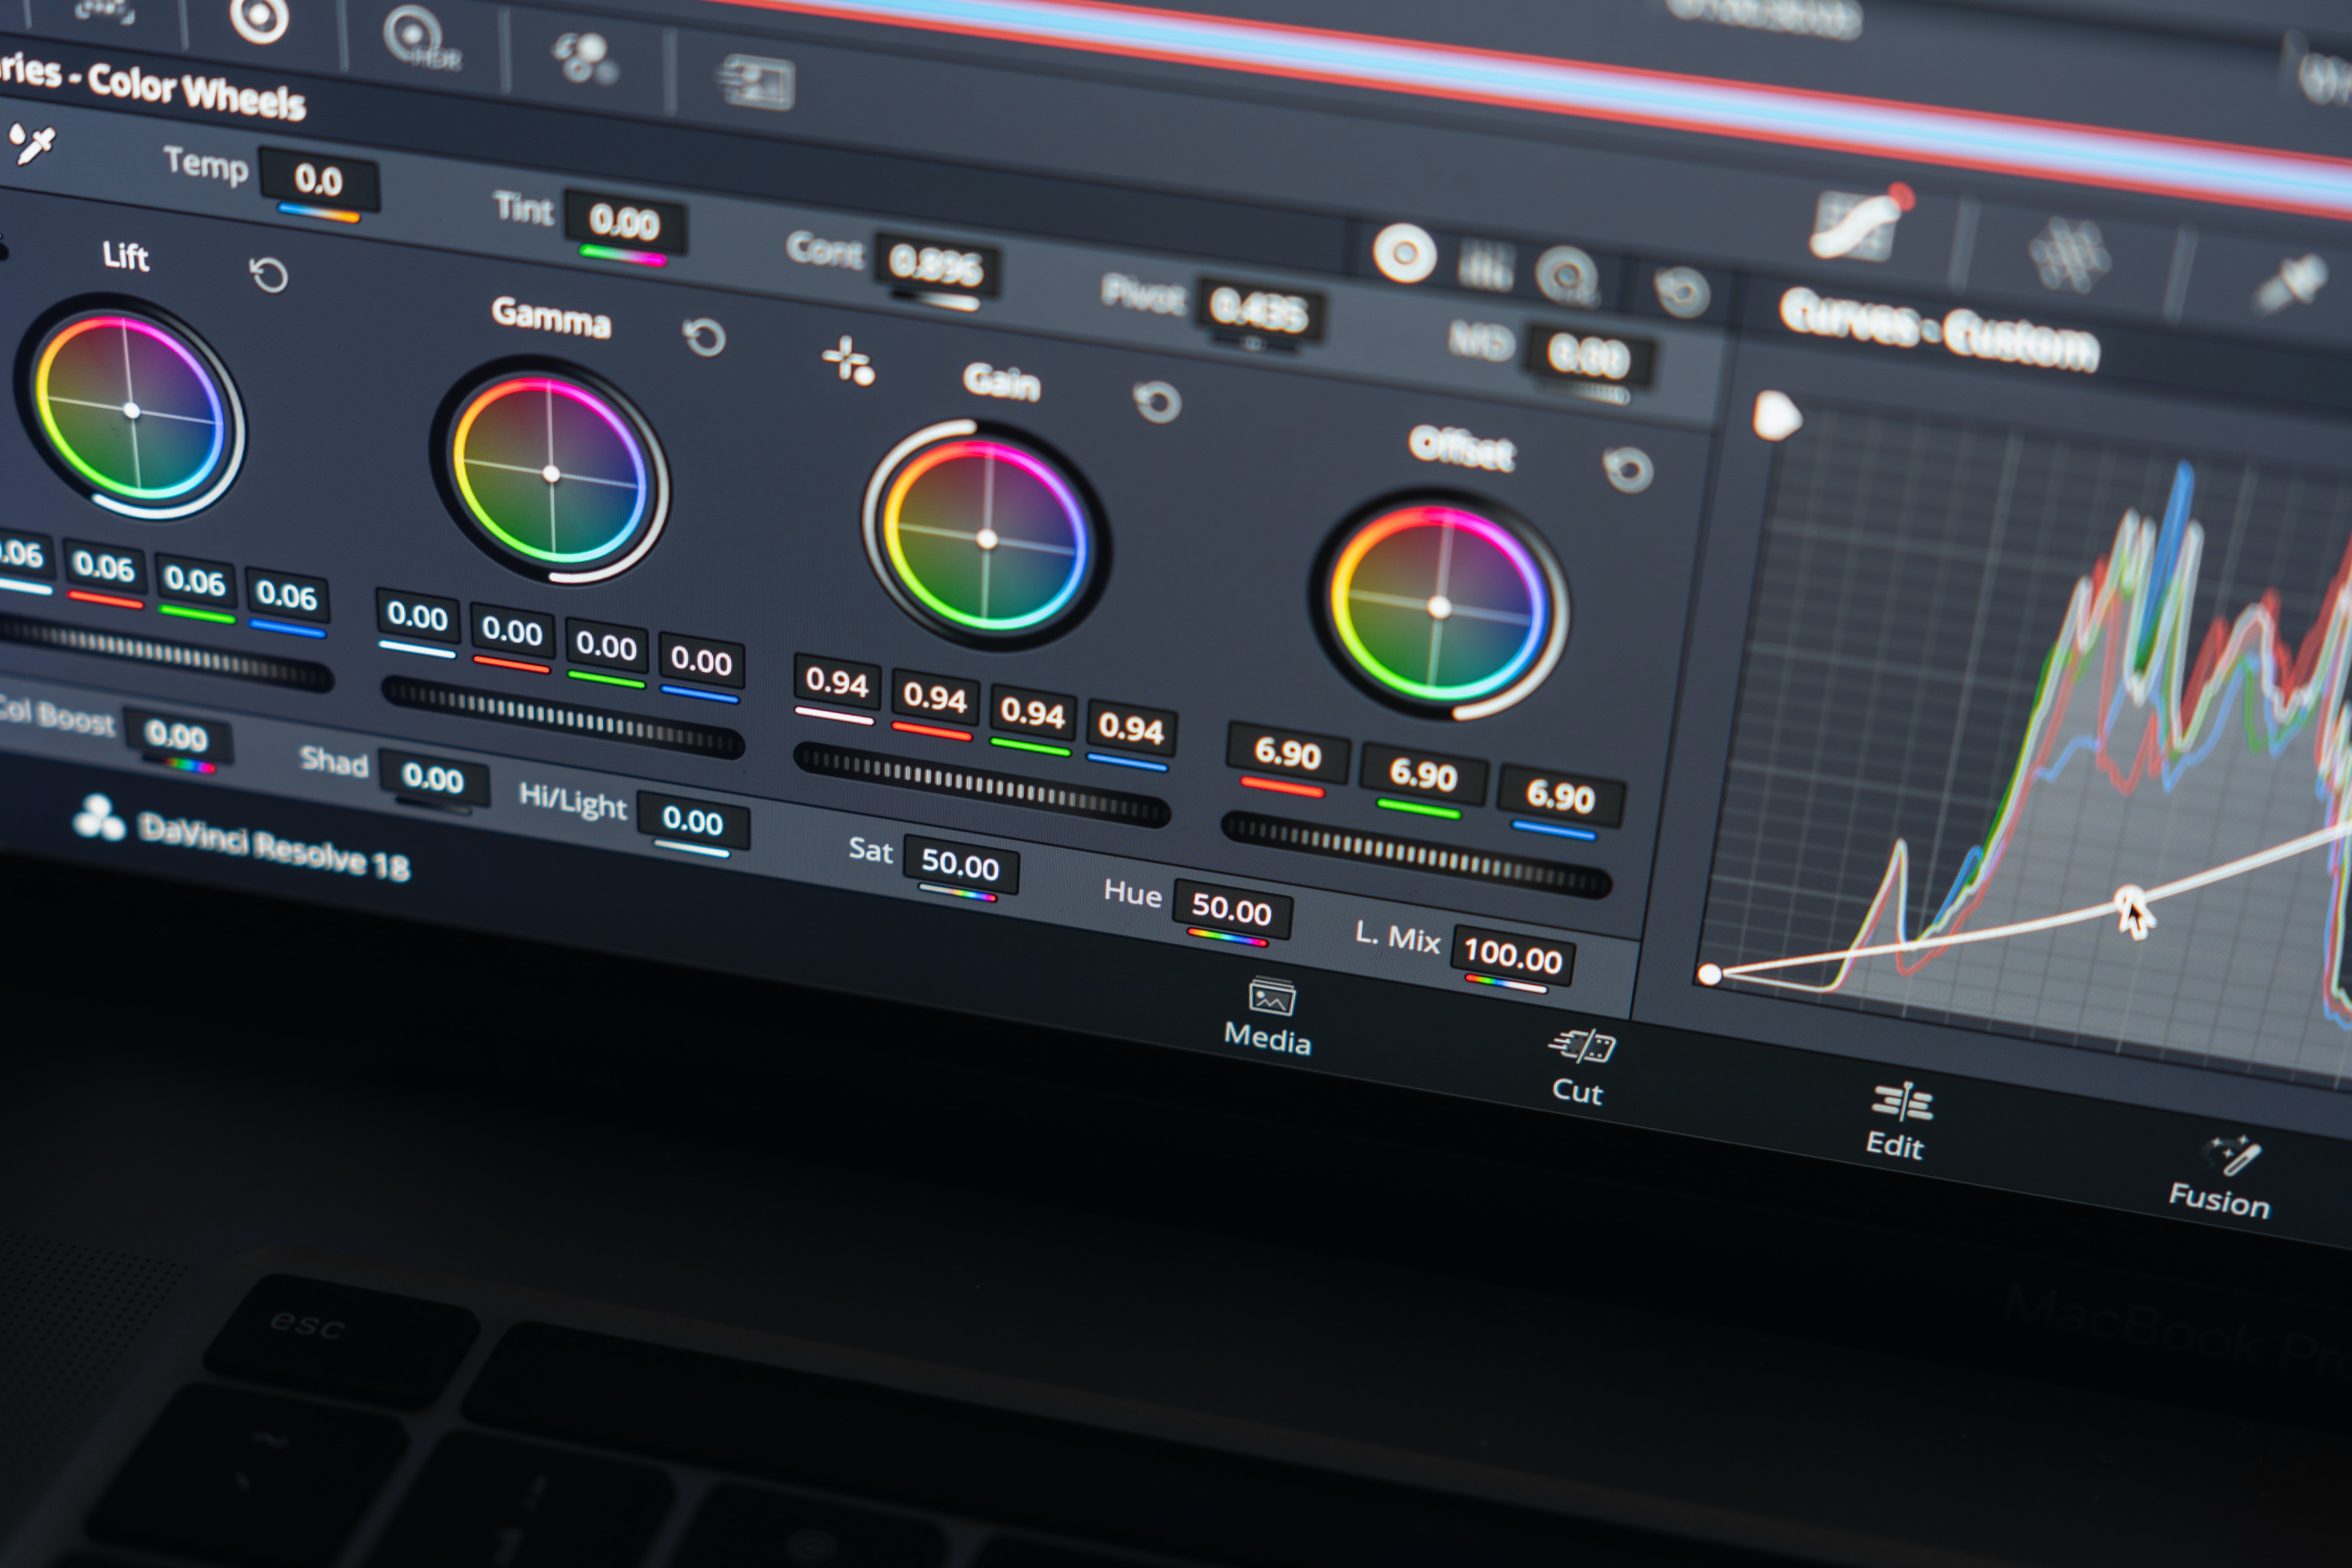
How to Split a Clip in DaVinci Resolve
If you're just getting started with video editing, you might find yourself overwhelmed with the number of tools and options available. One basic skill that you'll need to master is how to split a clip in DaVinci Resolve. Luckily, it's a simple process that can be accomplished using just a few keyboard shortcuts or right-clicking your mouse. Splitting a clip can be useful in a variety of scenarios, from trimming footage to creating a split-screen effect. In this tutorial, we'll take you through the step-by-step process of how to split a clip in DaVinci Resolve, whether you're using version 17 or the latest 18.
We'll cover everything from basic tools like the blade tool and zooming in on the timeline to more advanced features like joining clips and working with audio and video together. So whether you're a beginner or just looking to brush up on your skills, keep reading to learn how to split a clip in DaVinci Resolve like a pro.
Whether you are an experienced video editor or just starting with DaVinci Resolve, learning how to split clips is a necessary skill that can improve your editing efficiency. If you want to take your video editing skills to the next level, consider using Simon Says for Resolve, a powerful and intuitive tool that can help you automate your video transcription and captioning workflow.
What is clip splitting in DaVinci Resolve?
Clip splitting is a fundamental technique used in video editing that allows you to divide a video clip into two or more parts. This is a useful technique when you want to remove a section of a clip, or when you want to insert other video clips or images in between the original clip. DaVinci Resolve is a popular video editing software that provides several ways to split video clips in your project. By splitting a clip, you can remove unwanted parts of your video and create a more polished final product. Whether you're a beginner or an experienced editor, learning how to split clips in DaVinci Resolve is an essential skill that you'll use frequently in your editing workflow.
How to split a single clip
To split a single clip in DaVinci Resolve, you first need to select the clip in the timeline by clicking on it. Then, move the playhead to the point where you want to split the clip. You can use the arrow keys to move the playhead frame by frame or use the zoom function to get a closer look at the frame you want to split.
Once you have the playhead in the right position, you can use the blade tool to cut the clip into two separate pieces. You can access the blade tool by clicking on the icon in the toolbar or using the keyboard shortcut Ctrl+B (Cmd+B on macOS). Alternatively, you can right-click on the clip and choose "Blade" from the context menu.
With the blade tool active, simply click on the clip at the point where you want to split it. You can then use the cursor keys or zoom function to move the playhead to the point where you want to make the second cut, and repeat the process. You now have two separate clips, and you can edit them independently as needed.
If you want to split a clip at the in or out point, you can use the keyboard shortcuts Ctrl+Alt+B (Cmd+Opt+B on macOS) to split at the in point, or Ctrl+Shift+B (Cmd+Shift+B on macOS) to split at the out point. This is a quick way to split a clip without having to move the playhead manually.
How to split multiple clips
In DaVinci Resolve, you may sometimes want to split multiple clips at once. Perhaps you have a long sequence and want to split all of the clips at a certain point to insert another clip or apply an effect. Fortunately, splitting multiple clips in DaVinci Resolve is a simple process.
First, you'll need to select all the clips you want to split. You can do this by clicking and dragging over the clips in the timeline or by using the shift key to select multiple clips at once.
Once you've selected the clips, you can use the blade edit mode to split them all at once. To enter blade edit mode, simply click on the blade tool in the toolbar or press the B key on your keyboard. With the blade tool active, click on the timeline where you want to split the clips. This will create a cut in all of the selected clips.
If you want to split all of the clips at the same point in the timeline, you can also use the "split at playhead" command. To do this, simply place the playhead where you want to make the cut and press Ctrl+B on Windows or Cmd+B on macOS. This will split all of the selected clips at the same point.
How to rejoin split clips in DaVinci Resolve
Rejoining split clips in DaVinci Resolve is a simple process that can be done in just a few clicks. Once you have split a clip, you can easily join it back together again to create a seamless transition between the two sections. To rejoin split clips, simply select the two clips you want to join together in the timeline by clicking and dragging over them with your mouse.
Next, right-click on one of the clips and select the "Join Clip" option from the drop-down menu. You can also use the keyboard shortcut "Ctrl + J" (Windows) or "Cmd + J" (Mac) to quickly join the clips together. This will merge the two selected clips into a single clip.
If you need to trim the joined clip further, simply use the blade tool or any other editing tools available in DaVinci Resolve to make the necessary cuts. You can also apply any audio or video effects to the joined clip as needed.
How to split audio from a video clip in DaVinci Resolve
Splitting audio from a video clip can be a useful technique when you want to make adjustments to the audio track separately from the video. DaVinci Resolve provides several ways to split audio from a video clip.
First, select the video clip that you want to split the audio from in the timeline or the media pool. Then, right-click on the clip and select "Detach Audio" from the drop-down menu. This will create a new audio clip in the media pool that is separate from the video clip.
Another way to split audio from a video clip is to use the blade edit mode. Simply select the clip in the timeline and switch to the blade edit mode by clicking the icon on the toolbar or by using the shortcut key "B". Then, move the playhead to the point where you want to split the audio and press the shortcut key "Ctrl + B" to split the clip. This will split both the video and audio into two separate clips.
Once you have split the audio from the video clip, you can make adjustments to the audio separately in the Fairlight page. This is where you can use DaVinci Resolve's editing tools and special effects to enhance the audio quality. When you're finished editing the audio, you can rejoin the audio and video clips by dragging them together in the timeline or by using the "Join Clips" command from the right-click menu.
Conclusion
DaVinci Resolve is a fundamental technique that every video editor should know. It can help you enhance your post-production workflow, create the best video possible, and save you a lot of time. With the help of the right editing tools and techniques, you can effortlessly split clips, audio, and video in DaVinci Resolve 17 or DaVinci Resolve 18.
So why wait? Start using Simon Says for Resolve today and see how it can help you create the best videos possible.