How to Add Fonts to Premiere Pro for Captions and Subtitles
From bombastic opening crawls in movies such as Star Wars to simple captions for YouTube, text is a great way to add a sense of professionalism to creative content. It’s one thing to plop text into a video and something entirely different to make sure that text stands out.
This is where choosing the right font comes into play. This post will cover the importance of fonts in visual media as well as tips and tricks for adding and managing new fonts on both Windows and Mac operating systems.
There will also be some great tips for captioning and creating subtitles. Everything needed to bring out the very best in a video’s text can be found right here.
Why are fonts important for visual media?
Fonts can make or break how a viewer perceives a piece of media. It is one of the easiest tells to figure out if the creator is an amateur in video editing programs such as Adobe Premiere Pro.
Think of fonts in the same way a baker looks at decorations on a cake. In theory, it shouldn’t matter what the cake looks like as long as it tastes great. If there isn’t a visual appeal to the cake though, will anyone eat it?
The same can be said for the text in a video. It doesn’t matter how good the content of the text actually is; if the visual appeal isn’t there, will anyone read it?
Here are some of the other reasons fonts are a key part of visual media:
Readability
Certain fonts are much easier to read than others. While super stylized fonts might look cool and be fun to play around with, it’s best to keep fonts as simple as possible for the sake of readability. Naturally, there will always be exceptions to this, but as a general rule of thumb, it’s a good rule to follow.
Conveying a certain tone
Different fonts also convey various types of tones. Simple changes such as making the font bold or italic can emphasize tone as well. A larger and heavier font can show power and strength while something in cursive can represent a more dramatic tone. This is why figuring out the content’s tone is from the start can be so important.
Consistency and establishing recognition
Every brand needs consistency. Something as seemingly simple as fonts can be incredibly glaring if there’s no consistency within the videos being produced. A lot of incredibly successful companies use the power of fonts to establish brand dominance and loyalty.
Companies like Disney, Coke and Marvel have logos that are instantly recognizable because of the font choice.
How to add fonts to Adobe Premiere Pro
It’s now easier than ever to find the perfect font for video content. Businesses like Adobe make finding the right fit simple thanks to sites such as Adobe Fonts (previously known as Typekit).
The best part is that most of the fonts available on the web are completely free. There are also plenty of amazing, high quality ways to caption and transcribe videos through programs such as Simon Says which sync up beautifully with Adobe Premiere Pro. These programs usually only take a few clicks to use and are intuitive as well as time saving.
1. Find your fonts
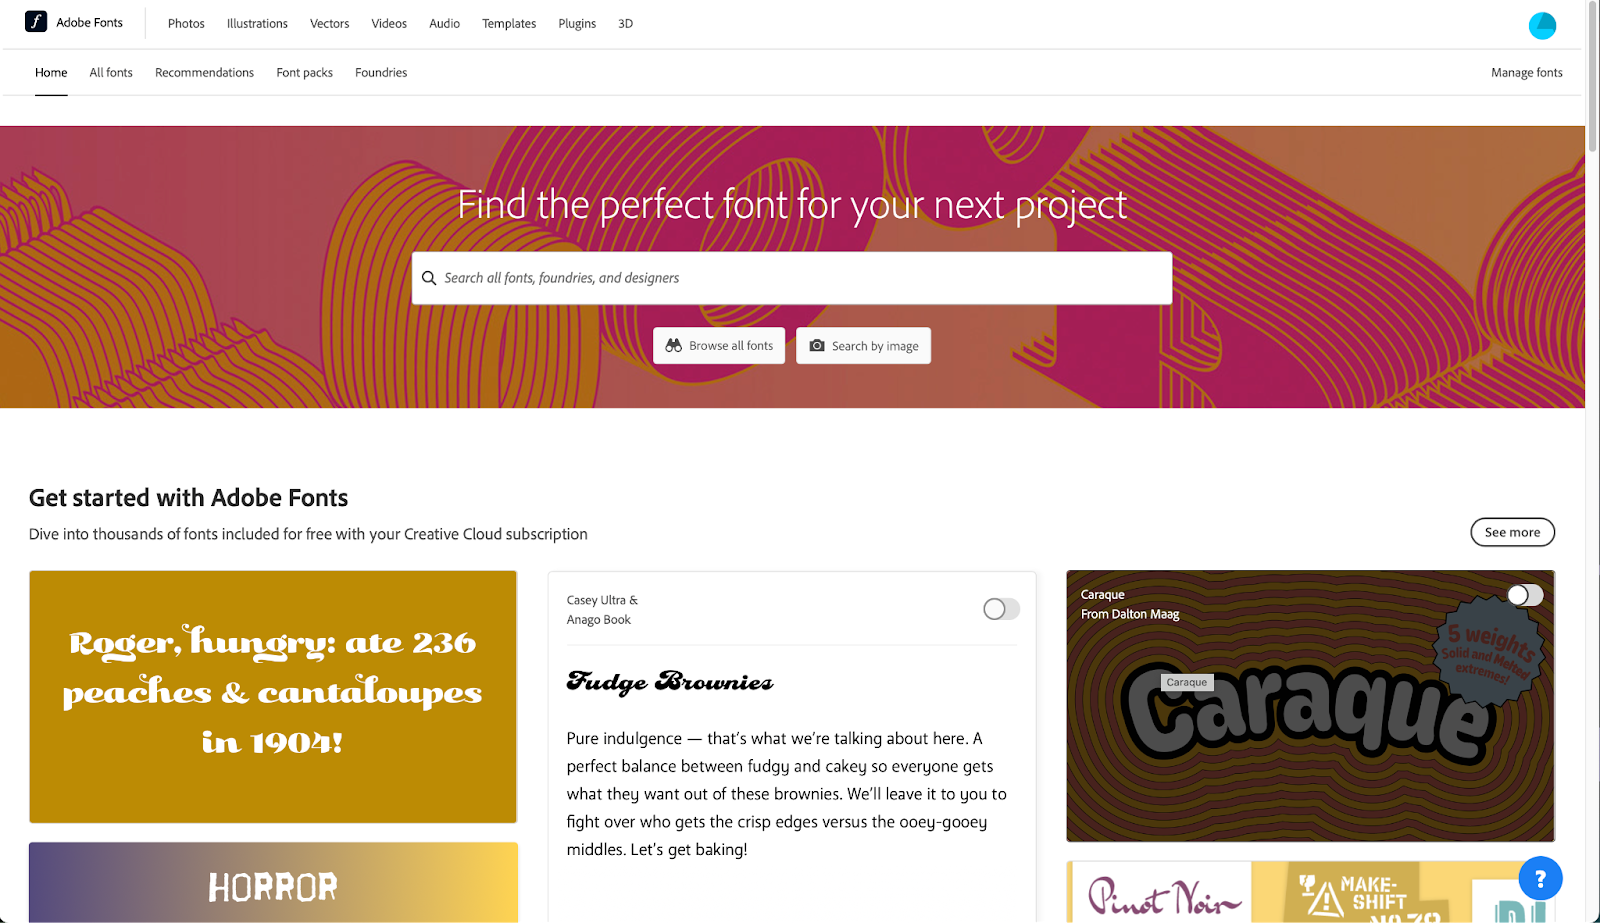
For Adobe Creative Cloud users, adobe fonts is a one stop shop for everything font related, housing a whopping 20,000 different typefaces. These free fonts are available for all Adobe Creative Cloud members regardless of the subscription plan and sync up with all Adobe apps. Finding these fonts can only be done via the Adobe Fonts web app (what was once Typekit).
This web app syncs with the Adobe Creative Cloud app which is available for both Mac and Windows devices. Look up tools such as visual search make Adobe Fonts incredibly versatile to use.
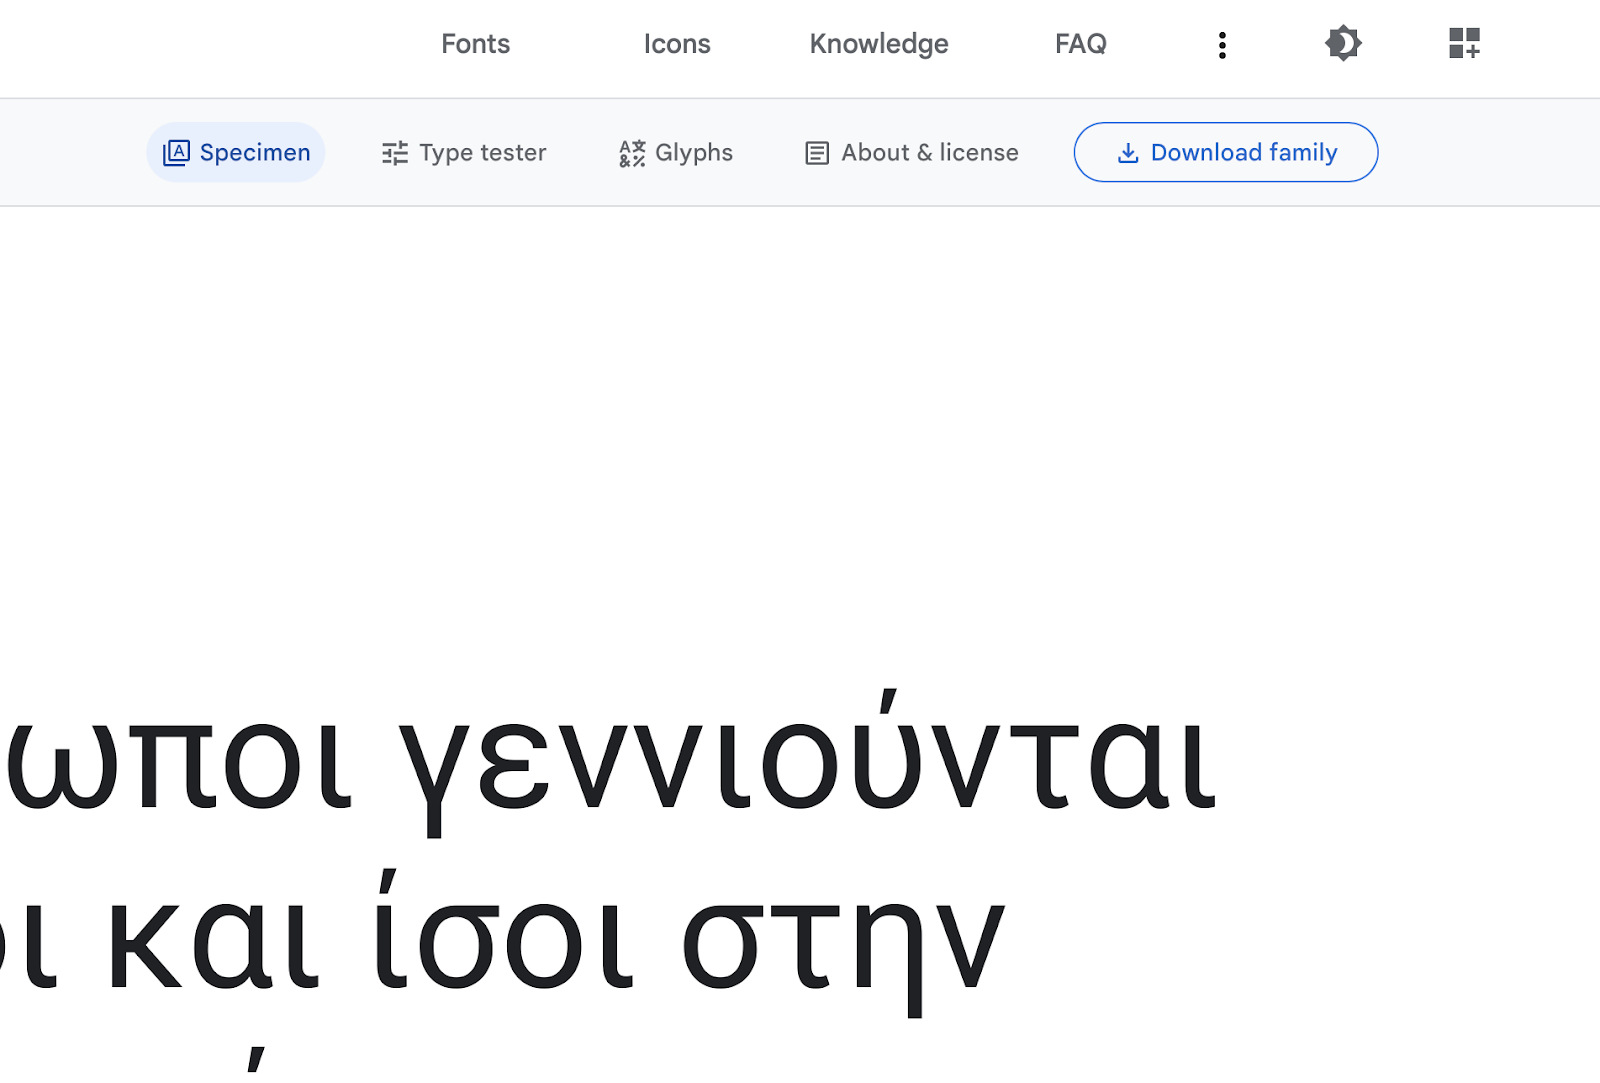
For people not inside the Creative Cloud family, Google fonts is an excellent free alternative. While the library is smaller than that of adobe fonts, it’s an amazing free and easy tool, offering more than 1,300 different font families.
Much like Adobe Fonts, the robust search function makes finding the right font for creative content a breeze.
It’s important to remember though that finding the right font is a very creative choice and needs to be treated in the same manner as any other creative decision.

2. Download and install fonts
Adobe Creative Cloud makes downloading fonts as easy as one click. To import fonts on the Adobe Fonts web app, simply find a font and click the activate fonts button in the right hand corner. It’s as easy as that.
These fonts are then put inside the Adobe Creative Cloud app and can be viewed by clicking the font icon in the upper right hand corner. Here, there are tabs for both active fonts and previously active fonts.
Once activated, these fonts will sync up with all adobe creative cloud apps (programs such as Adobe Premiere Pro, After Effects, Photoshop, and much more).

Sites such as Google Fonts require the font to be downloaded directly to the computer. While downloaded fonts are not as intuitive as Adobe Fonts, it’s still a straightforward and easy process.
For Windows users:
- Select a font and click on “download family”.
- Unzip the downloaded zip file anywhere on the computer.
- Double click the folder. Inside should be various files containing the various fonts within that family.
- Right-click on these files and then click on install.
For Windows, the font files within the folder will either be TrueType (.ttf), OpenType (.otf), or PostScript (.ps).
For Mac users:
- Select a font and click on “download family”.
- Open up the downloaded folder on the computer.
- Double click the file. This will open up the font in mac’s font book.
- Within the font book, click the install button on the lower right hand corner.
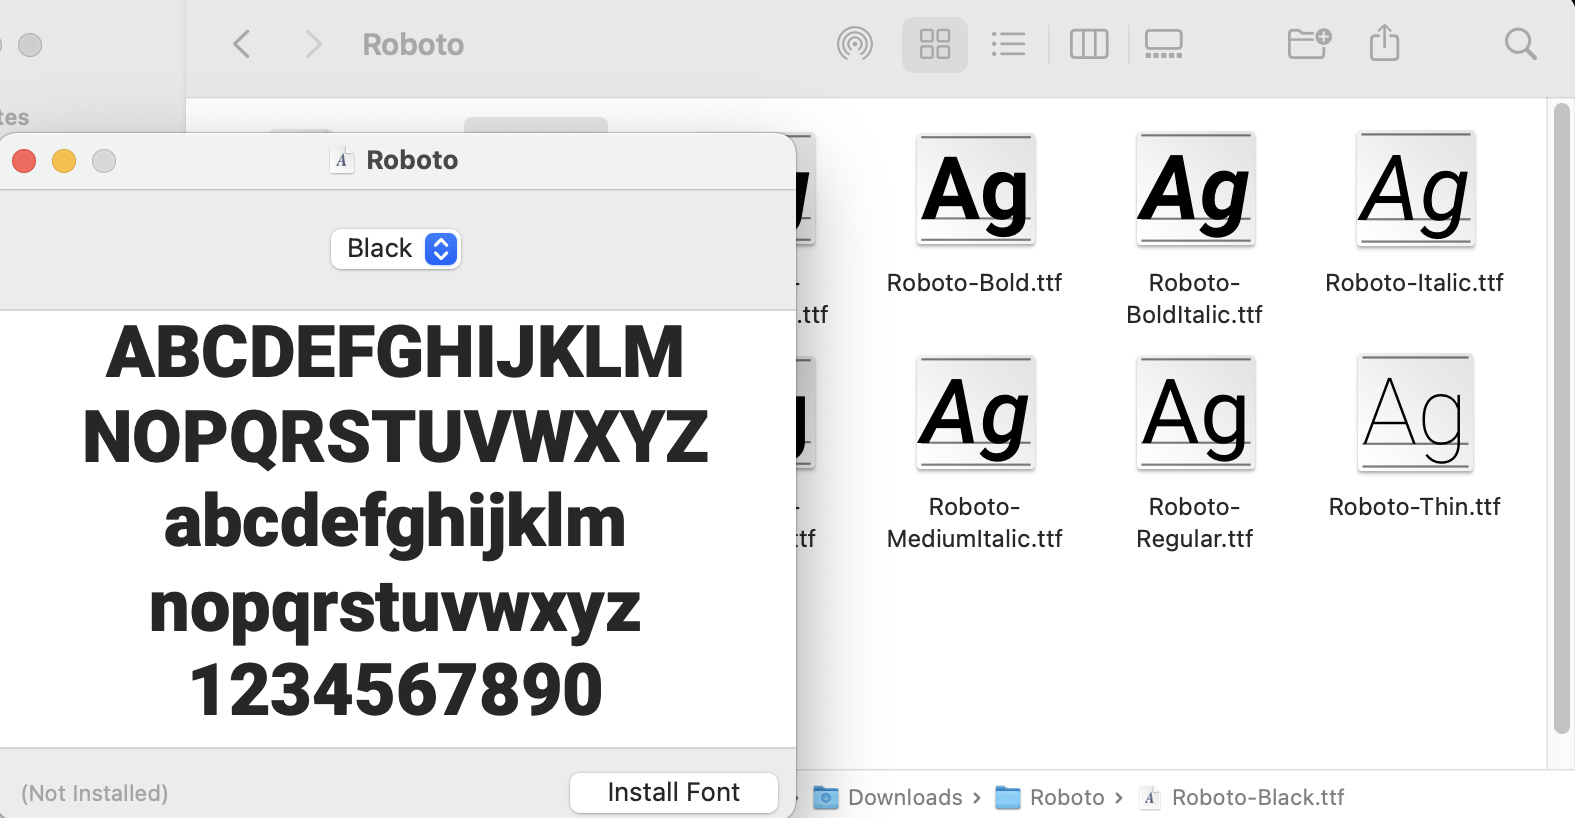
Much like windows, mac also supports both TrueType (.ttf) and OpenType (.otf) file formats. Once this process is completed, the font will now be on the computer.
4. Organize your fonts
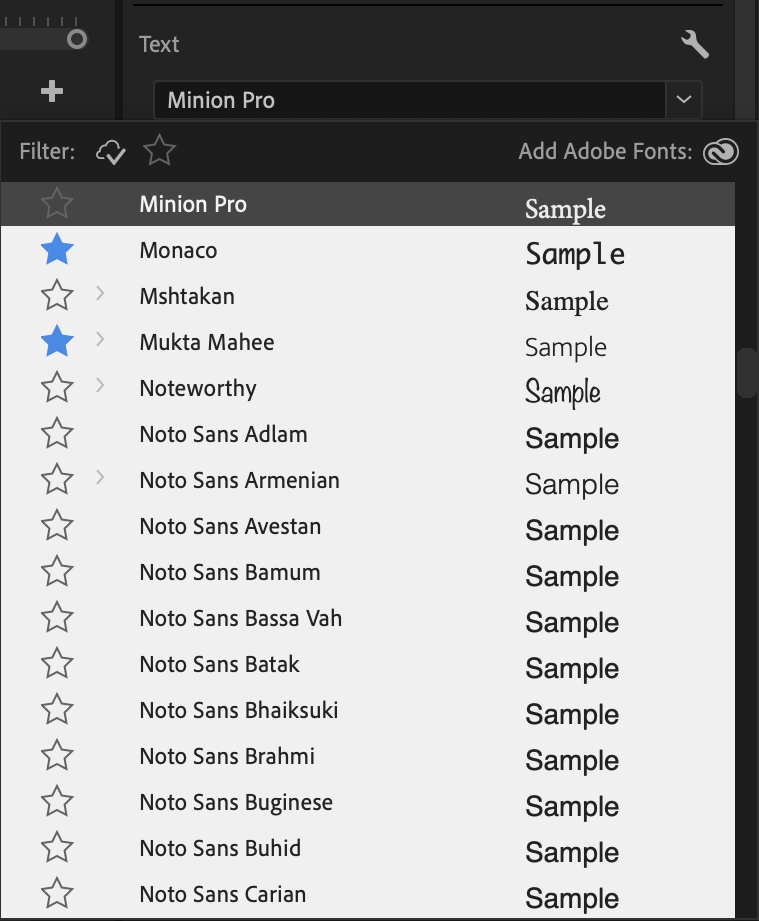
Organizing fonts in Adobe Premiere Pro is a breeze. Once the fonts are installed, they’ll show up in the essential graphics panel in Adobe Premiere Pro right underneath the “text” icon.
Clicking on it will show a long dropdown list of fonts, including the ones just installed (this may require restarting Adobe Premiere Pro in some cases).
There are a plethora of default fonts to play with already in the fonts window, no installation is required.

Each font in this dropdown list has a star next to it. Clicking the star next to the font will highlight that font type in blue. These fonts can be easily viewed by clicking the star icon at the very top of the dropdown list.
This is a great way to sort through favorite fonts which can be incredibly handy the more and more fonts that are downloaded.
Managing your fonts in Adobe Premiere
Managing fonts in Adobe Premiere is an important way to keep organized with an abundance of projects. Every font that is downloaded is listed under My Adobe Fonts.
Here, Adobe makes it incredibly simple to activate fonts as well as look at previously active fonts, web projects, and purchased fonts. Adobe has a great how-to site explaining how to manage all of these elements in further detail.
Quickly caption your videos with Simon Says
In short, finding and managing fonts is now easier today than it’s ever been. Programs like Adobe fonts are great tools for searching for fonts that make text engaging and fun to look at. There are no shortages of tools to spice up your video content.
Plus, programs such as Simon Says are great and affordable ways to add an extra layer of professionalism to videos.
In today’s climate where video content is quicker and easier than ever to pump out, it’s important to stand out from the crowd. Creating engaging captions is a great method to engage viewers online and go from amateur video maker to professional content creator.