How to Update DaVinci Resolve: Step by Step Guide
Blackmagic Design’s DaVinci Resolve Studio is one of the most complex post-production tools on the market, competing with the likes of Apple’s Final Cut Pro and Adobe’s Premiere Pro. What started out as a mere color grading application is now one of the best Non-Linear Editors.
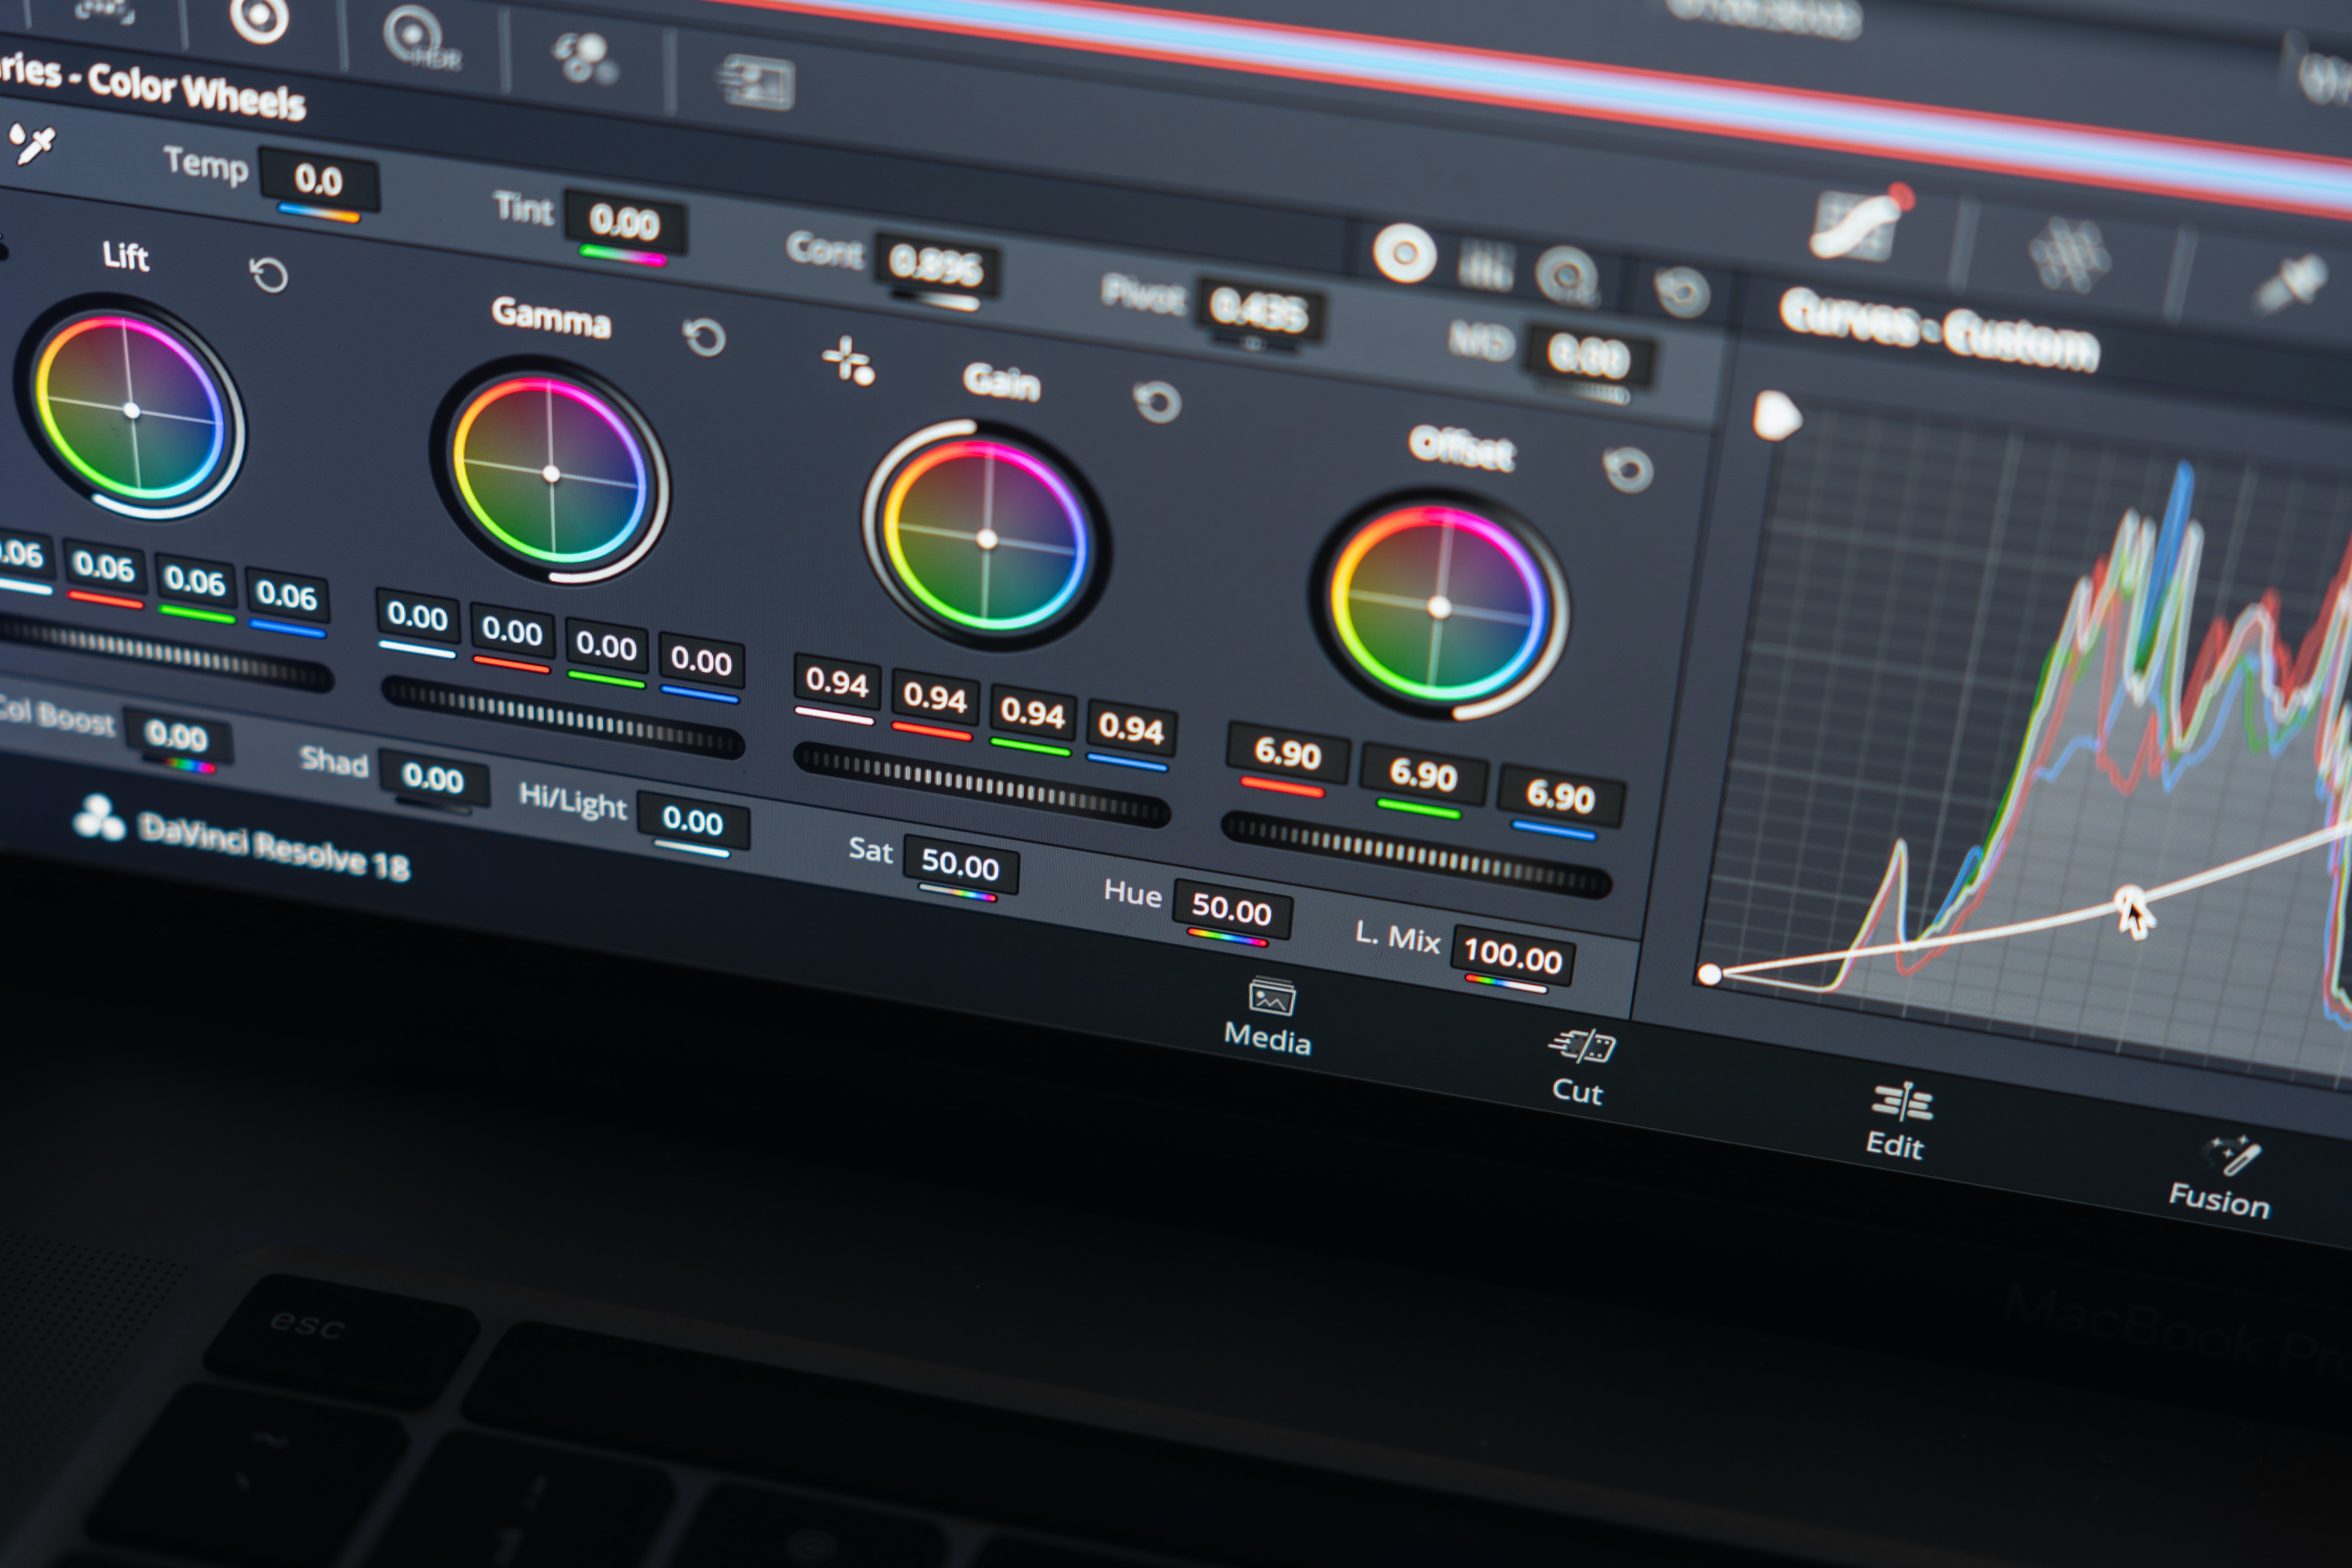
The free version of DaVinci Resolve provides users with every basic feature they’ll need to create wonderful content (though the paid version does give users access to HDR content, incredible transitions, GPU acceleration, and advanced templates and presets).
The most basic of features that every video editor and videographer needs is, naturally, the ability to update the software. DaVinci Resolve makes it very easy to update their software as quickly and easy as possible.
This tutorial will go over everything you need to know about updating DaVinci Resolve 17 and DaVinci Resolve 18 for macOS, Windows, and Linux devices.
How to safely update DaVinci Resolve
There are so many reasons to want to update your video editing software to a new version. Oftentimes, it’s to get new features that have been released (things such as new effects or new types of formats). Other times, you may update to a new or previous version for bug fixes or to fix functionality problems.
Create a backup
The first thing you’ll want to do before updating at all is to create a quick backup. It’s crucial that you always back up DaVinci Resolve so that you don’t lose any of your hard work. This is especially handy if you’re upgrading from one version of DaVinci Resolve to another (like from DaVinci Resolve 17 to DaVinci Resolve 18).
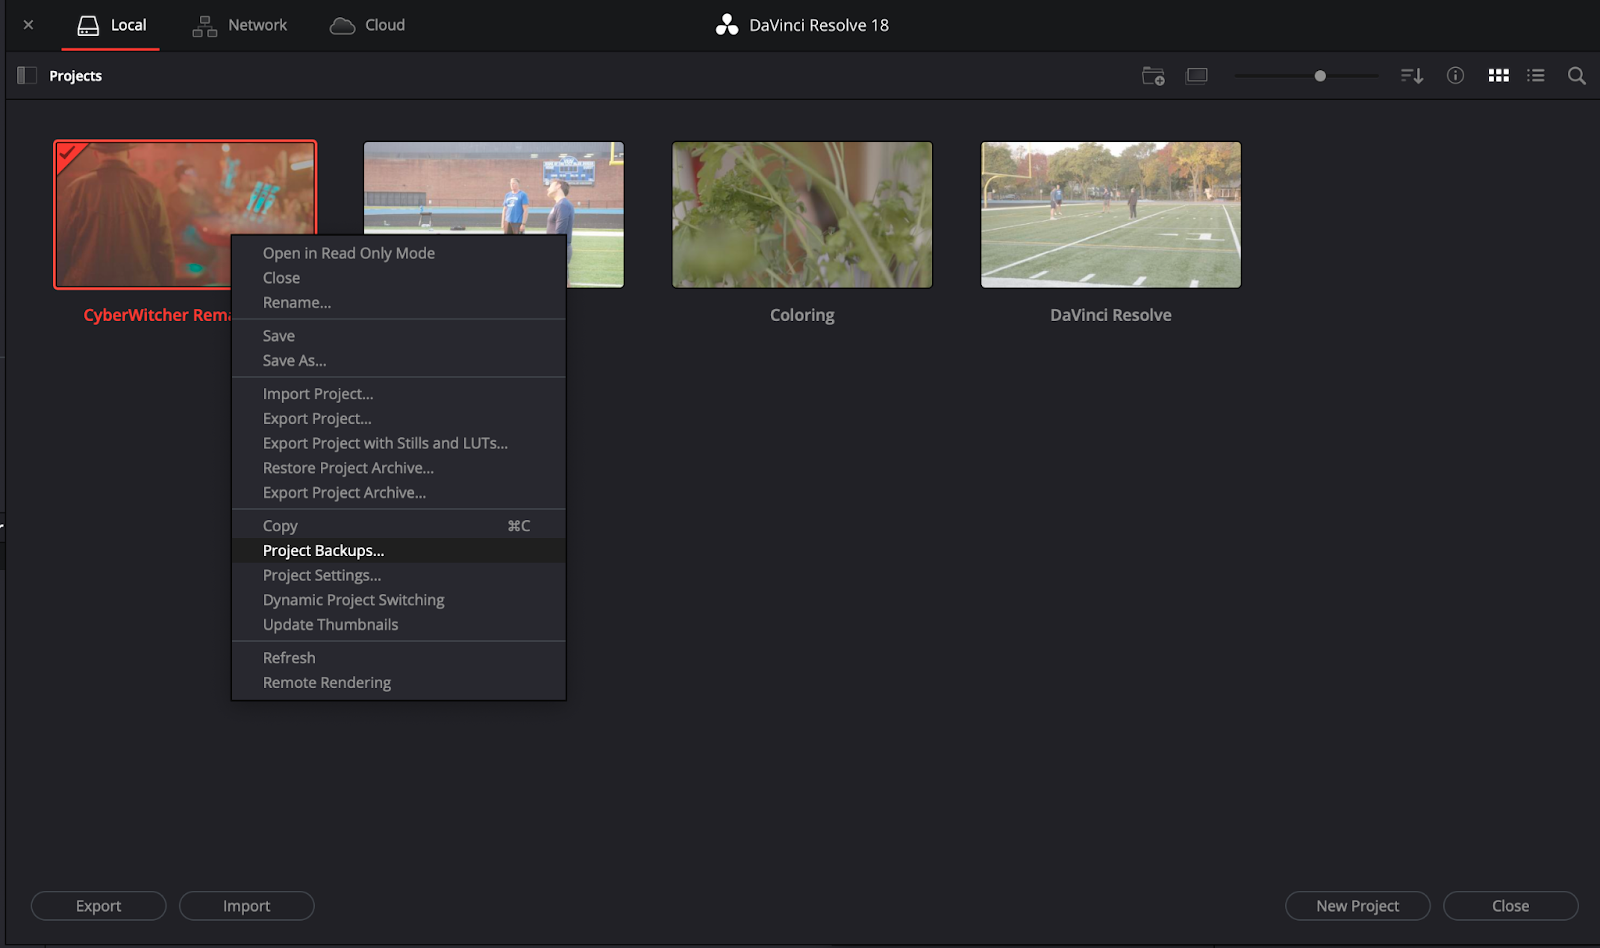
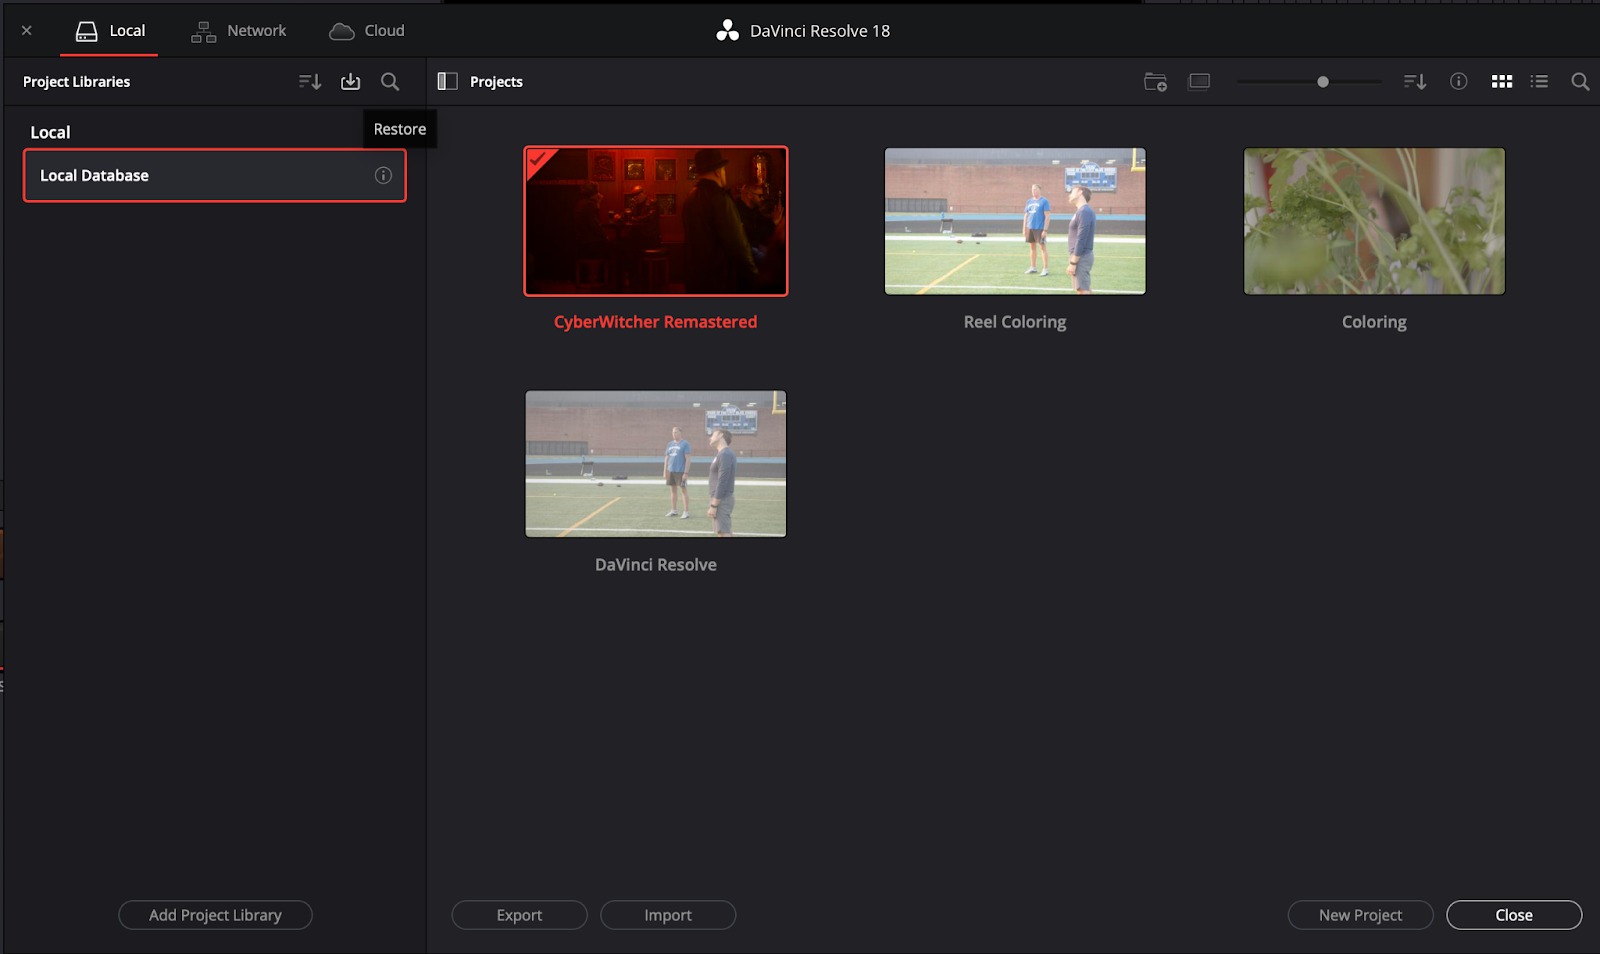
To create a backup, you’ll want to open up DaVinci Resolve and go to File > Project Manager. The project manager is what opens up by default when you launch DaVinci Resolve. It’s what contains all of your project libraries as well as your Blackmagic cloud data.
Right-clicking on a project will give you the option to back that project up. You’ll need to select a folder in which to store all of this backup data for easy importing and exporting.
Perform the DaVinci Resolve update
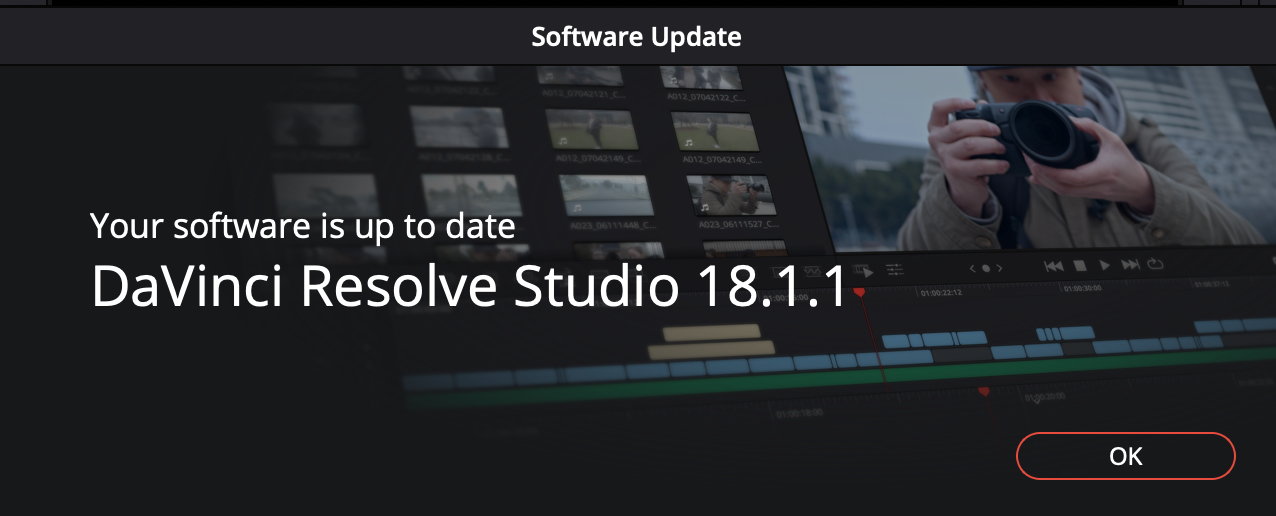
Once your backup is created, you’re finally ready to update DaVinci Resolve. A software update in DaVinci Resolve can be done by simply selecting DaVinci Resolve in the upper left-hand corner of the screen.
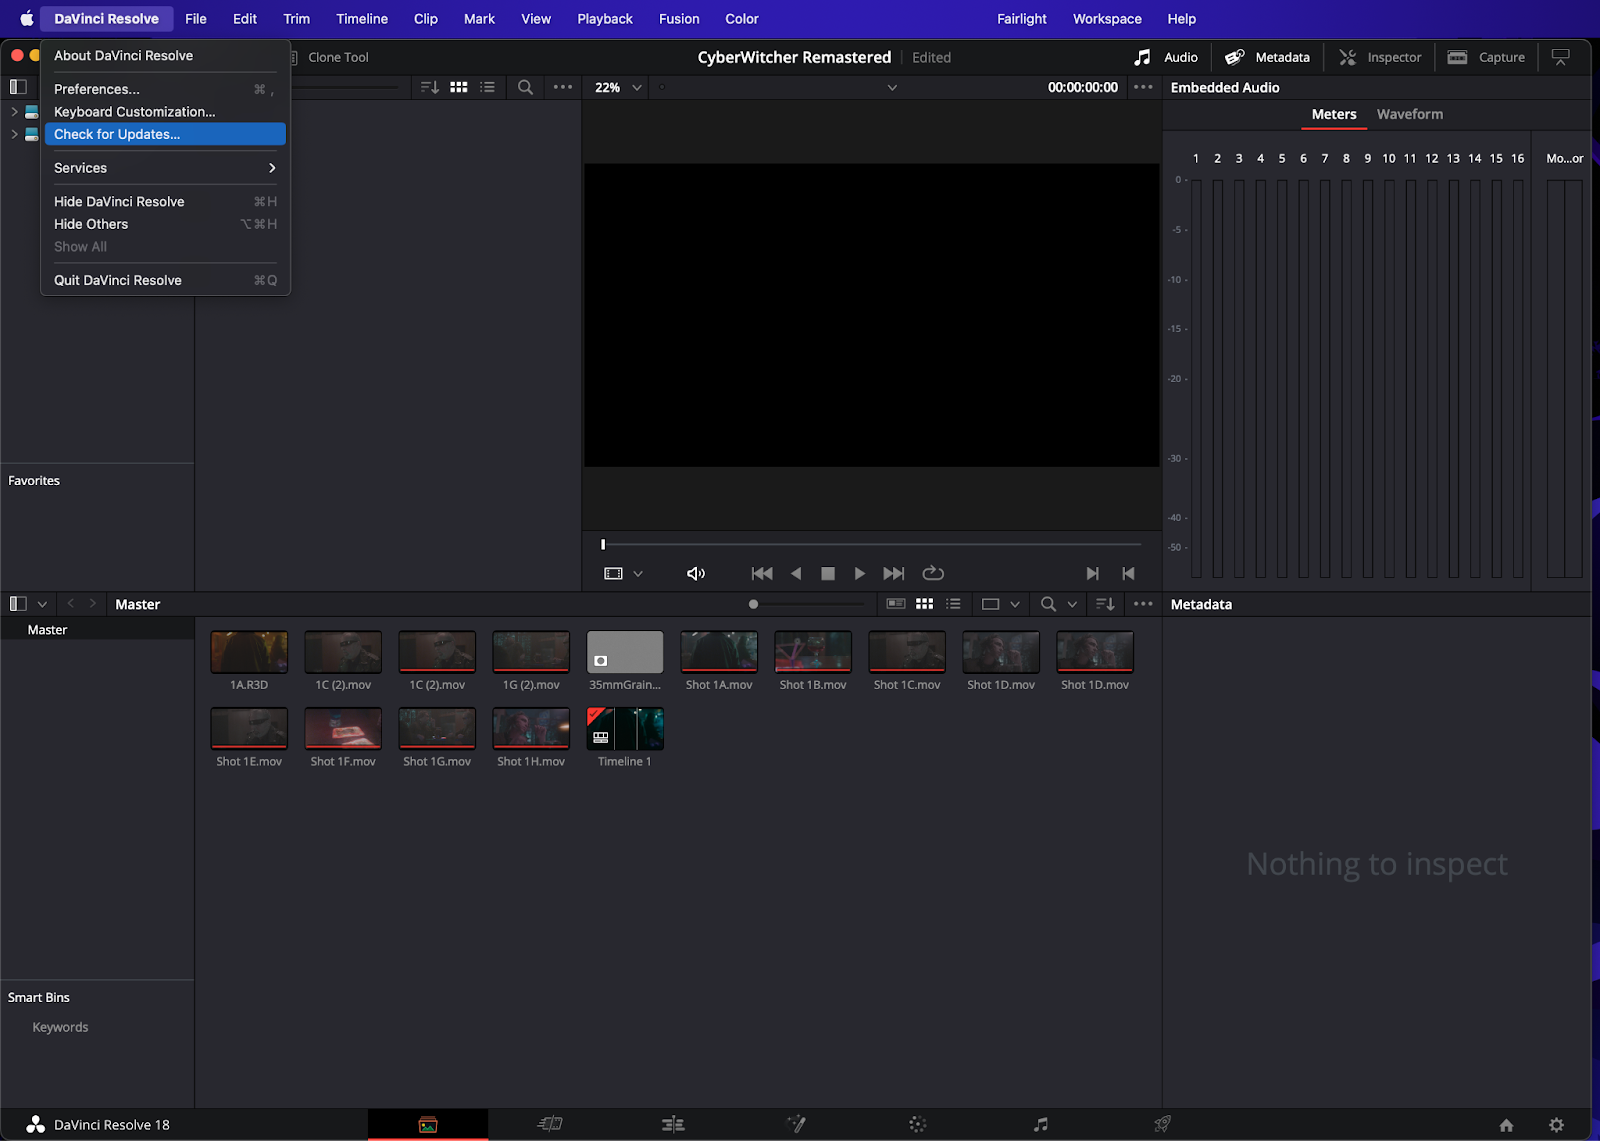
You’ll want to click on the button labeled check for updates which is located right underneath preferences and keyboard shortcuts. A pop-up window will appear telling you if your software is up-to-date or not (in this case, DaVinci Resolve is set to DaVinci Resolve 18.1).
If your software is not up to date, you’ll be greeted by a prompt that will update the software for you using the neural engine. The download should start via automation and will be downloaded inside your downloads folder. Extracting this file will install the DaVinci Resolve update.
Update the database
Resolve will ask you to upgrade your databases after an update. A database has all of your Resolve information, so it’s important that it is always up-to-date. Databases are accessed on the left side of the project manager. Here you can restore and manage any databases that you might have. Resolve will prompt you to update so that your database will be updated to be compatible with the newest version of DaVinci Resolve.
Where to find the latest updates for DaVinci Resolve
You can also check for updates directly on Blackmagic’s site by going to Blackmagic Design Support Center and going all the way down to Latest Downloads. Blackmagic’s site has everything you’ll need to work within DaVinci Resolve. There’s even a What’s New section that gives you a detailed analysis of every new feature in DaVinci Resolve.

Conclusion
DaVinci Resolve is not just one of the best free tools for video editing but one of the best tools overall. Like any tool though, it’s important that it’s always working its absolute best. Keeping DaVinci Resolve updated is a surefire way to ensure your workflow is seamless and fast with zero to no bugs.
Plus, when you add the Simon Says extension for Resolve, you enjoy automated captioning and transcriptions directly in Resolve for 100 different languages.