How to Change Aspect Ratio in Final Cut Pro
Aspect ratios are an often overlooked element of the post-production process. While aspect ratios may seem like a very technical aspect of the video creation process, when used effectively, they can sometimes be used to convey tone or a feeling much like music or a certain camera angle.
When starting a project, the first question should always be: what aspect ratio is this going to be delivered in? This question should be asked before filming has even begun.
Final Cut Pro X is a great NLE for Mac users. It provides the user a variety of presets with various different aspect ratios. As a video editor, it’s important to be able to differentiate between the aspect ratio of a video and figure out which ones to use in order to better your content.
What is aspect ratio?
Aspect ratio is defined as the “ratio of the width to the height of an image or screen”. In other words, it’s essentially the frame size of your video.
Aspect ratio is simply a ratio though. It’s separate from any actual sizing. The width and height of the pixels in your image is what determines the aspect ratio.
For example, a video with a width of 1920 pixels and a height of 1080 pixels (the most common resolution type) yields a 16:9 aspect ratio. If you divide the 1920 pixels by 120 and then divide the 1080 pixels by 120, you’re left with 16:9.
This comes in handy when you want to change the resolution of your image while still yielding the right aspect ratio.
What are the common video aspect ratios?
Lucky for all of us, math is pretty much never required when figuring out which aspect ratio we should go with for our videos. There has been a lot of standardization when it comes to aspect ratios, and it’s very rare that you’ll ever use more than a select few. Below are the most common aspect ratios used in video production.
16:9
16:9 is the aspect ratio that you’ll most commonly find for computer screens, cinemas, and web content posted to platforms such as YouTube and Vimeo. For beginners, this is the aspect ratio to stick with due to its wide range of use cases.
1:1
This aspect ratio is a complete square and very common for social media. Instagram is one of the first things that comes to mind when thinking of a 1:1 aspect ratio since the platform was pretty much designed with it in mind.
9:16
9:16 is the perfect aspect ratio for phones. A lot more social media-based companies have been using the 9:16 aspect ratio based solely on the fact that most content nowadays is watched using a phone. Apps such as TikTok thrive off of the 9:16 aspect ratio with a lot of YouTube channels now even posting shorts in this video format.
4:3
While this aspect ratio less common now than it was in the past, it’s still an important one to know. The 4:3 ratio was used for broadcast television before 16:9 and the age of “widescreen” came about.
1.85:1
This is the “cinema standard” aspect ratio as there were a lot of films back in the day that used it. While not as popular anymore (and marginally different than 16:9), it still gets used for theatrical releases on occasion.
2.35:1
No aspect ratio will make an image look more “cinematic” than 2.35:1. Whenever you hear someone talk about the “black bars” on a movie screen, this is what they’re talking about. 2.35:1 is also referred to as “cinemascope” and provides a much wider and epic feeling image.
How to Change aspect ratio in Final Cut Pro
Changing the aspect ratio in any video editing software (programs such as Premiere Pro and DaVinci Resolve) is a breeze. Final Cut Pro is no different.
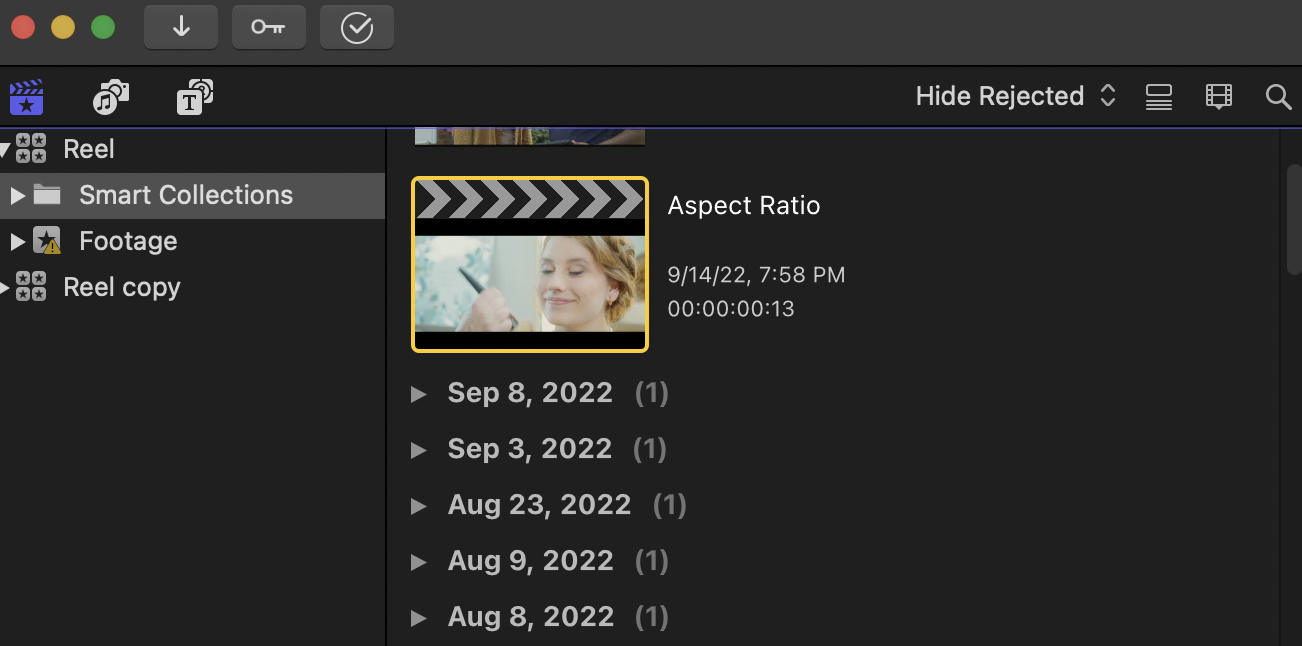
First, you’re going to want to create a new project in Final Cut Pro or open up an existing one. Then, you’re going to want to select your project in the folders menu.
The “info inspector” should then come up by default. You’re going to then want to click on the “modify” button. This will open up a pop-up menu showing you the settings of your project.

Under the format drop-down menu is a long list of presets. Clicking on one of these will change the resolution of the project which in turn changes the aspect ratio of your video.
Keep in mind, changing the aspect ratio of the project does not distort your actual footage. All this does is give your video files a place to work around in. You may need to resize your footage to get it where you want.
This is why it’s important to know what aspect ratio you’re going to be editing in before filming. Some cameras have aspect ratio guides to help better framing.

For the most control possible, click the “custom” button at the bottom of the dropdown menu. This will allow you to change the width and height of the pixels. Once this is changed, the playback window in your timeline should change with it.
It will adjust to the aspect ratio of the pixels you just set. The Final Cut Pro interface will display these settings right above the video inspector.
Summary
Aspect ratio can be both important not just from a technical level but a storytelling perspective as well. It’s also something that can be hard to remember to integrate within a workflow. Editing software like Final Cut Pro for macOS users makes it incredibly simple to change the resolution of your videos.
To get the best video possible, it’s important to make sure nothing is overlooked in the creation process. Because of that, it’s important to try and make the process as easy as possible. Simon Says can help simplify the process with streamlined captioning, translating, and subtitling for your video content.