
Final Cut Pro X: export from Simon Says and import directly into FCP
Update: we now have a native Final Cut Pro Extension that makes transcribing and editing so much faster. https://itunes.apple.com/us/app/simon-says-transcription/id1441555493
Wouldn't it be a time-save if you could mark the key parts of your transcript and then have those corresponding clipsÔøΩ and their transcriptsÔøΩ available in your editing software for you or your editor to immediately start cutting with? YES! And now you can!

Friends: Simon Says (for swift, automated transcription) and Final Cut Pro 7 (for video editing).
If you are working with Final Cut Pro X (or any other non-linear editing software), you can now transcribe your interviews in Simon Says and directly import the bookmarked clips, or even the entire audio/video file organized into clips, into your post production software.
Update: we now have a native Final Cut Pro Extension that makes transcribing and editing so much faster. https://itunes.apple.com/us/app/simon-says-transcription/id1441555493
Wouldn't it be a time-save if you could mark the key parts of your transcript and then have those corresponding clipsÔøΩ and their transcriptsÔøΩ available in your editing software for you or your editor to immediately start cutting with? YES! And now you can!
Friends: Simon Says (for swift, automated transcription) and Final Cut Pro 7 (for video editing).
If you are working with Final Cut Pro X (or any other non-linear editing software), you can now transcribe your interviews in Simon Says and directly import the bookmarked clips, or even the entire audio/video file organized into clips, into your post production software.
Here's how:
See this video or written instructions below. To see video subtitles in a different language, click the settings icon in the video and select an available language under Subtitles/CC
[embed]https://youtu.be/5dzcWw6BVRM[/embed]
- Once your media file (that is, the audio or video file you uploaded) is transcribed in Simon Says, click the Export button.
From the transcript screen in Simon Says, click the "Export" button
2. A pop-up will appear (like in the image below). Select "Final Cut Pro X" from the options and you will probably want to check "only bookmarks" so you can just get the key parts of the interview you want.
If you don't select "only bookmarks" you will get your entire media file broken into clips that correspond with the transcript rows.
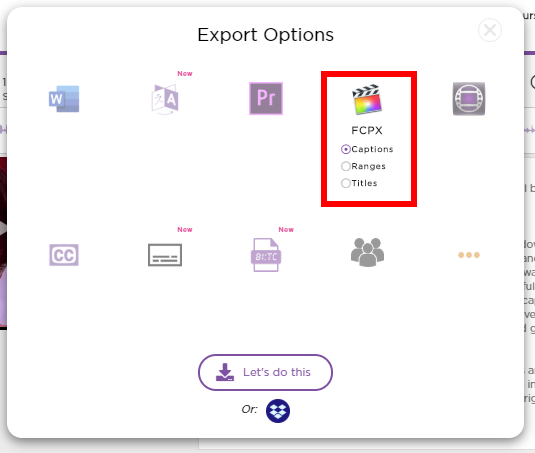
Click "Let's do this" and download the ZIP file. Unzip it and you will find an *.fcpxml file.
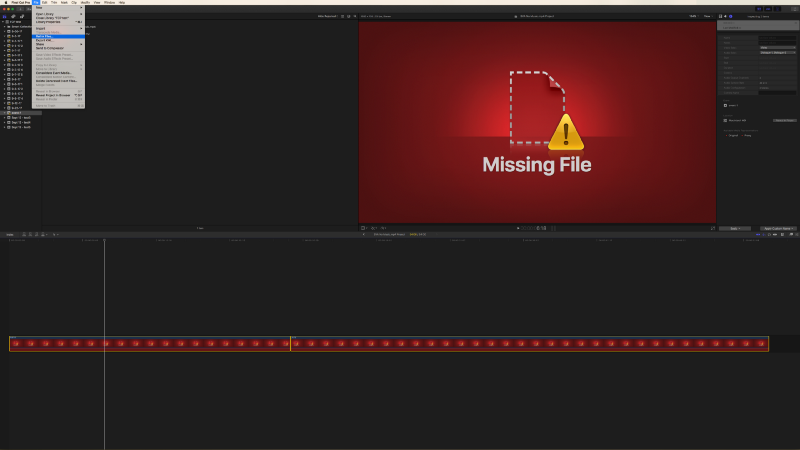
3. Open Final Cut Pro X. Then go to the "File" menu, "Import" sub-menu, and click "XML":

4. In the next window it will ask you to select the XML file. Navigate to the folder on your computer where you downloaded and unzipped the XML file. Select it.
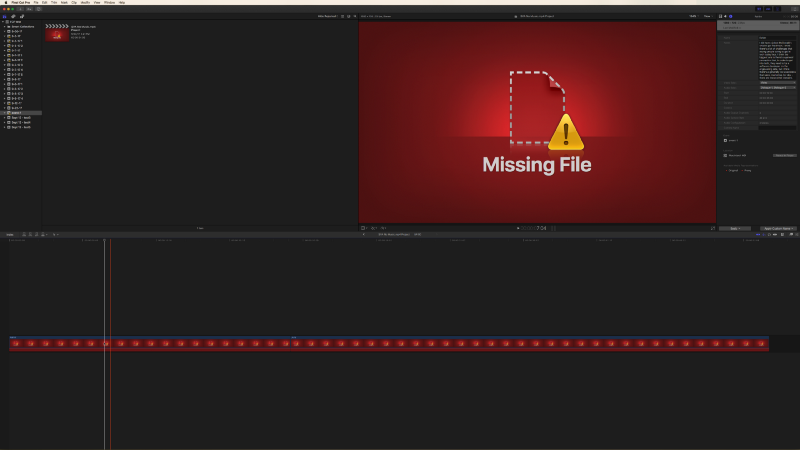
5. It is now time to Relink Files which you can get to from the File Menu.
6. When the Relink Files window pops up, click "Locate Selected" and navigate to the media file you uploaded to Simon Says.

7. TaDa! The Final Cut Pro X sequence will connect to the reference media file and you will see a timeline with the corresponding clips and the transcripts that align with what you saw (and heard!) on Simon Says.
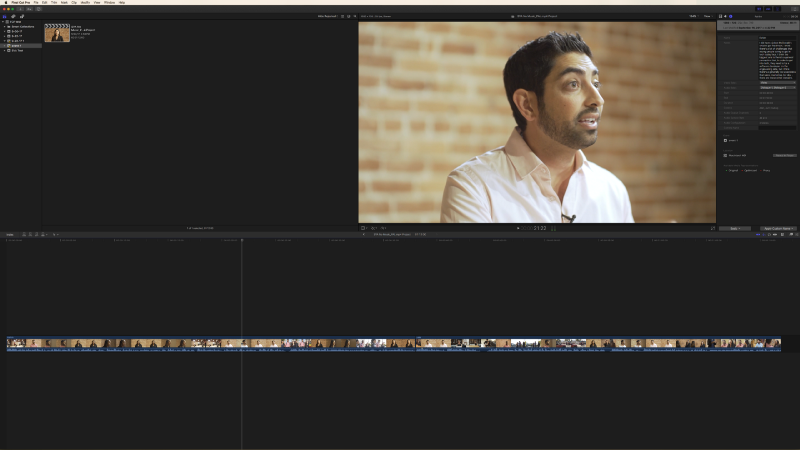
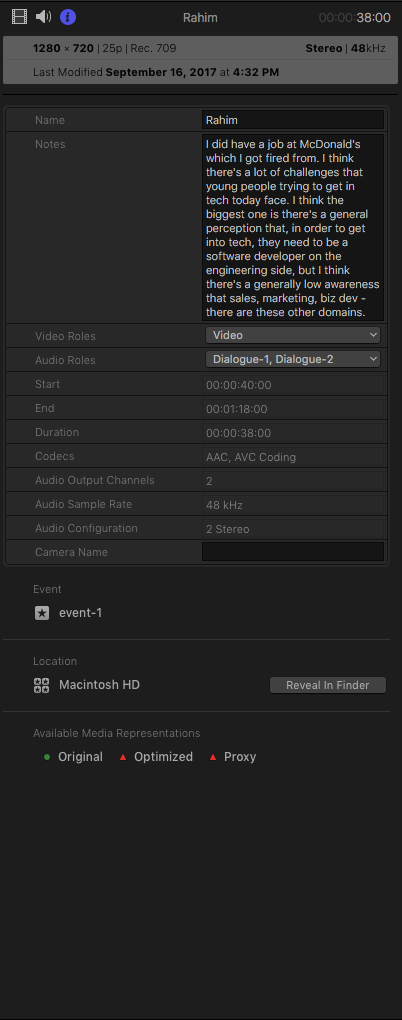
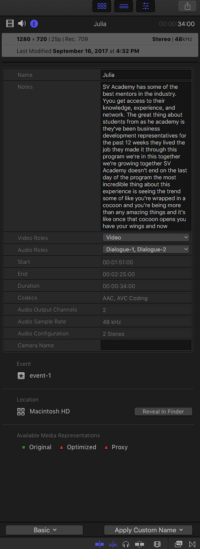
A successful FCP X import looks like the above with a project that contains the clips you selected and the the associated transcripts and speakers for each clip.

Notice the speaker label (if you assigned them in Simon Says) and transcript associated with each clip.
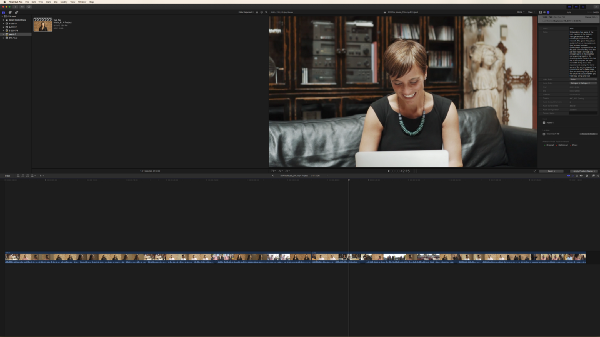
Close Up on where the transcript appears in FCP X.

A few more example shots of what a successful project looks like.
Now how much time will this save in identifying the right quotes in the right clips for your edit?!
To get started with transcribing and exporting with Simon Says, sign up and get 15 minutes of free transcription credits.
*If you have multiple files in your Simon Says project and you want to bring each one directly into FCP X, you will need to follow the above Export steps (starting at Step 1) for each file individually.
Here's how to export from Simon Says and import directly into FCP:
1. Once your media file (that is, the audio or video file you uploaded) is transcribed in Simon Says, click the Export button.
From the transcript screen in Simon Says, click the "Export" button
2. A pop-up will appear (like in the image below). Select "Final Cut Pro X" from the options and you will probably want to check "only bookmarks" so you can just get the key parts of the interview you want.
If you don't select "only bookmarks" you will get your entire media file broken into clips that correspond with the transcript rows.
Click "Let's do this" and download the ZIP file. Unzip it and you will find an *.fcpxml file.
3. Open Final Cut Pro X. Then go to the "File" menu, "Import" sub-menu, and click "XML":
4. In the next window it will ask you to select the XML file. Navigate to the folder on your computer where you downloaded and unzipped the XML file. Select it.
5. It is now time to Relink Files which you can get to from the File Menu.
6. When the Relink Files window pops up, click "Locate Selected" and navigate to the media file you uploaded to Simon Says.
7. TaDa! The Final Cut Pro X sequence will connect to the reference media file and you will see a timeline with the corresponding clips and the transcripts that align with what you saw (and heard!) on Simon Says.
A successful FCP X import looks like the above with a project that contains the clips you selected and the the associated transcripts and speakers for each clip.
Notice the speaker label (if you assigned them in Simon Says) and transcript associated with each clip.
Close Up on where the transcript appears in FCP X.
A few more example shots of what a successful project looks like.
Now how much time will this save in identifying the right quotes in the right clips for your edit?!
To get started with transcribing and exporting with Simon Says, sign up and get 15 minutes of free transcription credits.
*If you have multiple files in your Simon Says project and you want to bring each one directly into FCP X, you will need to follow the above Export steps (starting at Step 1) for each file individually.