10 Final Cut Pro Plugins to Level Up Your Video Editing
In a world of high-cost subscription services, Apple’s Final Cut Pro X is a breath of fresh air. Final Cut Pro offers incredible value as an editing software, with a quick and easy one-time purchasing fee. It has quickly become one of the best NLEs on the market, up there with the likes of Adobe Premiere Pro and Blackmagic’s Davinci Resolve.
With this immense popularity came a slew of incredible plugins that helped speed up the workflow in Final Cut Pro. In the post-production industry, it’s so important to use every tool at your disposal to get the most out of your program. This tutorial will go over the top Final Cut Pro plugins to take your video editing to the next level.
What are Final Cut Pro plugins?
Final Cut Pro plugins are extensions that add new features and additional functionality that wouldn’t have otherwise been possible. Some offer additional transitions and presets, while others provide complex visual effect tools.
Below are the top 10 plugins for Final Cut Pro, perfect for both beginners and professional video editors:
1. Simon Says
Captions are a vital aspect of post-production. However, adding captions can be a tedious process. At least, this was the case before the rise of AI and the improved accuracy of speech-to-text software.
Now, with Simon Says, you can add captions and subtitles to footage natively within Final Cut Pro in 100 languages - all with the click of a button. This offers video editors a tremendous improvement to their workflow. Without Simon Says, adding captions in Final Cut Pro must be done manually. Which, as you can imagine, can take quite a bit of time, especially with longer content.
Simon Says helps Teams go from spending hours adding subtitles to just minutes. The software also allows you to translate the transcripts you generate in Final Cut Pro to any of the supported languages.

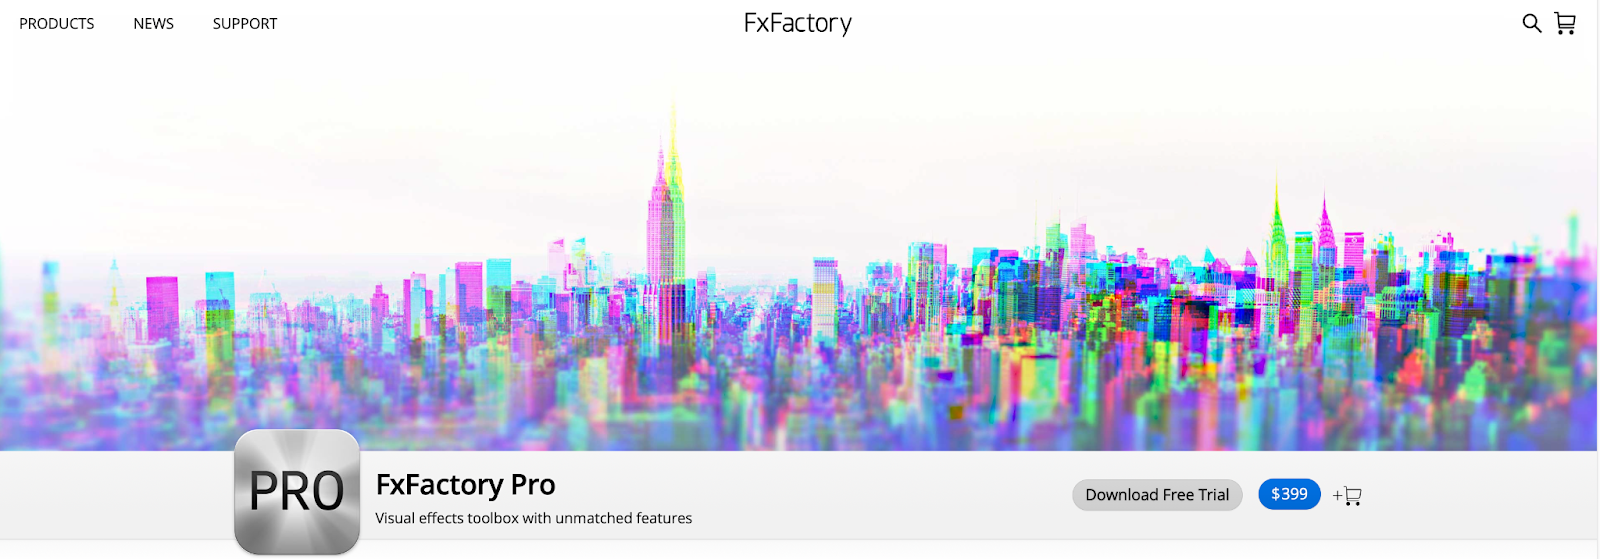
2. FxFactory Pro
FxFactory Pro is an immensely powerful effects toolkit. There’s a slew of animations, filters, and overlays to go through in this FCPX plugin. This is a great one for filmmakers or even social media content creators looking at creating eye-catching visuals.
This effect plugin has everything from audio effects, transitions, motion blurs, vibrance effects, glows, and plenty more. It works great for those doing work between Final Cut Pro and After Effects as well.
3. MotionVFX
If you want an incredible slew of plugins for your videos, the MotionVFX plugin is a must. This incredible plugin has 59 presets for Final Cut Pro, including titles, LUTS, transitions, social media graphics, lens flares, lower 3rds, distortions, intro titles, overlays, backgrounds, and add-ons.

4. Red Giant Software
The Red Giant Universe suite has so many amazing plugins for creators. With VHS effects, box bokeh, sound effects, glitch effects, glows, retrograde, and many more neat video effects, there’s so much to love about the Red Giant Universe. The Universe has a collection of 89 GPU-accelerated plugins that work great in Final Cut Pro.

5. mLUT Loading Tool
The mLUT loading tool is a color grading tool that adds a wonderful layer to color grading and color correction in Final Cut Pro. This is a free plugin that organizes all of your LUTS in one place.
LUTS in Final Cut Pro can be slightly tricky to manage sometimes, so it’s wonderful that mLUT makes this process so easy. mLUTS also has an extensive LUT pack that you can look at.

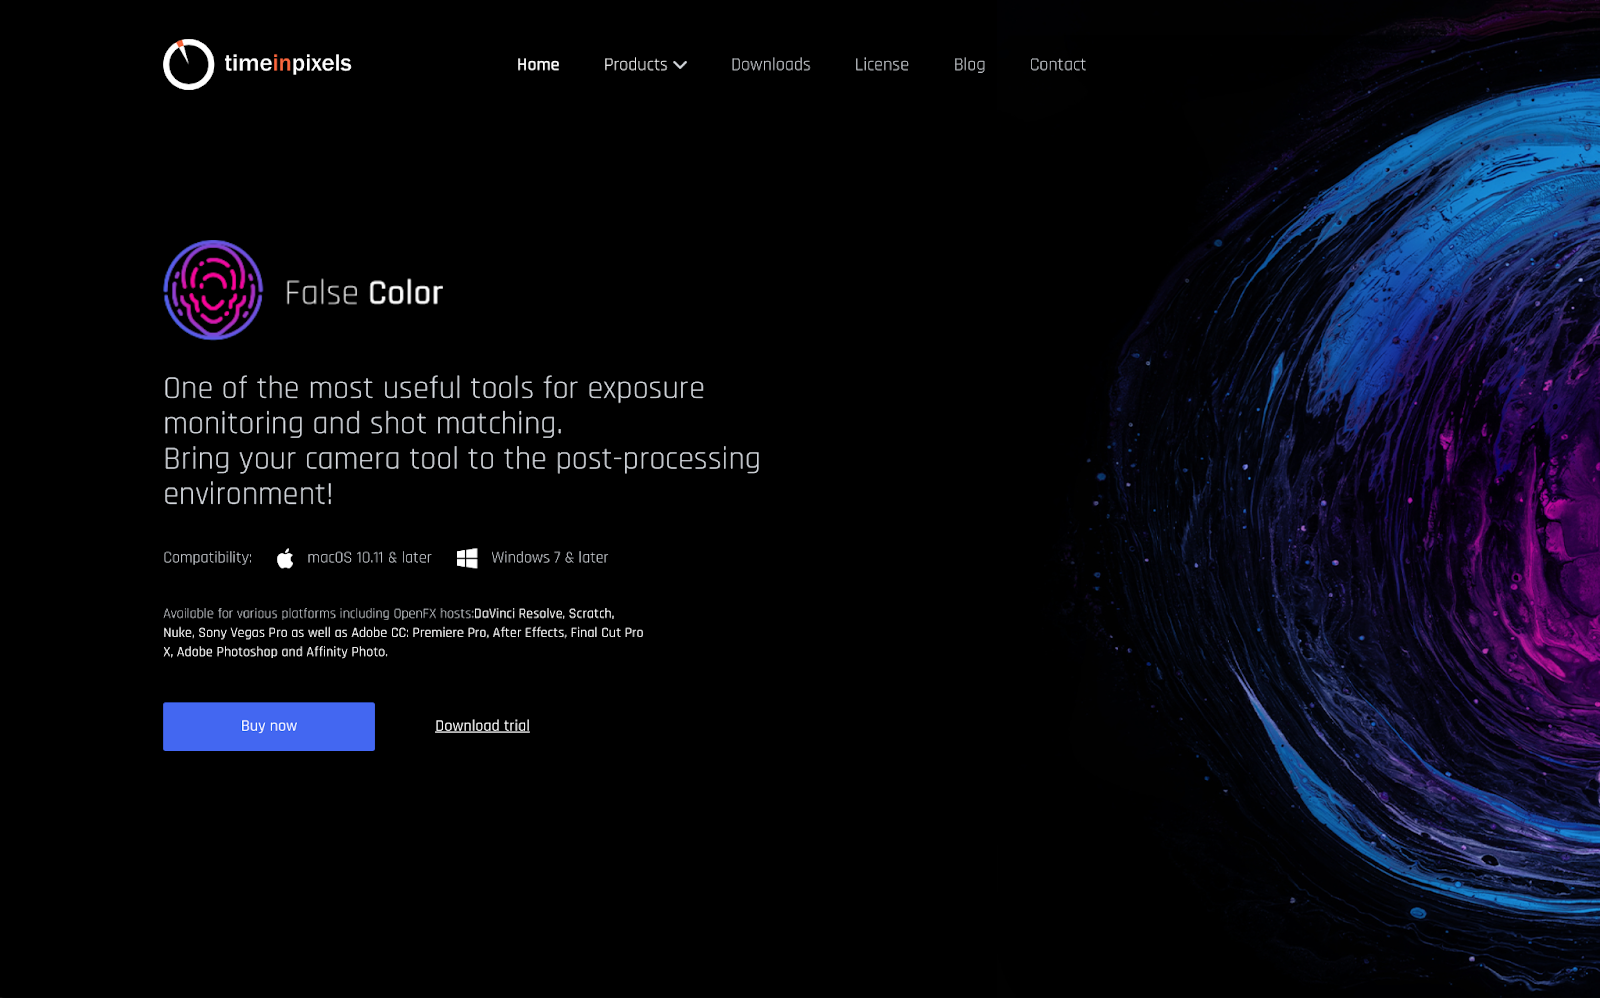
6. False Color
An area where Final Cut Pro can struggle is when it comes to coloring. Since there’s really no option to view false color natively inside Final Cut Pro, Pixel’s False Color plugin is a must for those who are serious about coloring. Like a lot of the plugins on the list, there’s also a great demo version to view on your video clips.
What the False Color plugin does is show the exposure of a clip through the use of color. The False color plugin allows you to:
- Customize your False Color ranges and export as 3D LUT
- Utilize 13 high-quality and accurate presets and templates
- Position the scale reference anywhere in your workspace area
- Work in real-time in Final Cut Pro
7. FilmConvert
This one is for all of the filmmakers out there. FilmConvert is a great plugin that emulates classic film stock with only a few clicks of a button. There are options for every major camera brand out there as well (Panasonic, DJI, ARRI, Canon, GoPro, Nikon, Sony, and Blackmagic). What the OFX plugin has to offer is:
- A wide range of incredible Camera profiles
- 6K Grain Scans
- 19 Film Stocks
- Options to export 3D Luts

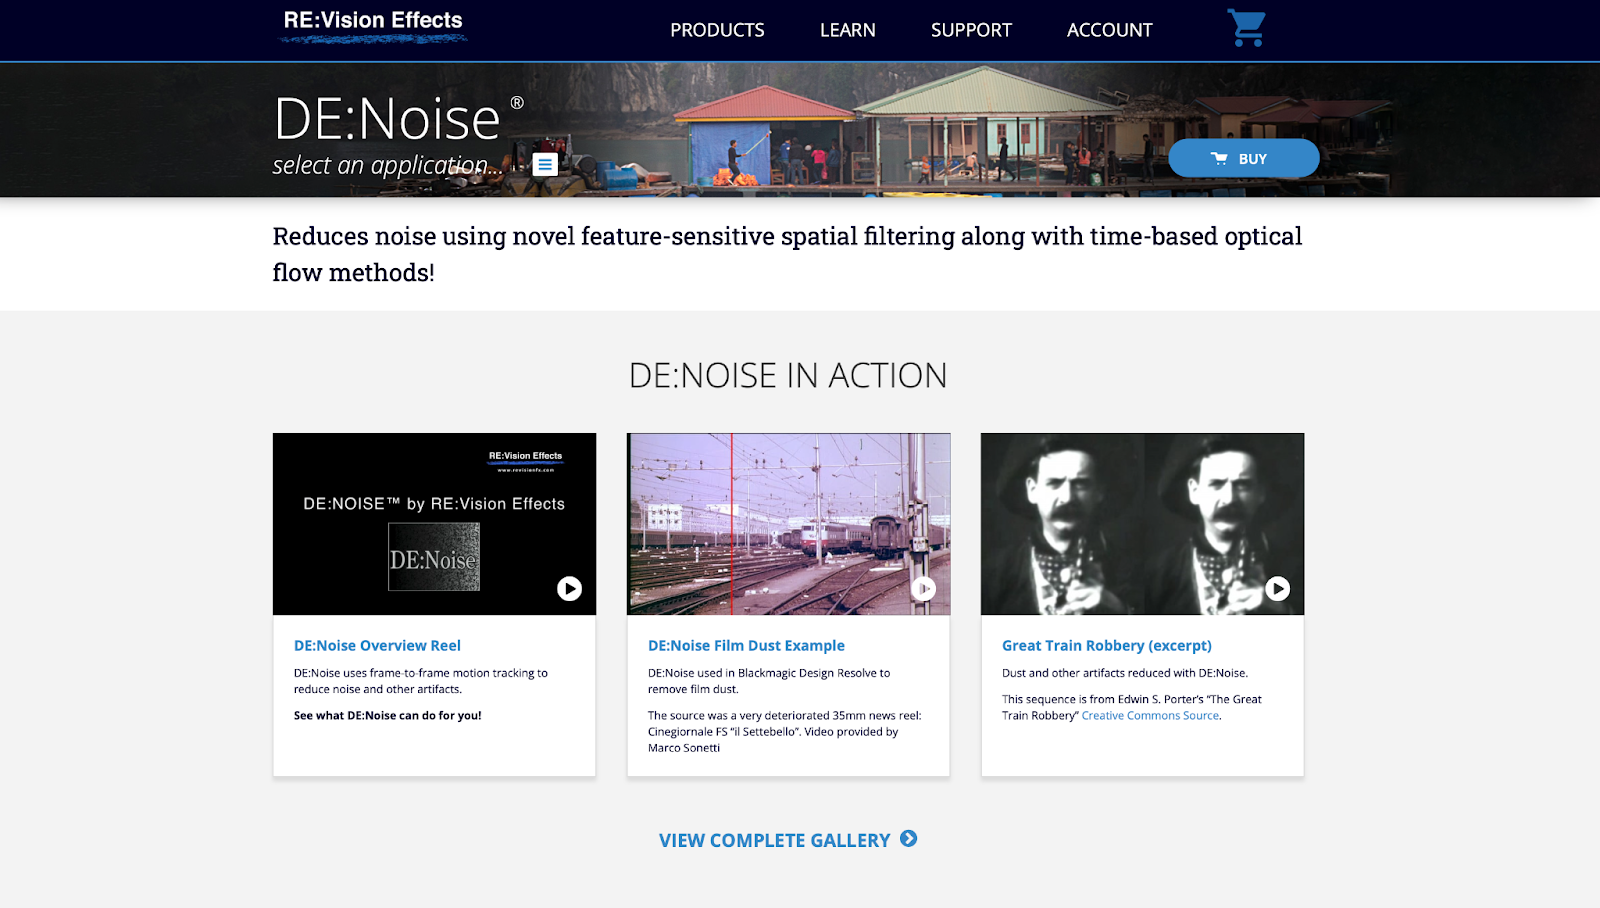
8. De:Noise
The De:Noise effect by RE:Vison effect is one of the most powerful de-noisers out there. While the de-noise node in Final Cut Pro is great, nothing beats a dedicated plugin for the effect. De:Noise handles everything from digital/electronic noise to blotchy spots like first on film. It’s also incredibly versatile, addressing numerous problems related to low-light shoots.
The best part about it too is how much detail is preserved. A lot of de-noise effects lose detail in the process, but De:Noise keeps things looking sharp through the use of temporal filtering.
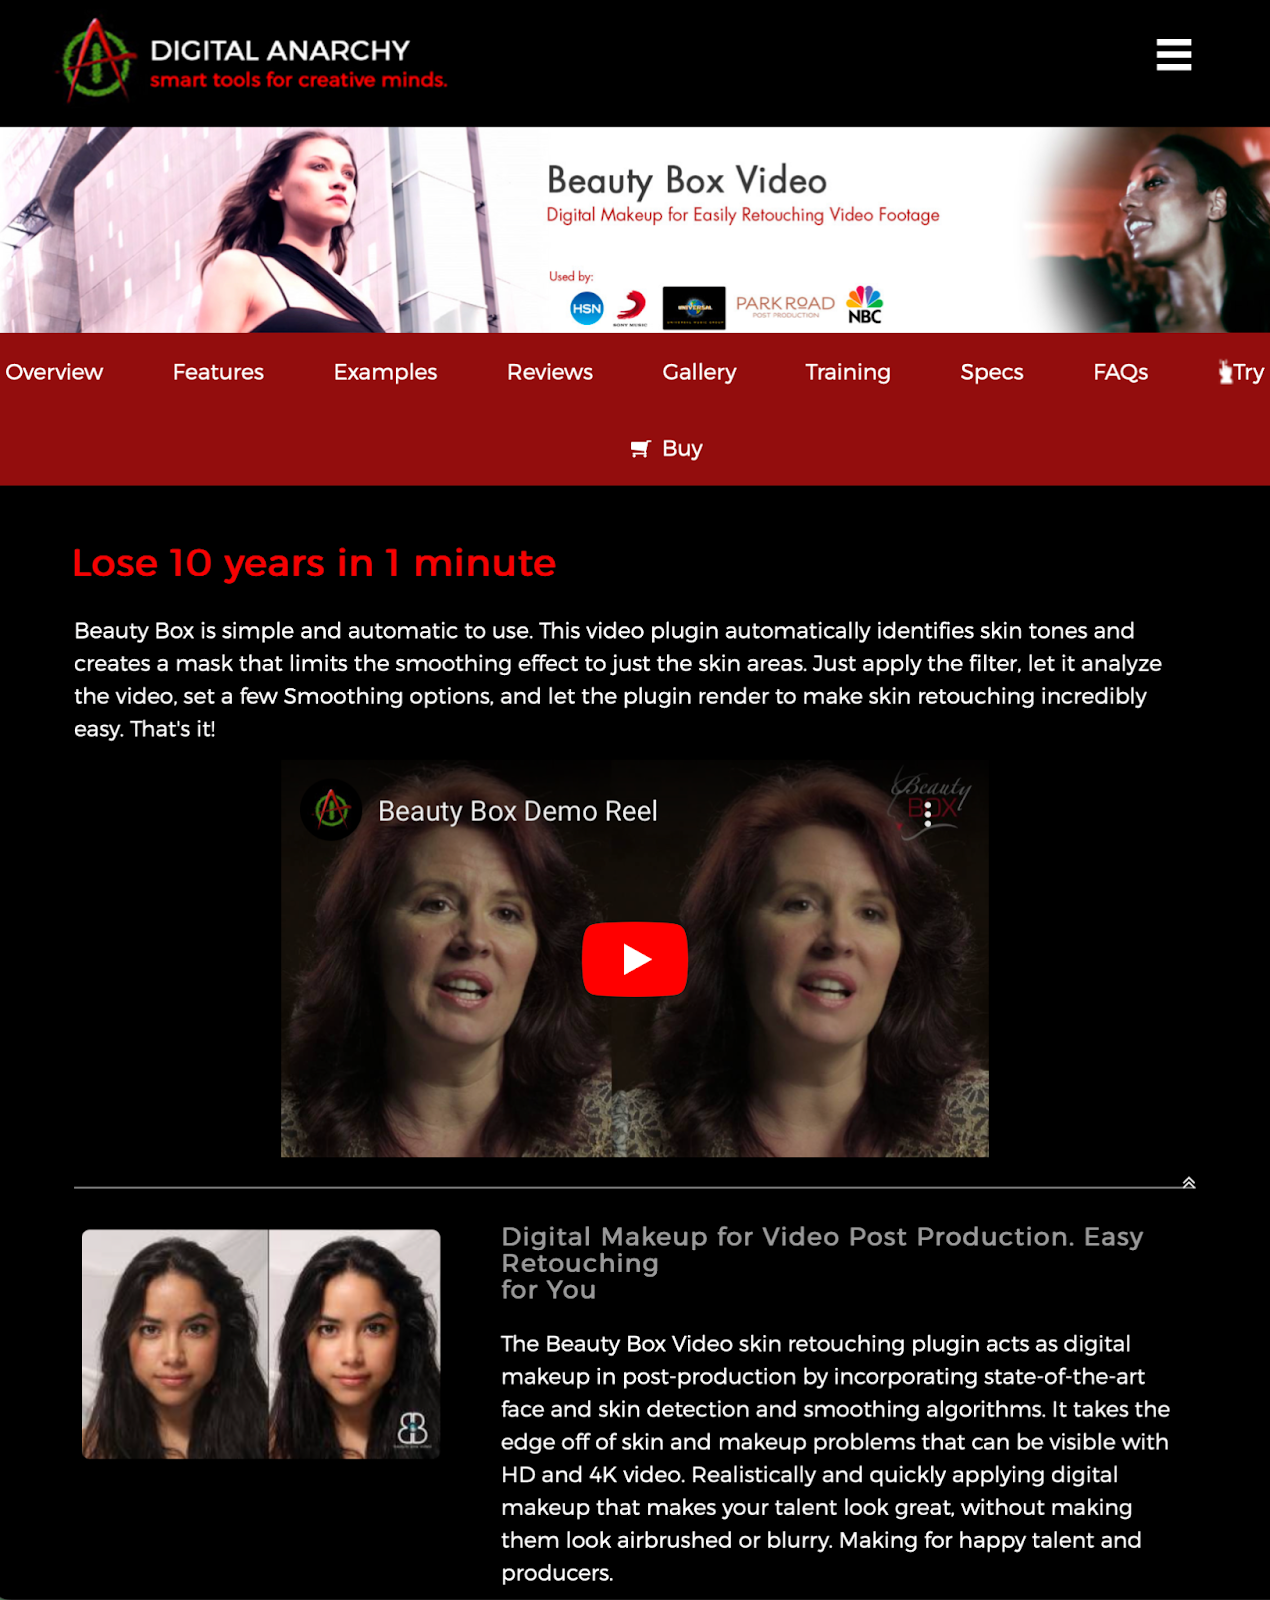
9. Beauty Box
Beauty Box is a very simple but effective plugin that automatically identifies skin tones and creates a smoothing effect for just the skin areas. What the beauty box does is act as digital makeup of sorts. Beauty Box looks incredibly natural as well, working for both HD and 4k videos. It gives great real-time rendering and uses CUDA and OpenGL software to play things back quickly.
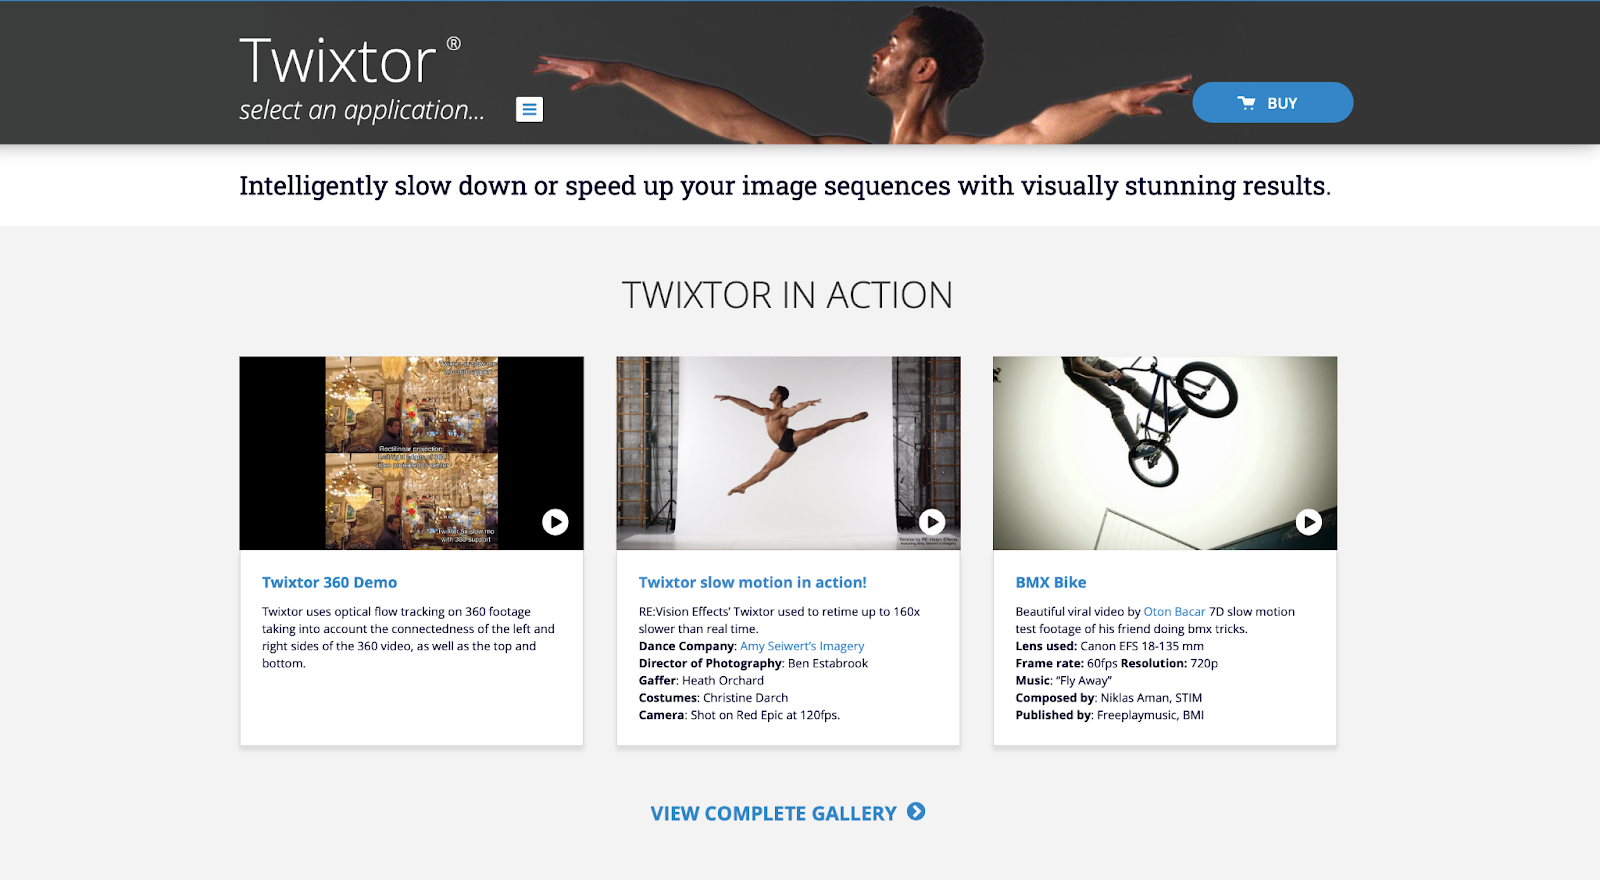
10. Twixtor
It’s incredibly hard to mimic proper slow motion in traditional NLEs. Slowing down or speeding up footage in post-production often looks very fake and choppy. Twixtor has much fewer artifacts when objects cross in the scene and it operates in real-time using a single-speed setting. What Twixtor does is synthesize unique new frames by warping and interpolating frames of the original sequence.
How to install FCPX plugins
Installing new plugins, motion templates, mattes, motion graphics, and text can only be done inside of the finder window on your macOS device. You’ll want to open up your finder and go to the folder labeled Movies.
Inside, there should be a folder titled Motion Templates. If the folder is not there, you’ll need to right-click and create it. Once the folder is created, right-click on it and select Get Info. You’ll want to double-check and make sure it’s labeled Motion Templates.localized or else nothing will happen.
Inside, there should be four folders labeled Effects, Generators, Titles, and Transitions. If not, you’ll want to create these folders, using the .localized extension as before. The type of folder that you use will depend on the effect that you are installing. All you’ll need to do then is drag and drop the plugin into your desired folder.
Conclusion
Final Cut Pro is one of the best NLEs on the market that gets even better through the use of plugins. Solutions like Simon Says FilmConvert, and False Color are super powerful, helping you to save time while adding production value to your content.