Working with folders and labels
Organize your projects with folders and labels
You can easily organize your dashboard by creating and applying folders and labels! Create folders to store multiple projects in and/or add labels to your projects to easily identify them and also make moving projects into folders easier.
To create folders:
1. Click the folder icon with the + toward the top of your page
2. A new folder is created with the default name "My New Folder". Change this to anything you would like

You can move unlabeled and labeled projects into any folder you create
If you have multiple projects with the same label, it's easiest to filter to view only that label and then move them up into your chosen folder.

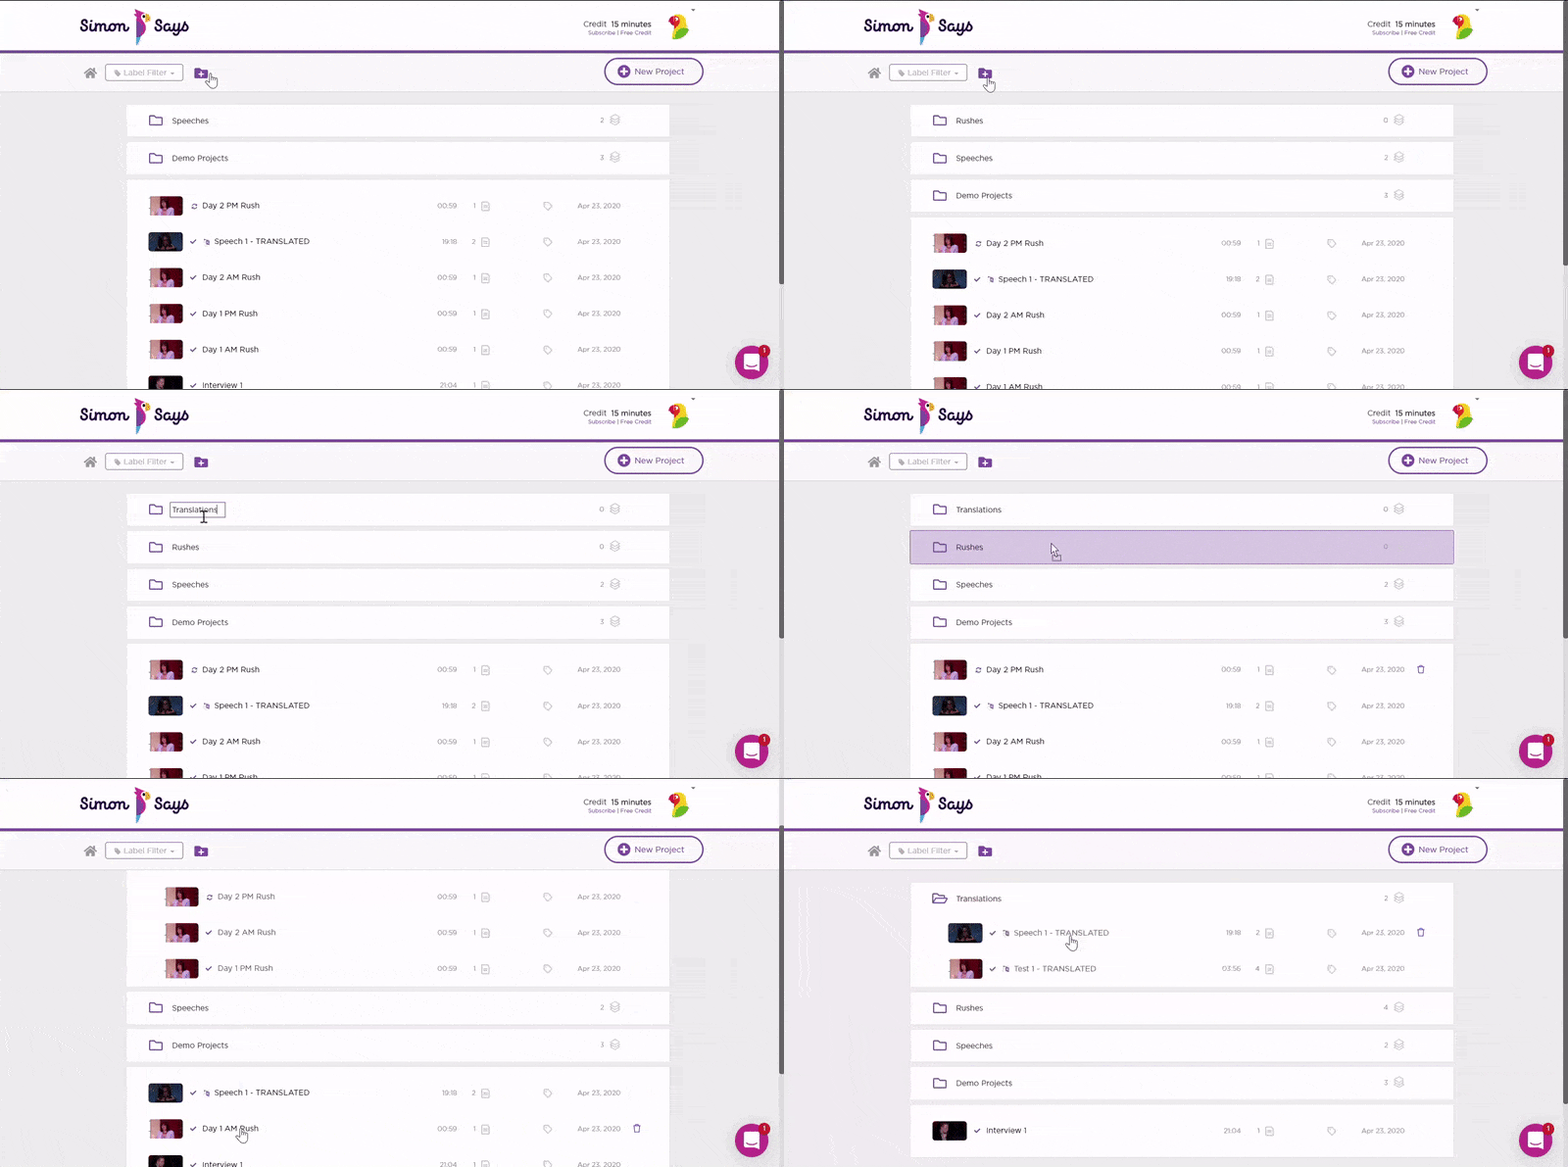
To move projects out of folders
1. Expand the folder by clicking the folder icon or anywhere to the right of the folder name
2. Click on the project to move and hold, then drag it down out of the folder

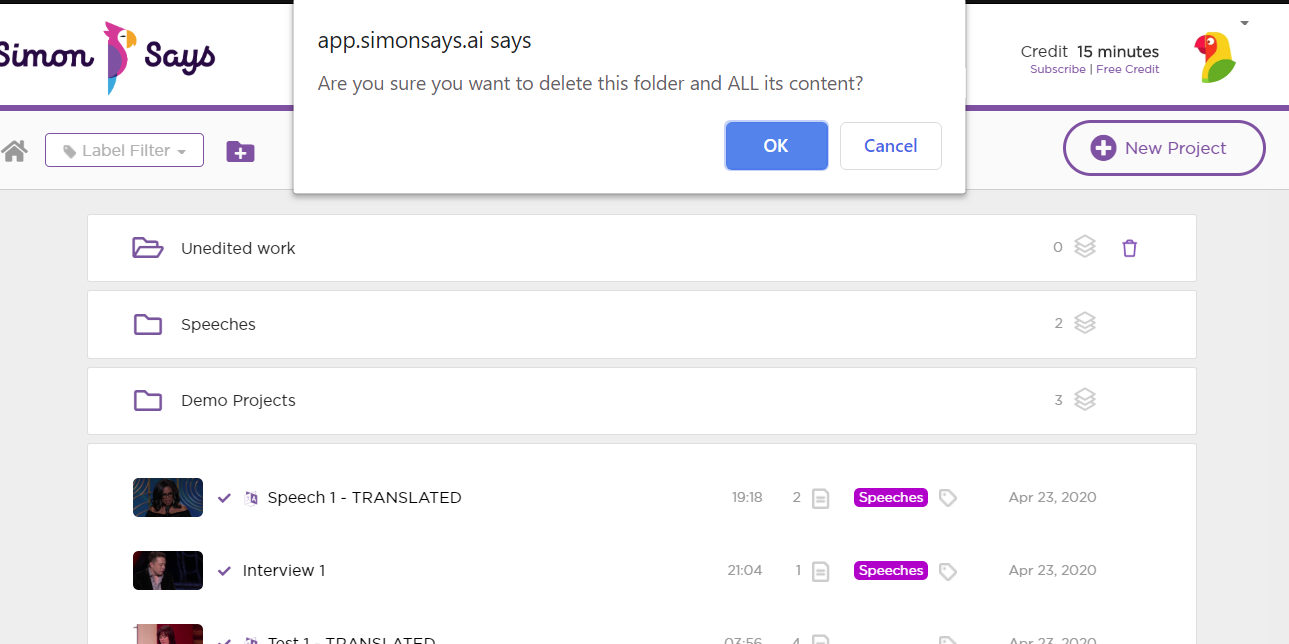
To delete a folder:
1. Click the trashcan icon to the far right of the folder name
2. Read the warning and accept if you really want to delete the folder
Note that the folder and ALL PROJECTS in it will be deleted permanently. You cannot retrieve deleted projects.

To create labels:
1. Click the tag icon next to the project name
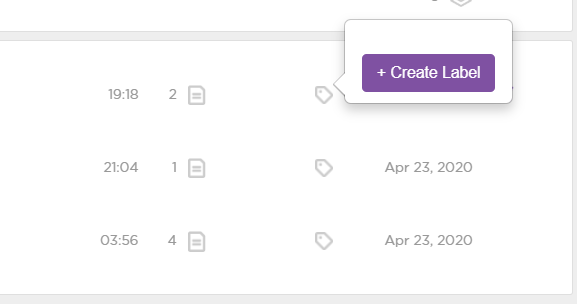
2. Click +Create Label
3. Name your label and choose a color for it, then click Save

Your label is now created and you can apply it to other projects
You can filter your dashboard to view one or more labels only
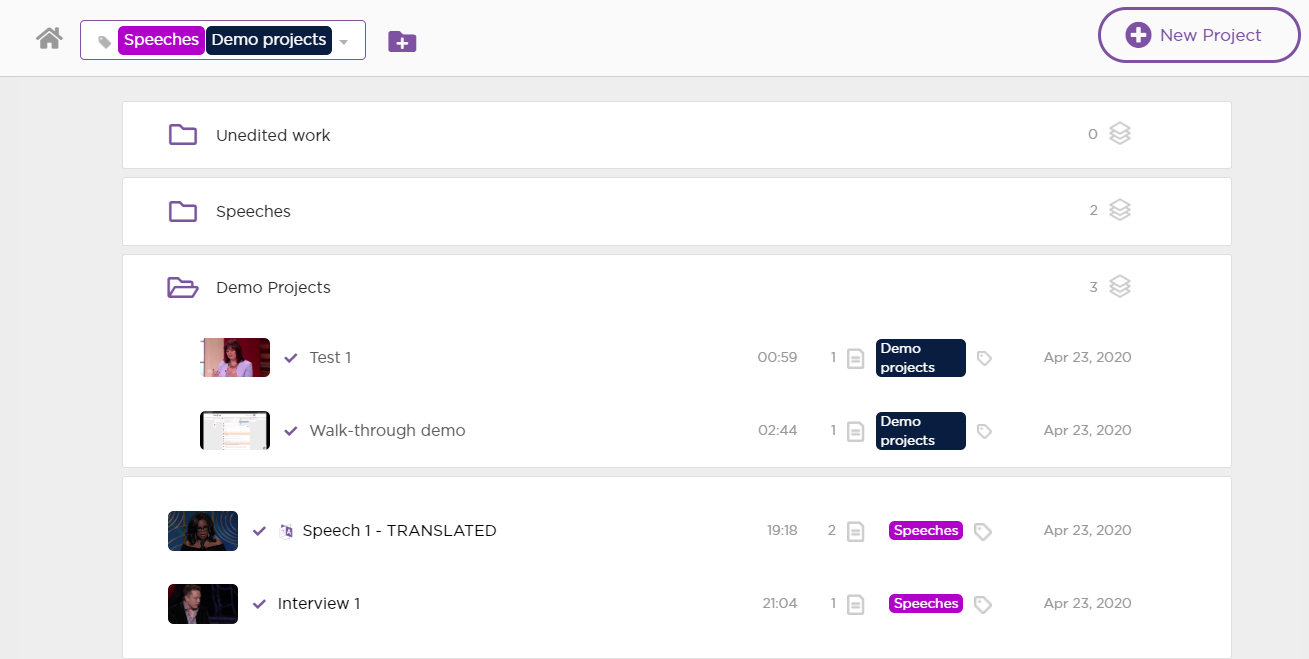
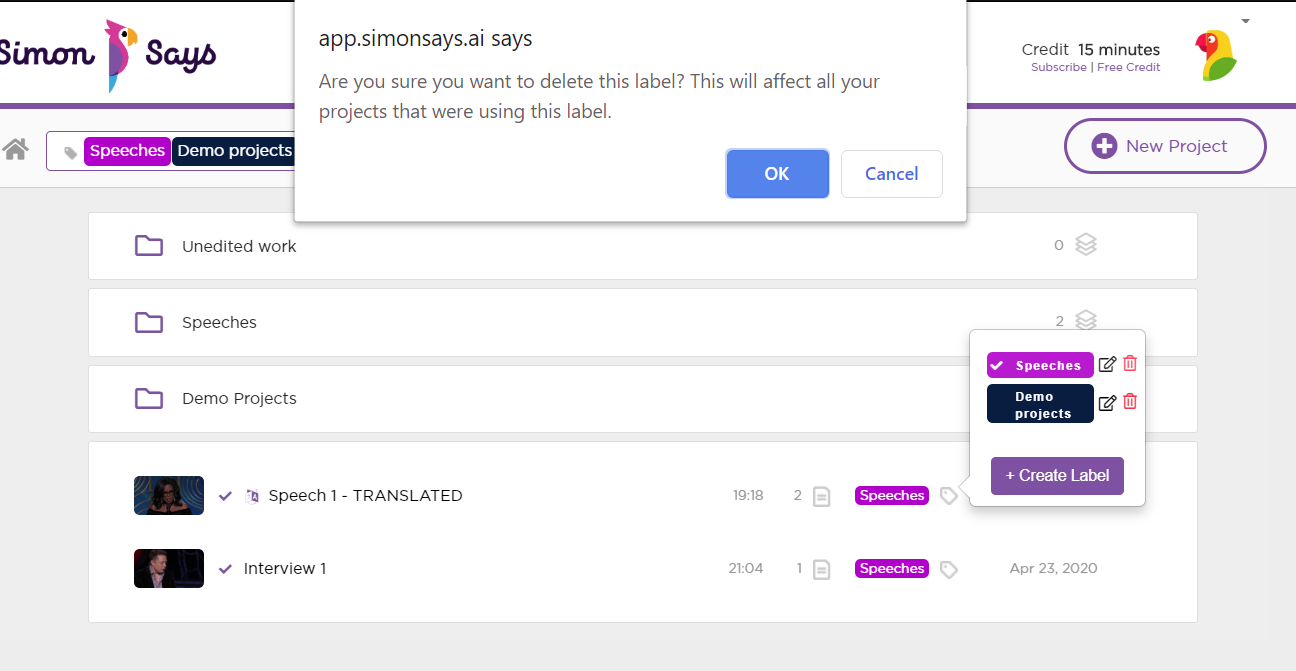
To delete a label:
1. Click on the tag icon next to a named label
2. Click the trashcan icon to the right
3. Read the warning and accept if you would really like to delete the label
Note that only labels will be deleted, not the projects

Related Help Articles:
How to use the transcript editor
Which formats can I export my transcript to?
Which formats/codecs do you support?
Burned-in subtitles and timecodes